
This is my new go-to DIY when looking for a cool way to personalize stationery or create unique patterns for special occasion gift cards, nameplates or decorations, or just wanting to have a blast while doing something with my hands. Marbling with shaving cream is hassle (and almost mess) free technique that produces incredible looking patterns and is easy enough to do with little hands and impatient kids. The whole thing takes minutes to do, and if you replace ink with food coloring, will be 100% safe for the young ones as well. 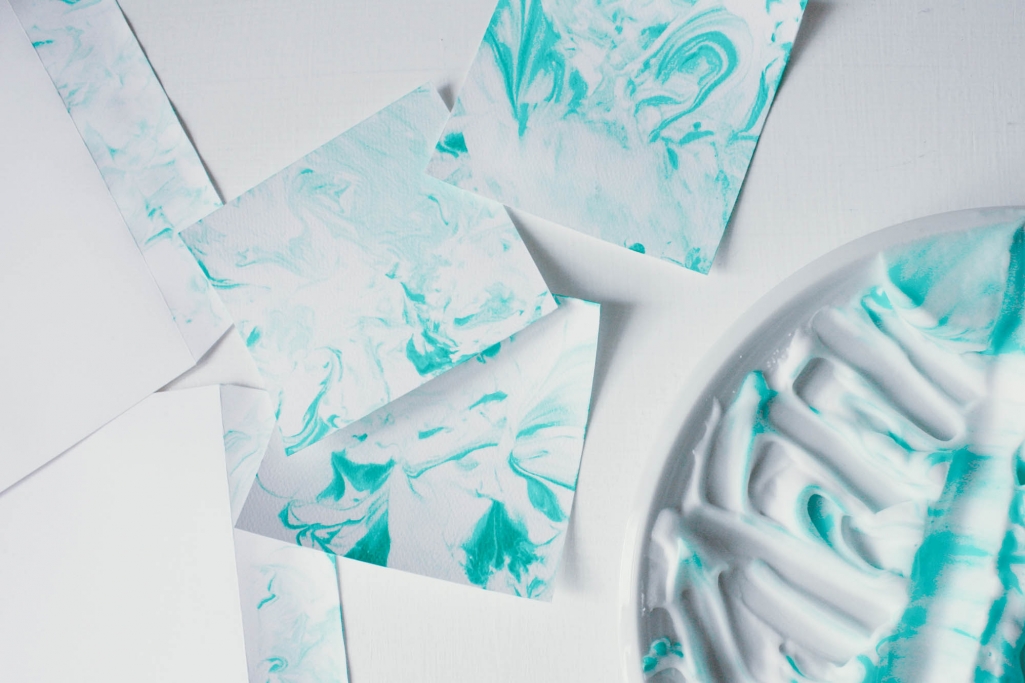
I’ve come across this tutorial once or twice when browsing online for new DIYs to try but for some reason, they always seemed more laborious than fun, but this morning I thought of giving it a go anyway. And I was happily surprised by the results. Literally, from getting up to gather together all the things I needed, to seeing the results of my first try it must have been no more than 10minutes. THIS is my kind of DIY! So, of course, I had to share my discovery and enthusiasm with you straight away.
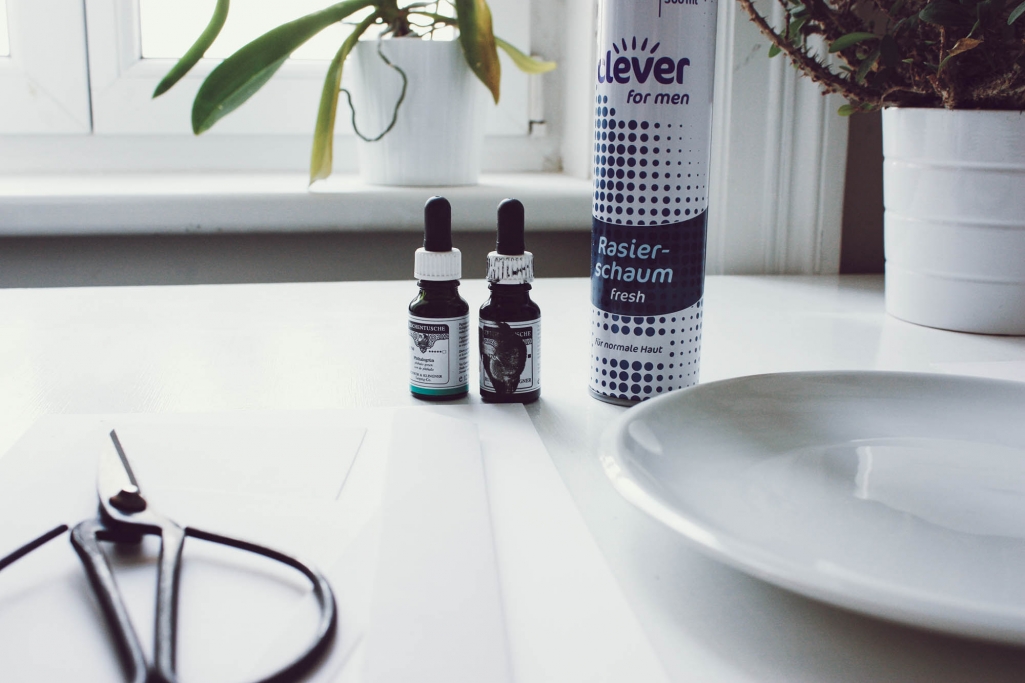
For this DIY you will need:
- shaving cream (budget friendly, no need to splash on anything expensive)
- ink (I used basic drawing-& calligraphy ink by Rohrer&Klingner)
- a toothpick or something similar (I tried both toothpick and chopstick)
- a ruler or other flat like a tool
- a plate or dish
- paper of your choosing (I used Via Felt, an uncoated paper with a felt mark from Europapier)
- rubber gloves
Let’s get started!
- Have all your equipment laid out on the table, make sure you have enough room and remember to cover the tabletop in case things get messy.
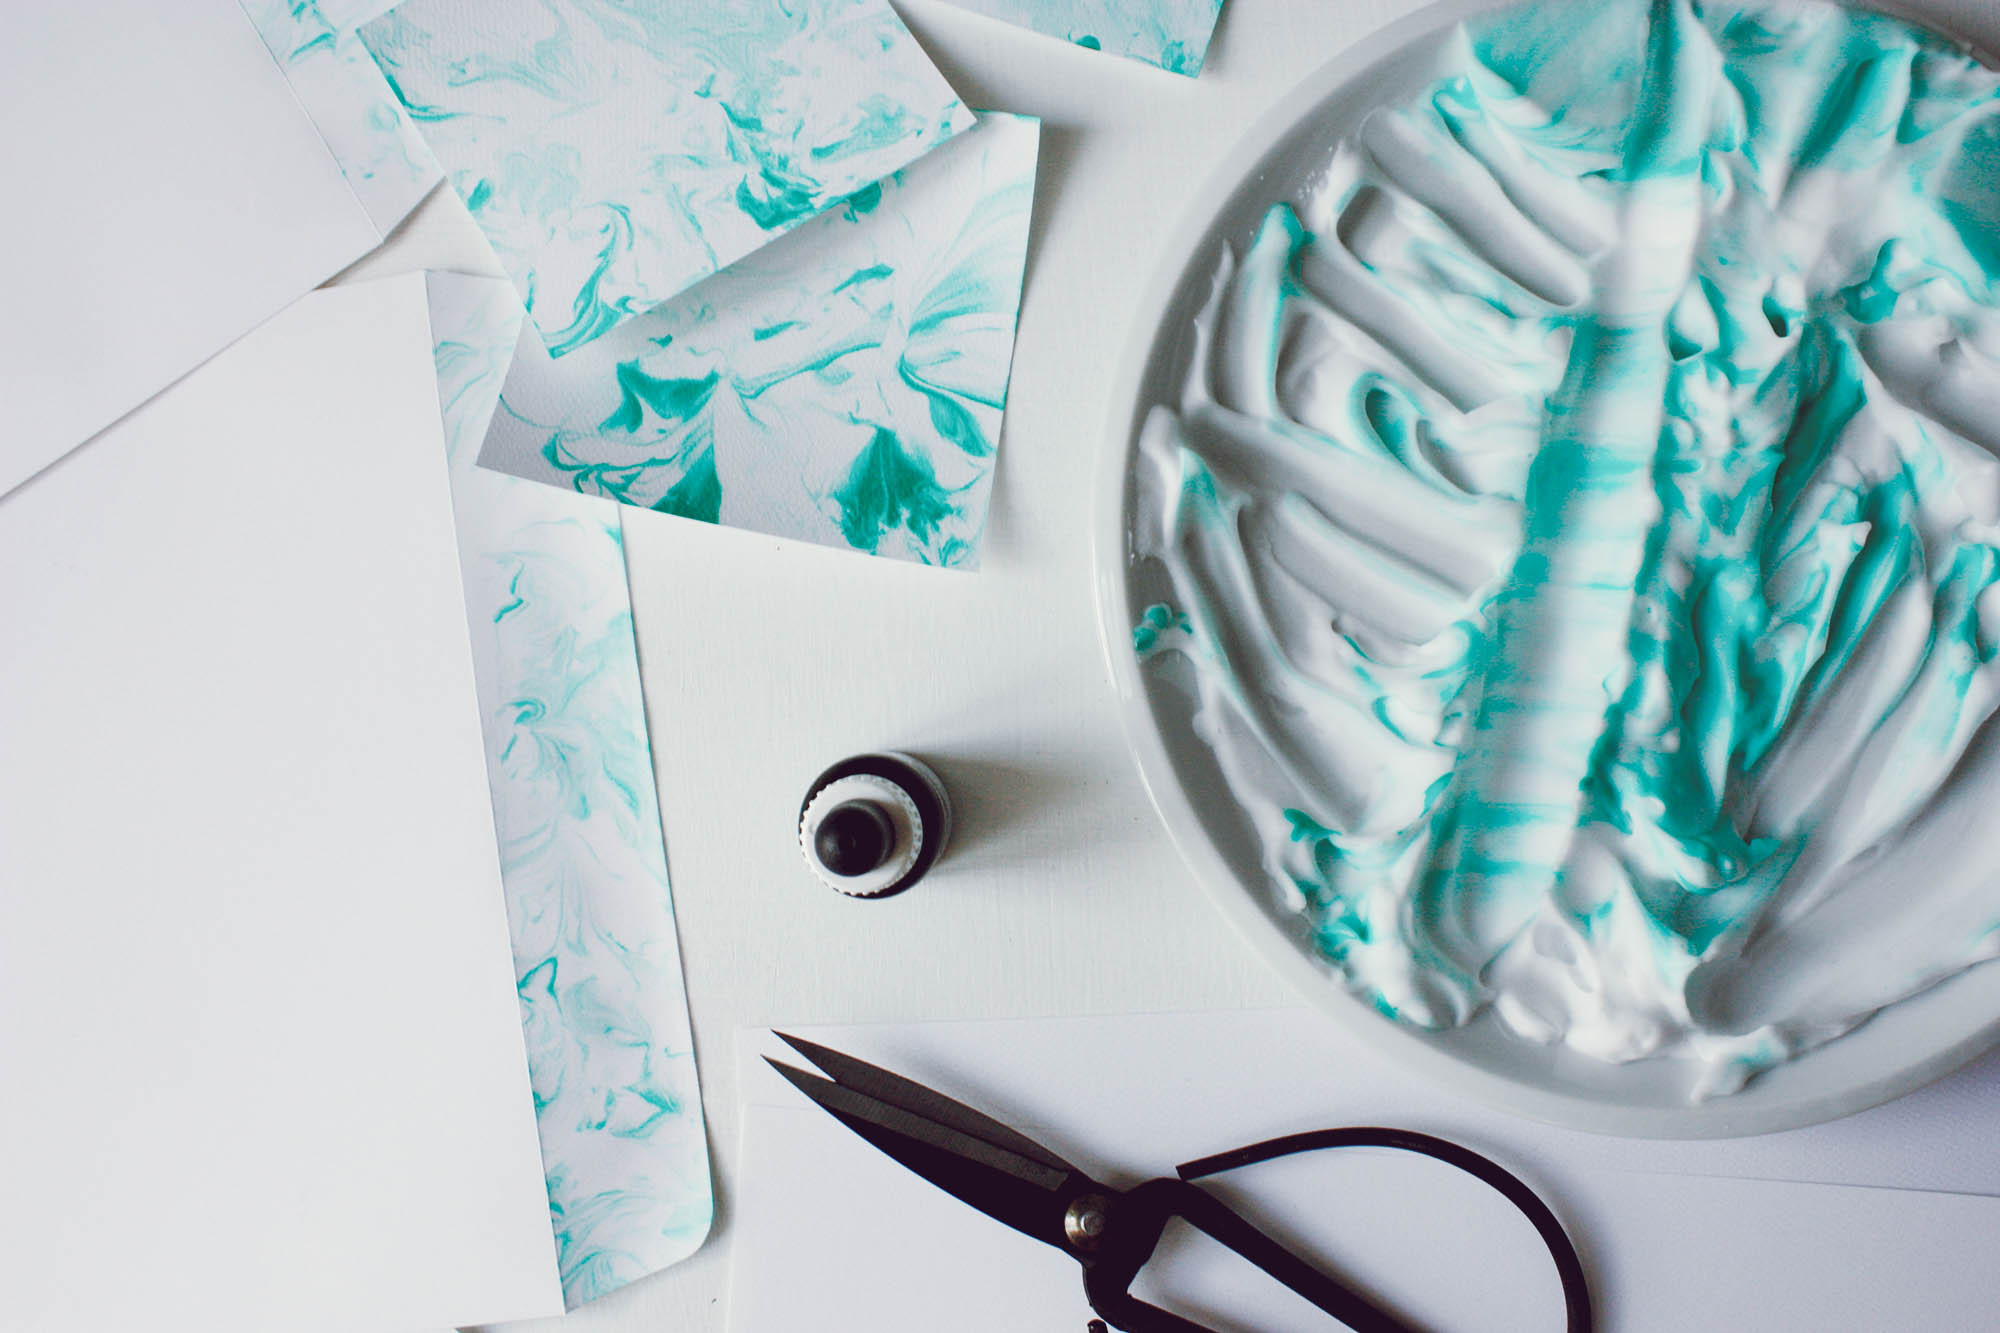
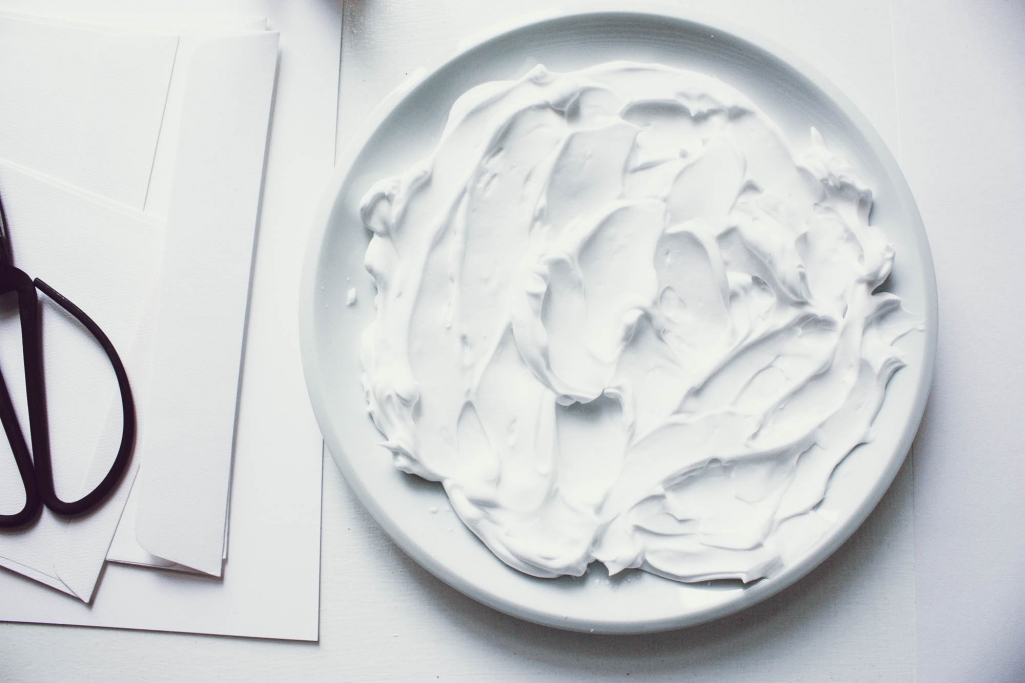
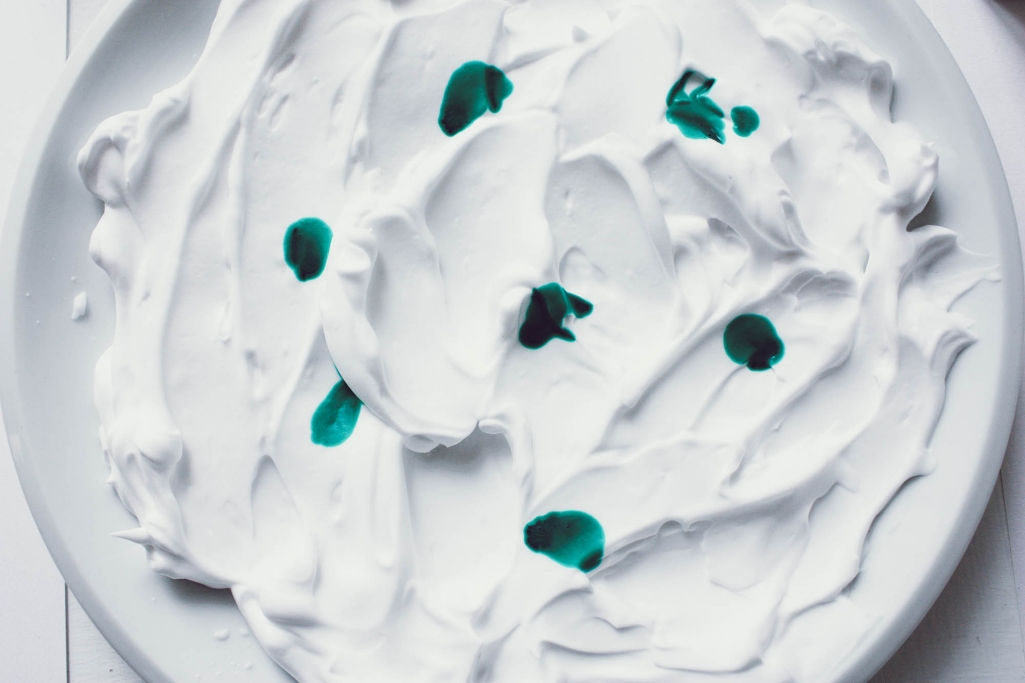
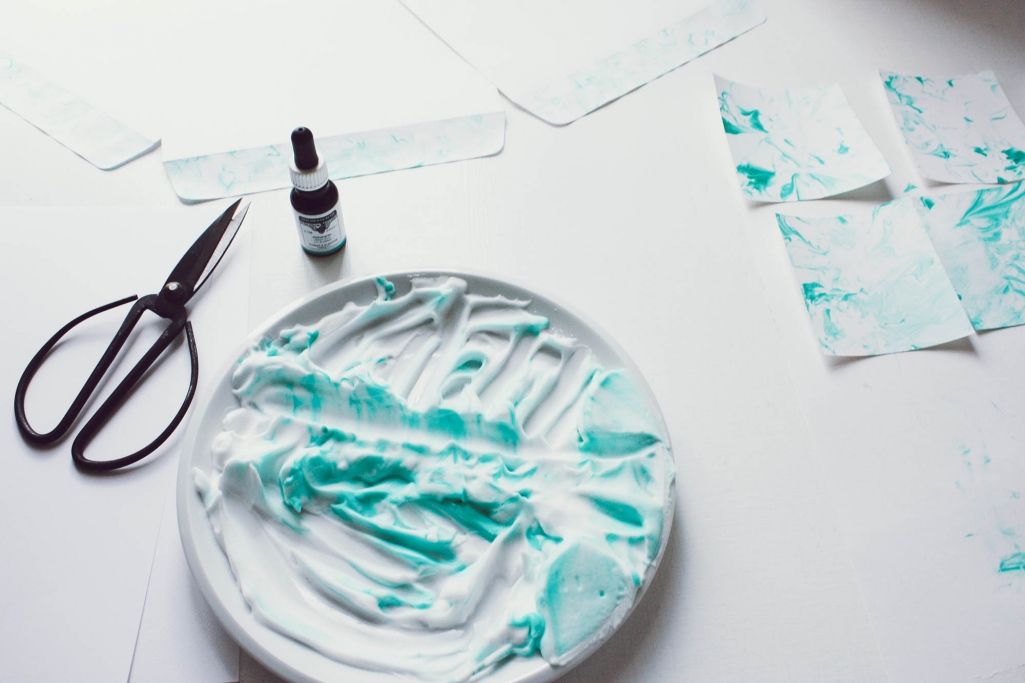
- When you have everything ready, spray some shaving cream on the plate or dish you’ll be using. You won’t need that much, 1-2cm deep, see photo. Looks like a delicious cream pie, doesn’t it! 🙂
- Place a few drops of ink in your chosen color on to the shaving cream, not too much not too little. The color is extremely lasting so need to waste it.
- Using the help of a toothpick or a chopstick, spread the ink into the shaving cream. See photo. This is definitely the fun bit!
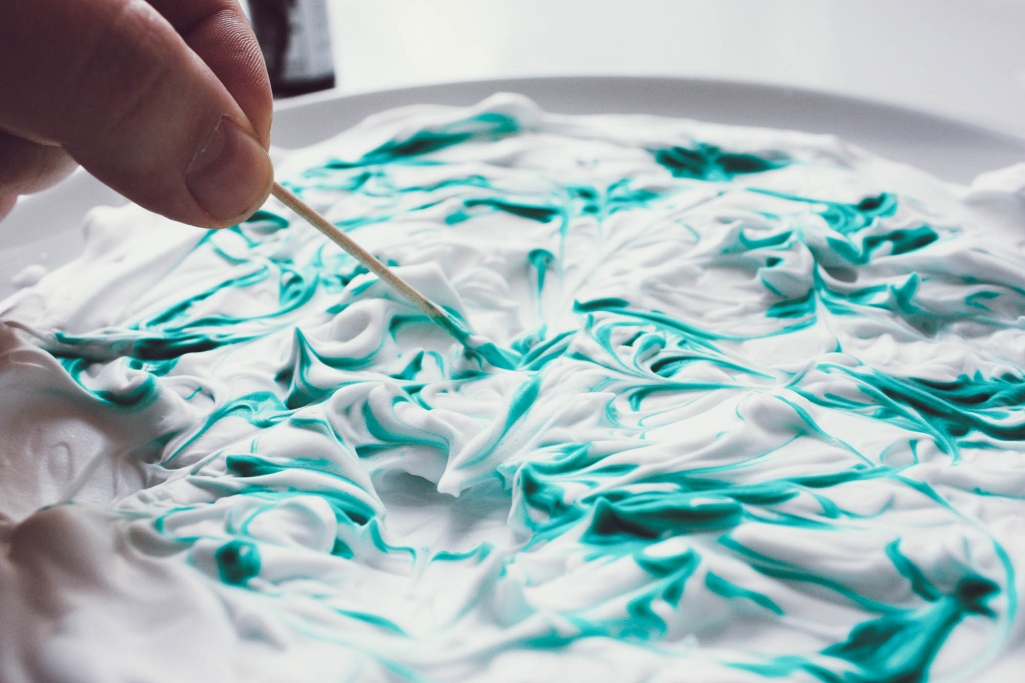
- Once the color is mixed, creating a beautiful pattern on the shaving cream, it’s time to get marbling!
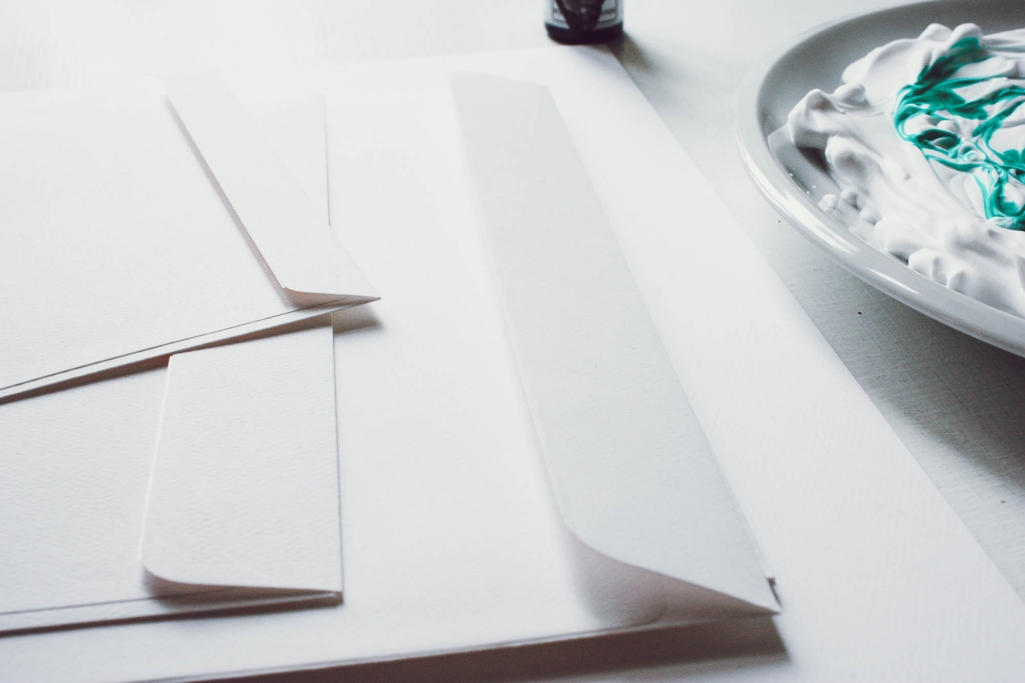
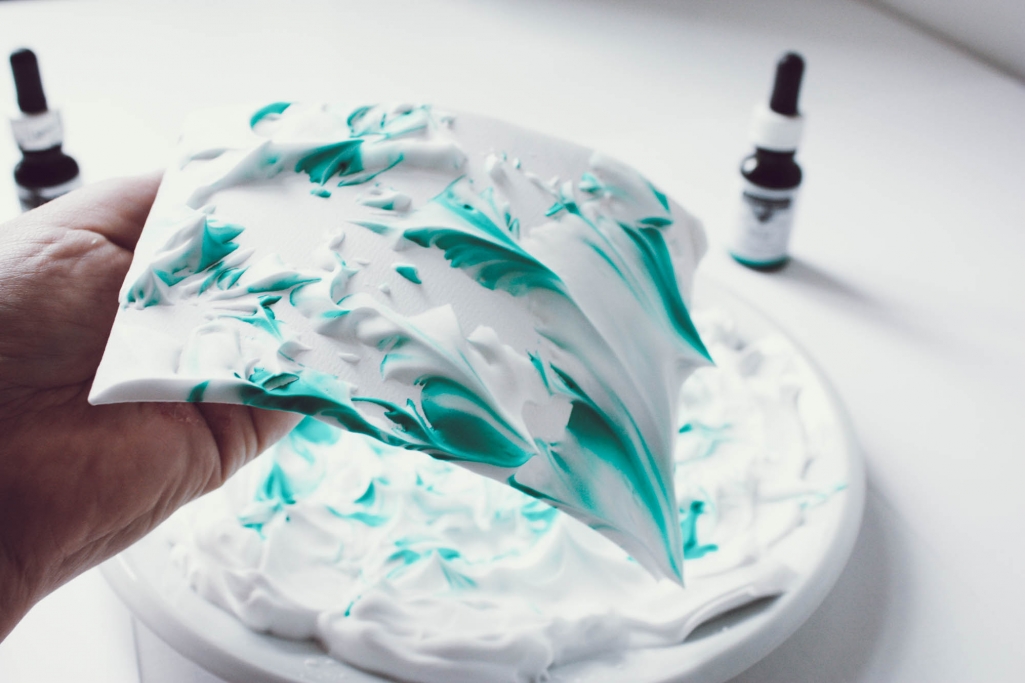
- Take the paper, envelope or card you wish to marble, and gently place it onto the shaving cream. No need to push, but give it a nice even tap over the surface so most parts get touched by the shaving cream. Do not move the paper around, otherwise the pattern gets mushy.
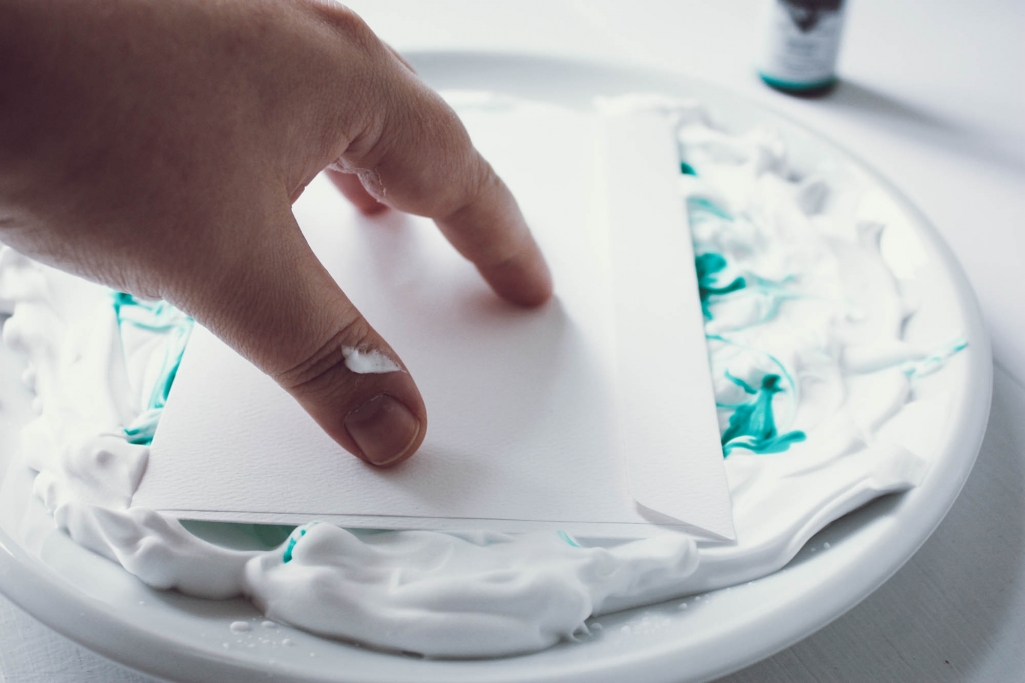
- After a few seconds, lift the paper off the cream and place it on a paper, wet side up.
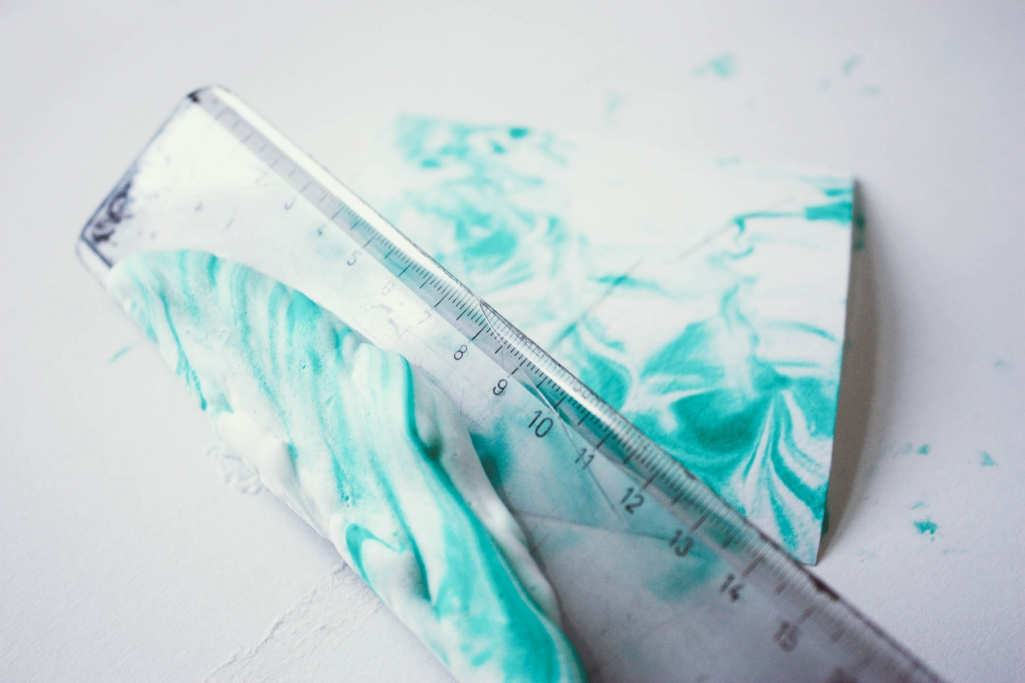
- With the help of any kind of flat object (I used a ruler) scrape the excess shaving cream off the top and leave the paper to dry on an even surface. After 10minutes it will be dry enough to place between a book or other heavy object to be made straight and flat.
And that’s it!

How easy and how much fun was that? I loved it so much I’ll be trying the same technique tomorrow to marble Easter eggs. I’ll be sure to share my discoveries with you.
© Design&Paper