Easter is just around the corner and if you wish to send those easter-wishes in time, it’s time to get started! This time we came up with something new, it’s easy and simple, just the way we like it, but you will need to be able to hold a needle! Yes, we’re stitching and sowing this time! 
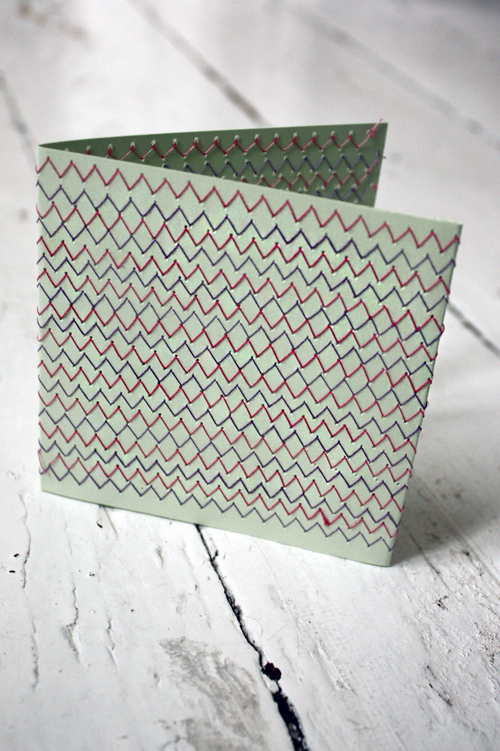
Stitching and sowing on paper is one of THE trends for this year! We have two cards for you to try it out, one for a sowing machine, one stitched by hand. If you happen to own a sowing machine and have some experience using it, you can try out the first one. Choose the paper you’d like to use as the base card, I chose mint-colored 230 gsm (IQ color medium green) to go with the pink and purple thread I had. First you cut the card in the size and shape you want, because after sowing, you can not cut the paper anymore, the thread would unravel and destroy the design you’ve made.
So, you have your paper, and you’ve set the wanted thread into the machine. Start sowing! I used a basic zigzag stitch, to make a more geometric design. If you use different colors, think ahead and keep in mind the way you want the finished design to look, so you can sow one color at a time, not needing to change tread in-between.
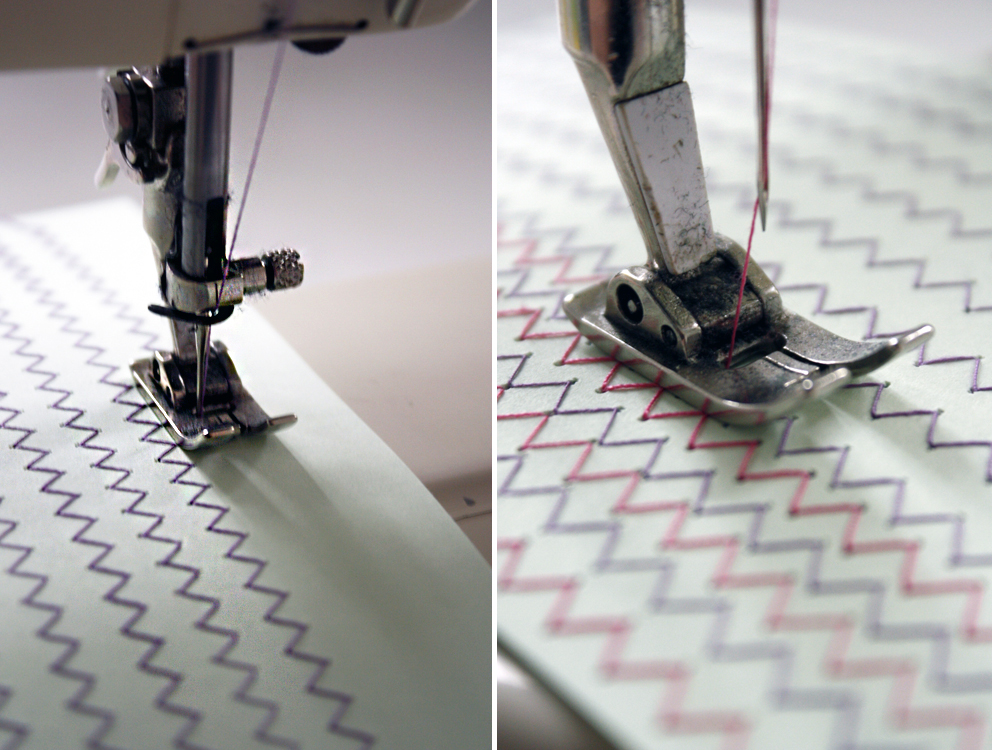
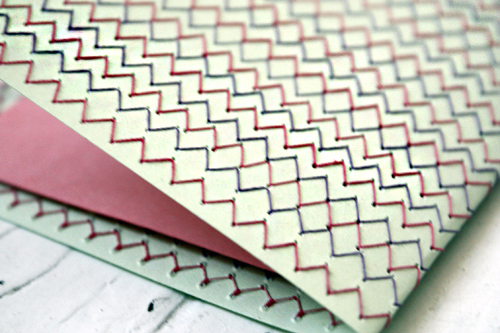
As you can see above, I made “stripes” with two colors of thread. First finishing the purple one and then filling the gaps with the pink. Ending up with a three-colored folded card!
You can make more of intricate design with using more colors and different stitches, it depends on what sets you have on your sowing machine, and what kind of finish you are looking for. Try different ones, mixing and matching colors and stiches! Just remember to use paper that is minimum of 230 gsm so it doesn’t rip or tear, ruining your design. If you are worried about the ends of the stitches unraveling, use glue to set them place. If you do as I did and stitch the whole area of the card, remember that you will have to glue some paper on the inside of the card that you can write on. I used a matching pink paper that I simply glued on the inside (see below). Or you can just stitch the “front” of the card, leaving the backside free to be written on, but in this case, make sure the ends of the threads are not left visible.

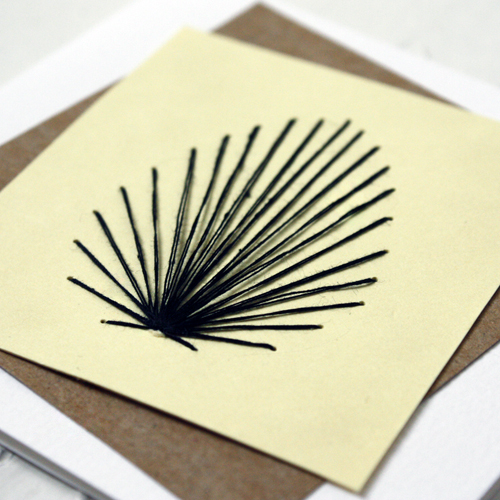
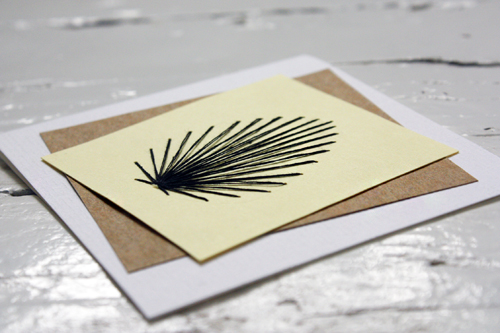
If you dont own a sowing machine, dont worry, we did not forget about you! Here’s another card for you to try out with simple hand stitching. When you get the basic idea, you can make all the shapes and forms you wish. I decided to got the classic egg-shape, its easter after all! As the actual stitched design is very simple in its form, i wanted to give the card more feel through the papers I chose. I ended up using white Via Laid 220 gsm for the base (which has a slight textural feel), brown SH Recycling 160 gsm for a color effect and light yellow 160 gsm IQ color for the actual stitching.
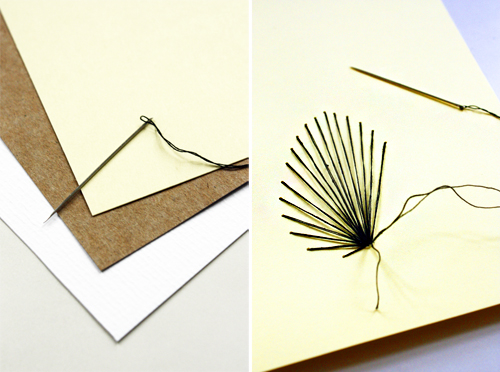 When you have chosen your papers, the thread and the shape you wish to make, lightly draw out the outlines of the design with pencil, so you’ll be able to erase them later. If you chose to do the egg shape, start from the bottom up, making the first stitch from the the bottom “main hole” to the top of the egg. First come down the other side making the stitches from centre to the outline, then copying the shape to the other side. This way you will end up having a balanced design! When you got the hang of it, make as many as you will. With more eggs you can cut them out and layout in any form you will. Make whole basket if you will!
I chose to glue the stitched paper egg on top of the other papers, I’ve cut in the wanted shape. Cutting the stitch in more of an egg shape gives the design a more Easter look! Have fun with the lay-out, try something new!