

I’m one of those people who walk around in shops pointing out things I could have done myself – better, or as good. To be quite honest, my love for DIY started as a need for certain things I could not afford, and slowly evolved into a lifestyle of “why buy it if you can make it”. And as a designer, I do take pride in what I create, how ever small it might be. And I’m beaming of pride with these little paper tassels!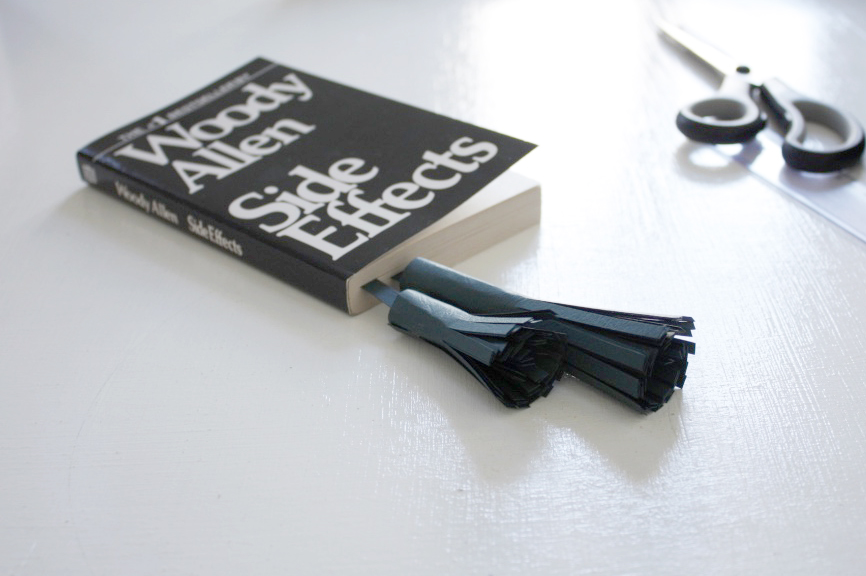
After a little hiatus on the DIY posts, I’ve been bitten by the craft-bug again and am full of ideas and inspiration for so many DIY’s I don’t know where to find the time to do them all. But when this idea crossed my mind, I just had to give it a go. Tassels are most commonly made of textiles or leather and used in clothing and interior decoration. With roots as far as mentions in the Hebrew bible, tassels are most certainly not a new invention, however they’ve been popping up on the trend scene lately.
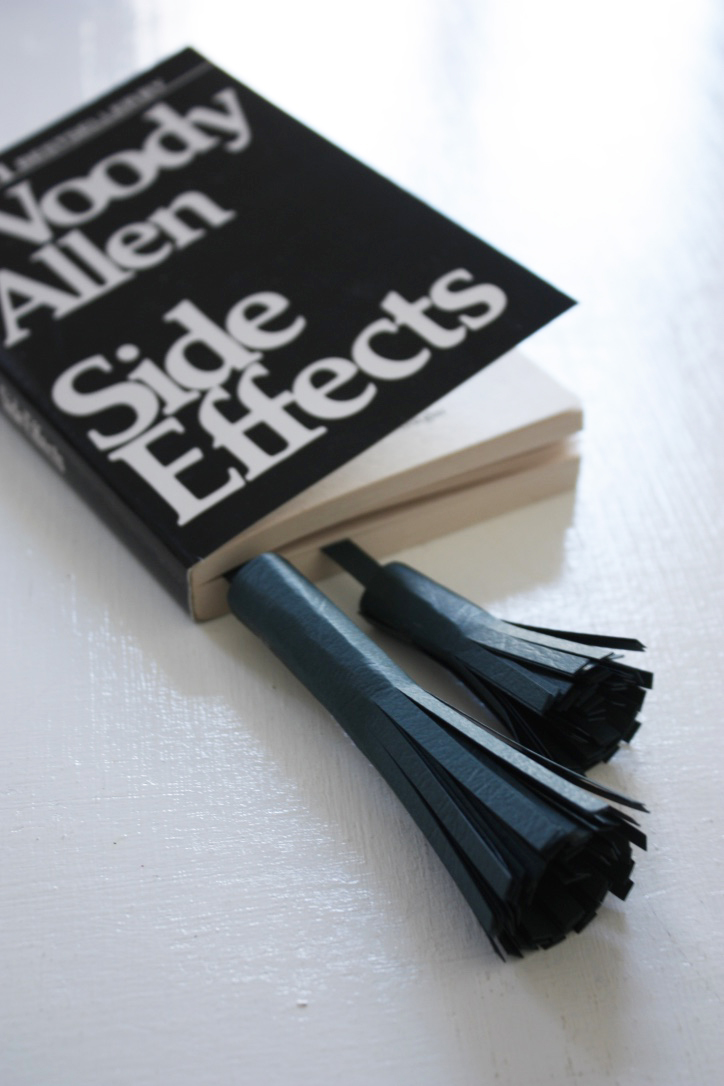
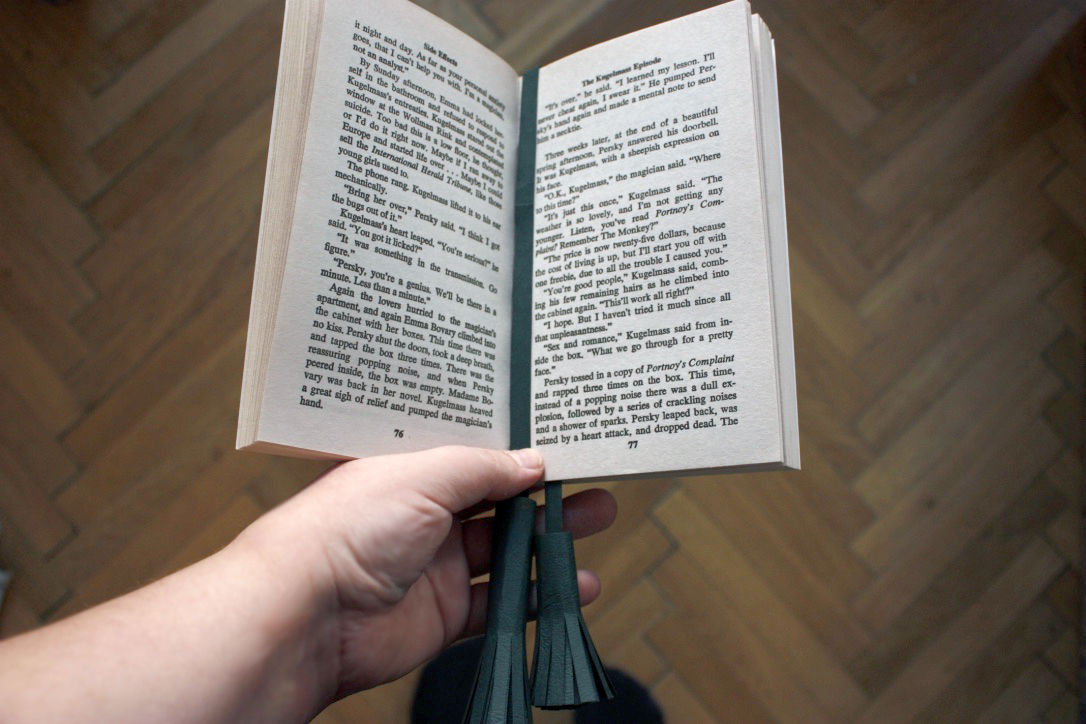
I made my paper tassels with a connecting piece between two, one end slightly larger than the other to give it an interesting twist, so I can use them as a bookmark (I’ve been looking for a nice one lately). But what ever you are planning on using the tassels for, just modify the design as needed.
You will need:
• paper of your choosing
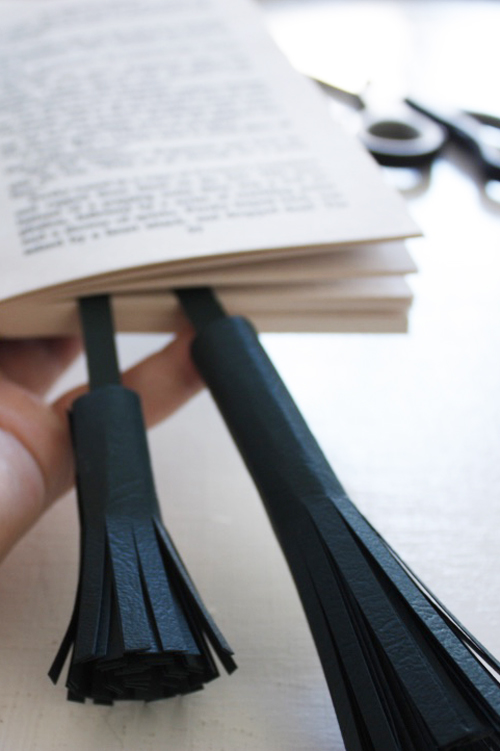
I used Embossed Color Style leather in racing green 300gsm (but a lighter paper works well as well.) Paper available at Europapier.
• a ruler
• a sharp pair of scissors
• paper glue
• a stapler
Instruction:
• Cut an A4 paper in half, length wise. This determined the size of your tassel, so feel free to try different widths.
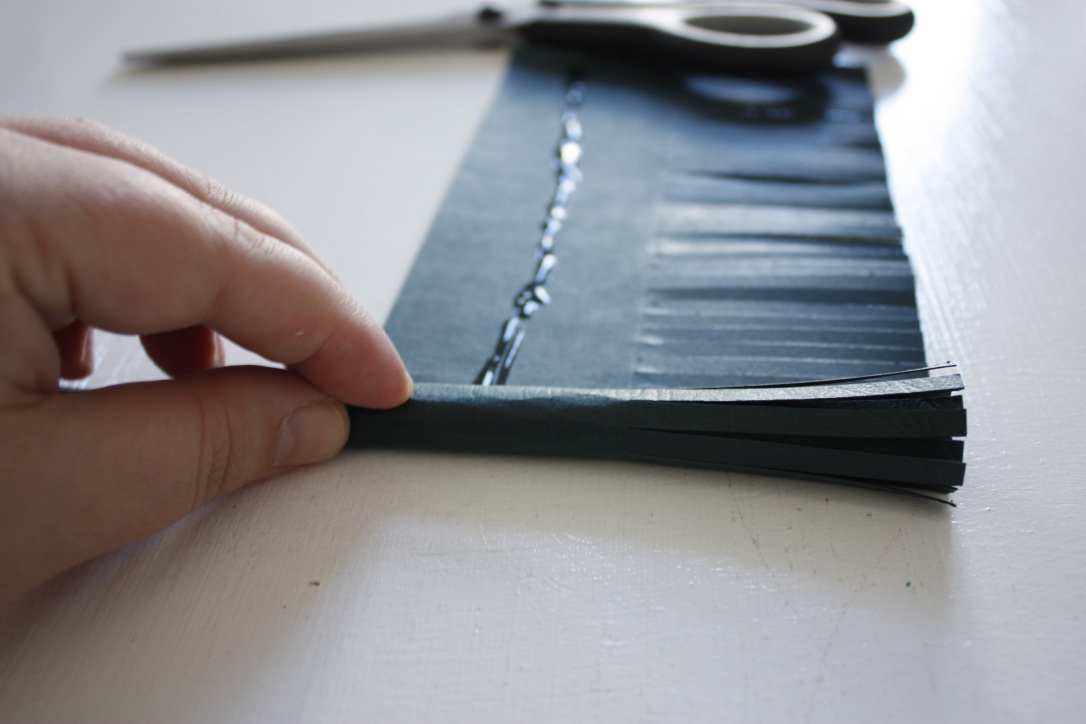
• On the back of the two pieces, draw a line in the middle, length wise.
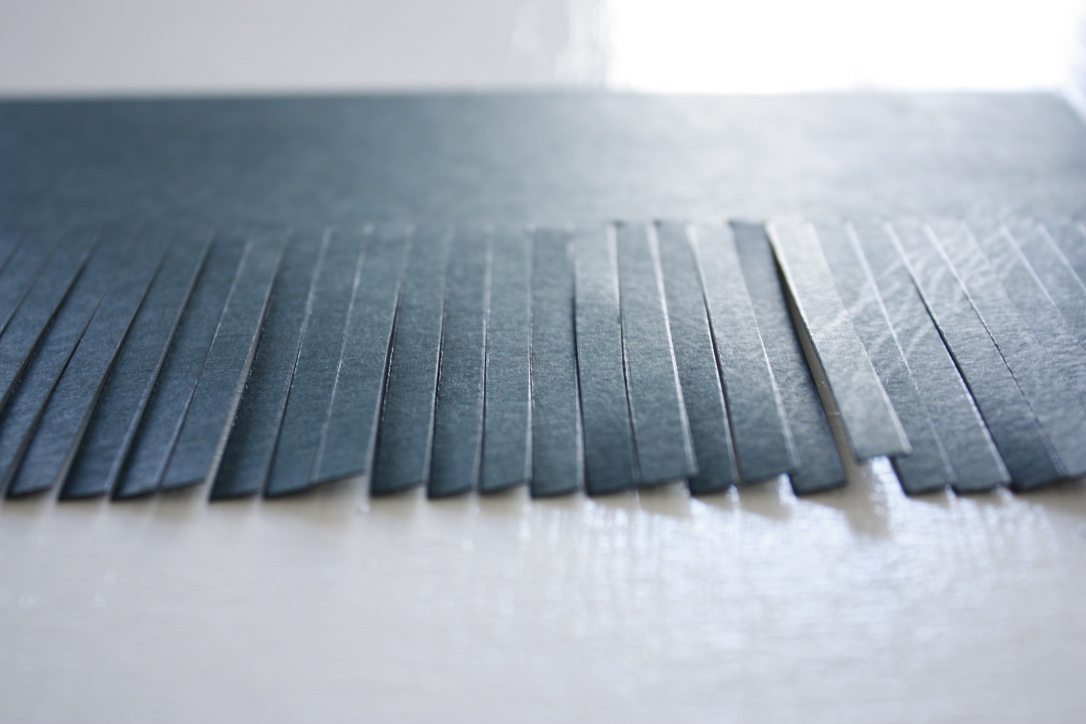
• Now use a ruler to draw lines 4mm apart.

• Use those lines to help cut the fringe. Use the sharpest scissors you have to make clean cuts.
• Cut a piece of paper 0.5cm wide and 20cm long with the help of a ruler. This will create the long thin strip of paper connecting the two tassels, or alternatively, work as a loop for your tassel.
• With the help of a pencil, roll the paper in the final shape before gluing, this will help the process later.
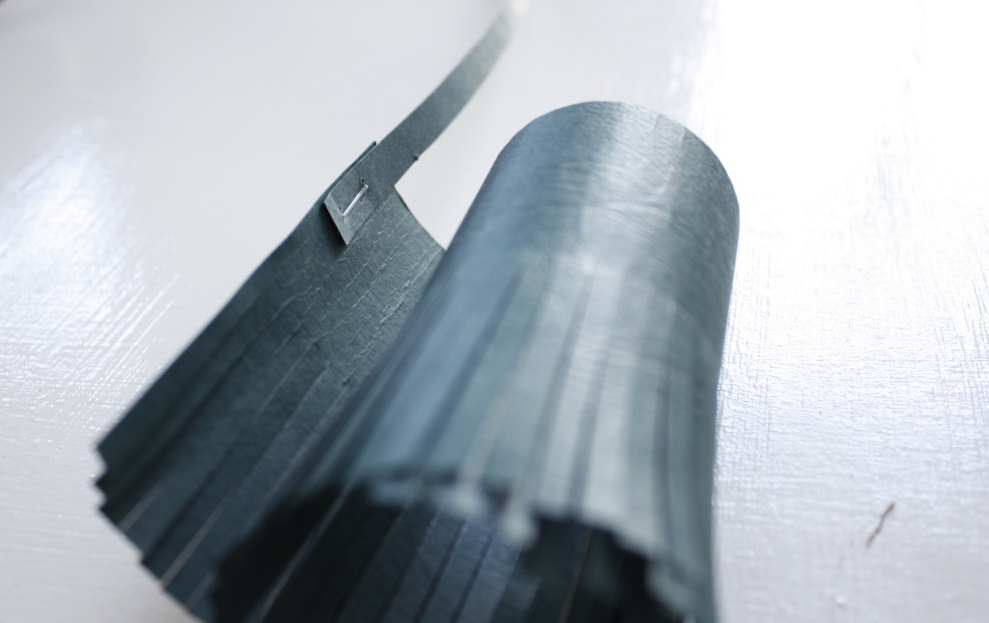
• Use the stapler to staple the string piece into place. See image.
• Run a thin bead of glue as shown – but do not go all the way to the end of the paper piece.
• Begin rolling tightly- as you roll, the glue will be pushed along and you won’t need to add glue toward the end.
• Try and make the rolling as clean as possible, to create a glue-stain-free end result!
Images © Design&Paper