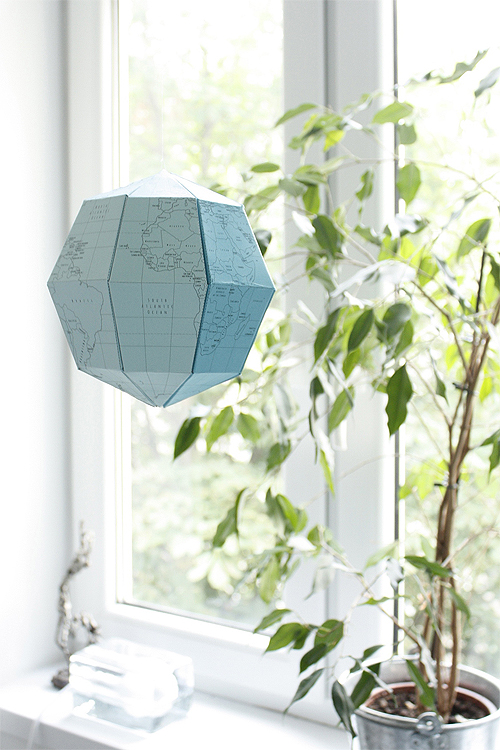
The day every student has been waiting for since Christmas is here: The last day of school is done! What are your plans for the summer holidays? If you are planning on traveling, why not make your own Le Paper Globe, where you can mark all the places already visited, and the ones you are dreaming of! The easy and fun D.I.Y. paper globe by a graphic designer named Joachim Robert is a great project for children of all ages, and it does look pretty cool as well. 
Le Paper Globe was inspired by the Sectional Globe – earth’s axis, 23.4 degrees, created by Geografia, a Japan-based design studio as well as the designers own travels around the globe. He claims to have travelled around the globe for about a year. Geografia made several cool paper globe designs which they sell through their webshop, but if you enjoy giving it a go yourself, why not try it. All you need is scissors, paper and a normal printer. Maybe a ruler to help with the folding. But no gluing or tape needed!
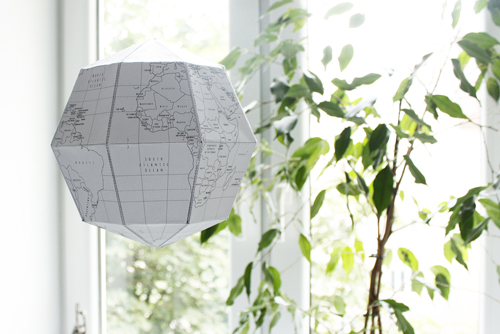
Click this link, which will take you to Robert’s website and on the front page you will see a large download button. Press it, and print the files on your chosen A4 paper. We used IQ color 230gsm in different blue shades as well as IQ selection smooth in 250gsm to make the globe sturdy and keep the folds clean. Papers are available at Europapier. Either use white paper, so you can more easily color or write on the globe later on, or to have a more creative look, why not use colored paper. We made two versions, one all-white and another one in different gradient shades of blue.
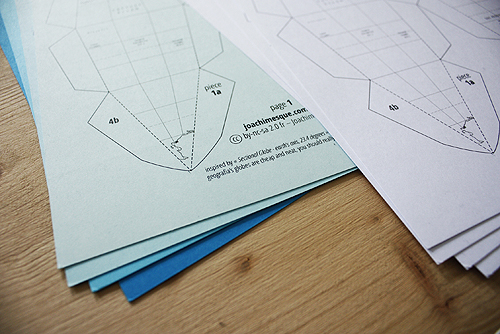
You start with printing the 14 pages on heavy weight paper (200 to 250gsm is recommended). You can use any normal printed, inkjet or laser. Then you cut the shapes along the black edges, even though this is the most time consuming part, take you time. After you have all the pieces cut out, you start folding them. Fold the side wings, and then the folds on the equator and the 45th parallels. You might want to use the edge of a ruler to help make the fold nice and clean.
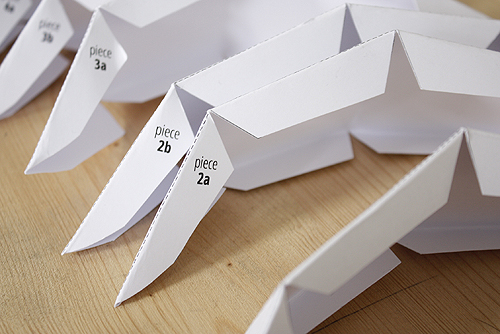
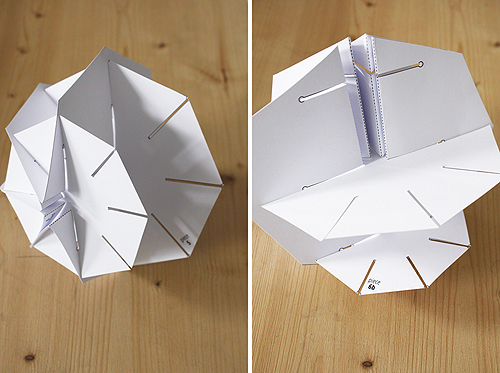
Then you move on to the actual structure of the globe which will make it stay together. Fold the octagons along the dashed line (use the ruler to help) and then cut out the three horizontal cuts by the black lines. When all cutting and folding is done, there is only the assembly left. This really is the fun part! First you build the inside structure by fitting the folded octagons (pieces 7-14) in the pieces 5, 6a and 6b. When you have the whole globe done, you start adjusting the exterior. Fit the side wings of the pieces (with the actual map on them) inside the slits created by the folded octagons. When you have all the 8 pieces in place, check that they are in the right order, once we accidentally put India in the middle of the Pacific ocean!
And now you are done! Hang up the globe, use it to show the countries of the world to the smallest of the family or why not plan your travels with it!
Bon Voyage!