What’s great about the holidays is that you can celebrate them any way you wish or want. We all have our own traditions, whether it’s spending time with the family, baking up a storm in the kitchen making our favorite holiday treats, or decorating our homes with holiday-specific frills and trimming. Easter specifically often means different customs and rituals for different people, as it’s celebrated around the world in various cultures, regardless of your religion or belief system.
And if you happen to be an avid reader or follower of Design & Paper, during the previous ten years you might have noticed that my personal way of celebrating is to have fun with a new DIY project fitting for the Easter holidays. Over the years I’ve had fun making Easter treat surprise paper boxes in adorable bunny & carrot shapes, paper feather-decorated willow branches (inspired by the long-standing Scandinavian tradition), and Easter eggs dip dyed in glitter – to name only a few! And this year I’m following in my well-proven ways and made my very own 3D Easter bunny.
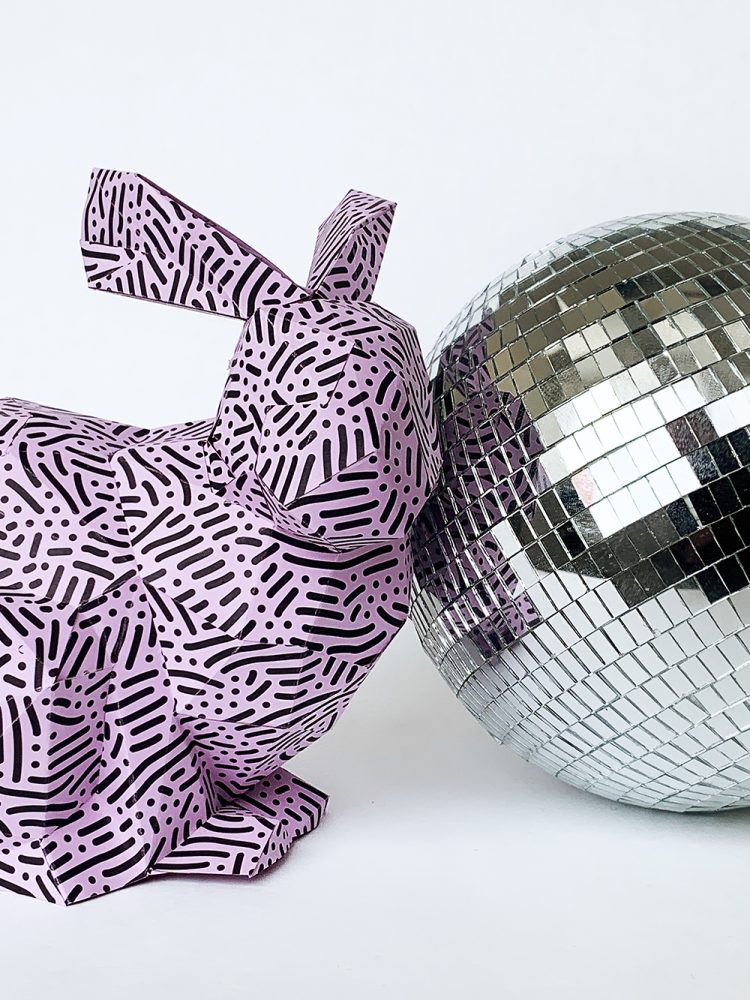
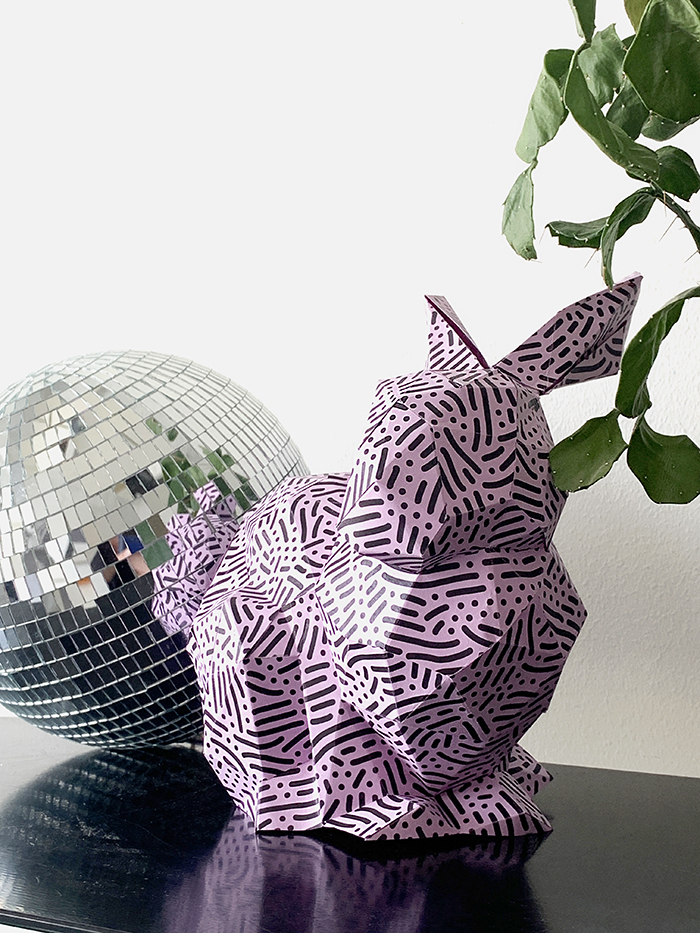
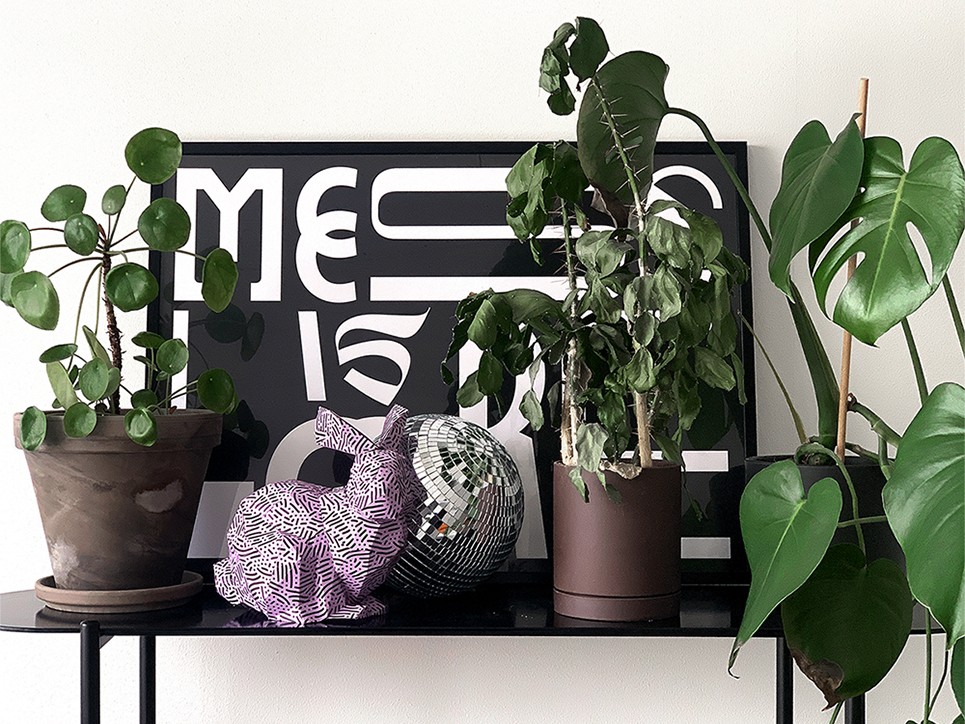
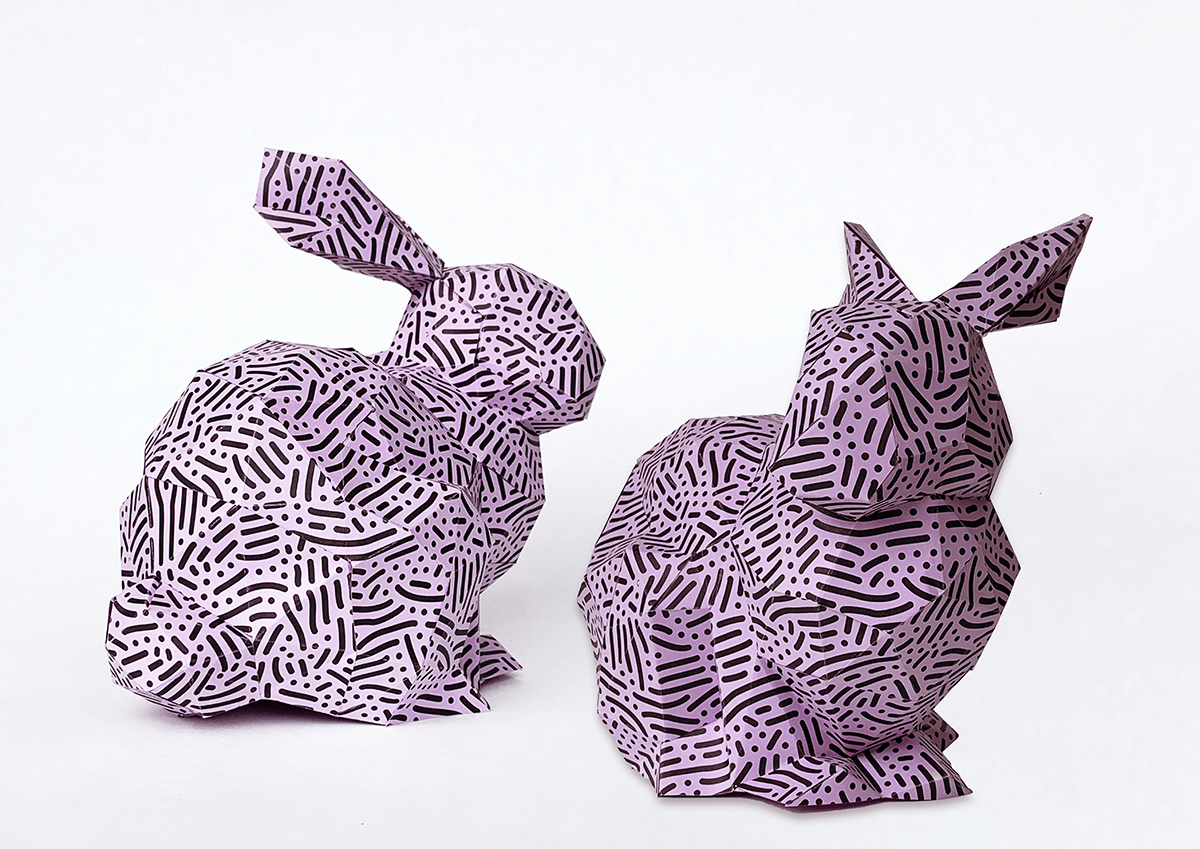
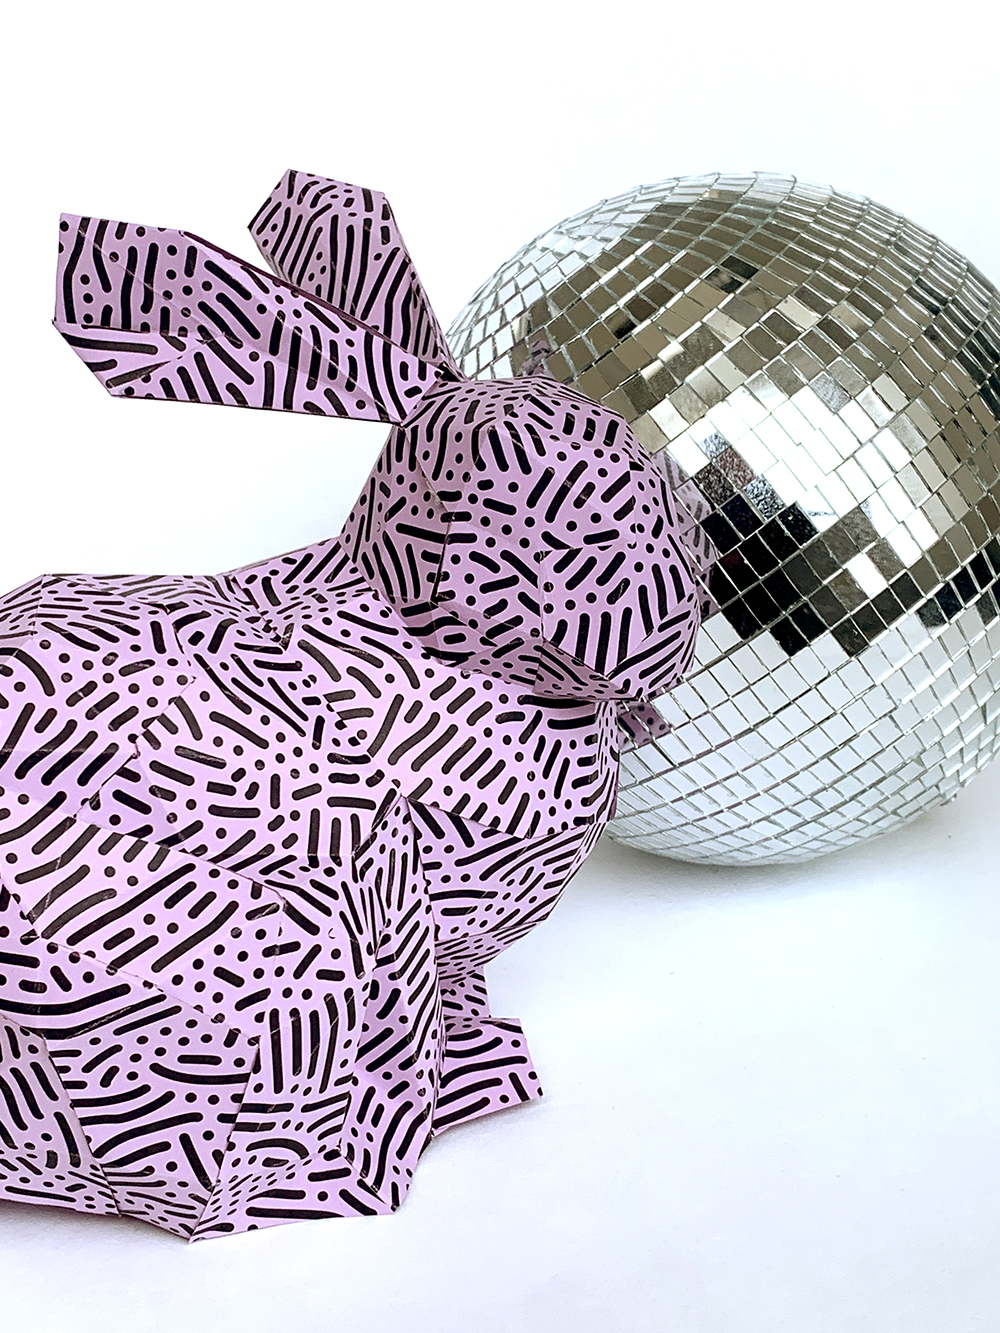
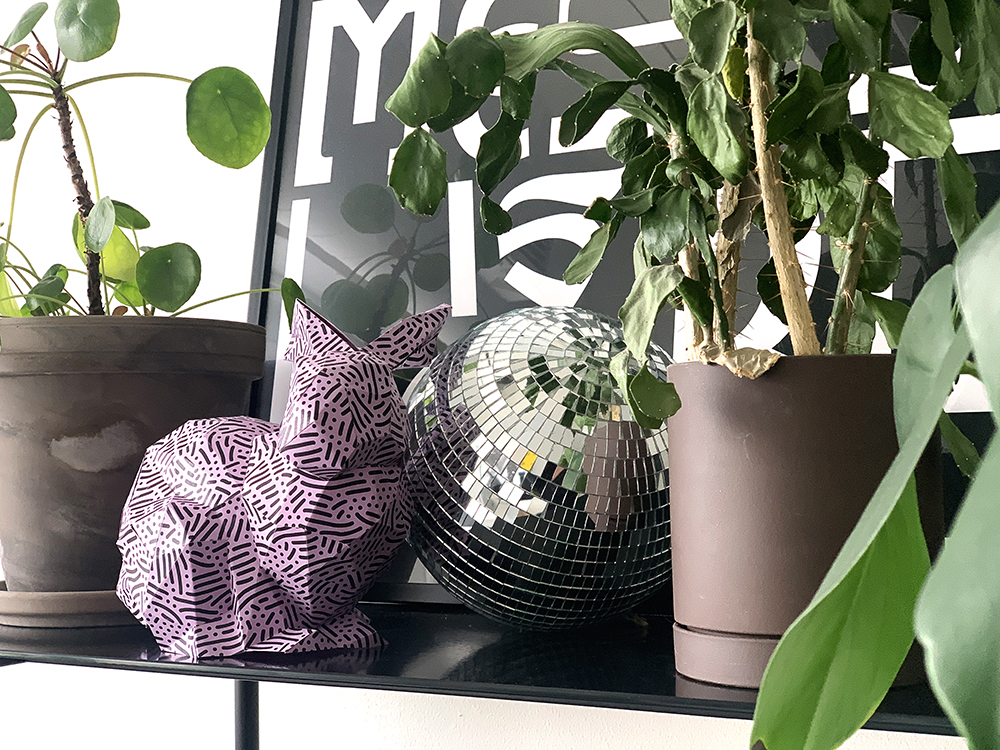
For this DIY I definitely needed some help, and I actually purchased the design template from Paper Shape, a brand selling exclusive DIY paper templates for all kinds of amazing designs by Anastasia Baron. I chose the bunny as it’s well fitting for the upcoming holidays, but will also look darn cute on my shelf all year round. I opted for a Color STYLE Recycling Orchid paper and added a groovy line-drawn pattern to it to make it a bit more unique – and I absolutely love how it turned out. This little disco bunny is now dancing on my studio shelf and brightening up my Easter, and the rest of the year. The Color STYLE Recycling Orchid paper is available at Europapier Group. The full range includes 16 colors, which are available in 120, 270 and selective colours in 350 g/m2 in the format 70×100. If you are intrigued and wish to know more, please request samples from your local Europapier contact.
Step-by step instructions:
Step 1: Purchase and download the DIY bunny templates here. Once you have the file ready, choose which papers you wish to use. You could go the minimal route and make the bunnies a cool monochrome black or white, choose classic yellow, green, and pastel shades fitting an Easter theme, or go crazy with patterns as I did. You will need 7 papers to print out the template. I used A4-sized paper.
Step 2: Cut out the pattern pieces by cutting along the solid outer lines. (when you purchase the template you will get written instructions along with it)
Step 3: Once you have the pieces cut out, you can start folding the lines according to the instructions. Be careful in which direction you do it, as there are two different dotted lines, one turning inwards as valley folds and the other outwards as a mountain folds. Use the edge of a ruler for help. Be precise.
Step 4. Now you can start ensembling the actual bunny. This is the most time-consuming part, and take your time with it. Put on some good music, and just have fun as it will reward you in the end.
You start by putting your “pre-folded” pieces in alphabetical order (A, B, C…) and then start joining numbers. You start with number 1 on pattern piece A and stick it to the matching number 1 with the help of double-sided tape or glue. I used tape and it turned out perfect as you didn’t have to wait for any glue to dry. You can either go one by one or add adhesive or glue to each outside flap and then attach them. I found it easier to go one by one.
When sticking the flaps together, keep checking the model from the outside to ensure the edges of the pattern pieces are joined precisely and neatly. Make sure the flaps are always inside the model and are not visible from the exterior.
Step 5. Once you are done with piece A, you continue with B and go onwards. The most logical way is to continue counting and attaching the numbers in ascending order. Once you get the hang of it, it all gets easier, I promise. All in all, it took me a good few hours from start to finish and I had fun making it!