
Decorating eggs it’s a celebrated tradition in many cultures and countries during Easter and spring time, with many connections to christianity, lent and folk traditions. But the practice of decorating eggshells is ancient, with ostrich eggs with engraved decoration as old as 60,000 being found in Africa. Decorated ostrich eggs in gold and silver were commonly gifted to the souls of past family members of Sumerians and Egyptians. Inspired by this I created my own, sparkly modern day version easter eggs.

Eggs are probably the most common symbol and tradition across the world when it comes to Easter. Regardless of region or religion, eggs are part of different festivities. There is easter egg hunts, egg tapping games, egg rolling, egg dances and even egg plays, the list goes on and on. But my favourite is definitely the decoration of the eggs. Since I was young each year we gathered together with the family to paint and decorate with what ever supplies we had with on at least a dozen eggs each, me and my sister of course competing who creates the most beautiful ones. Me being the youngest I often lost, and surprisingly (not) it was out mother who drew the most stunning decorations on the white shells. But, forward 20 years and I can say my egg-decoration game has grown a lot stronger! See the marbled eggs I did last year or the dip dyed eggs or dotted eggs of the year before.
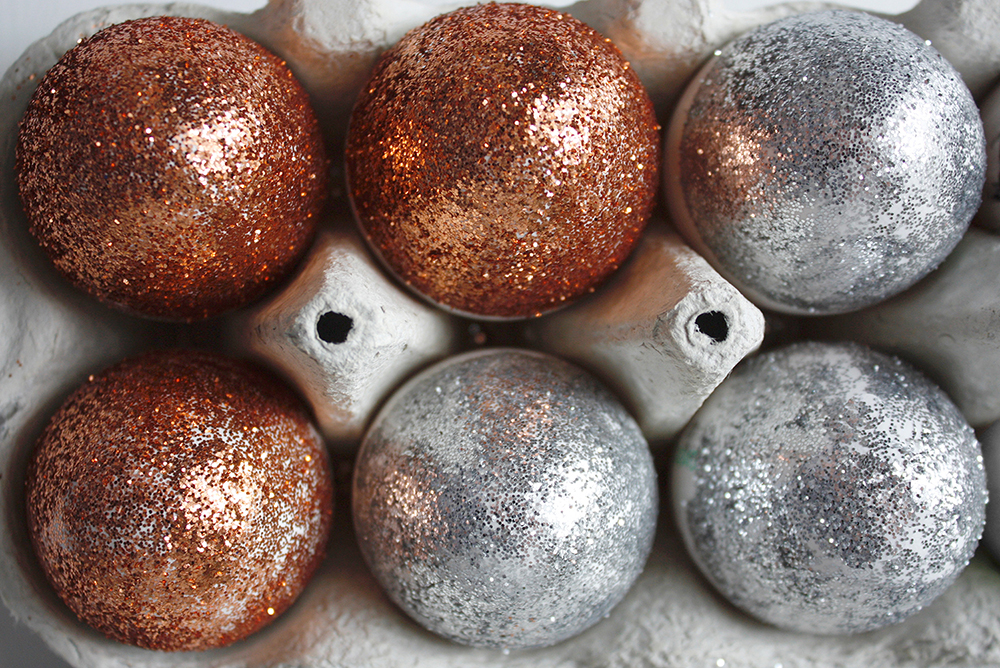
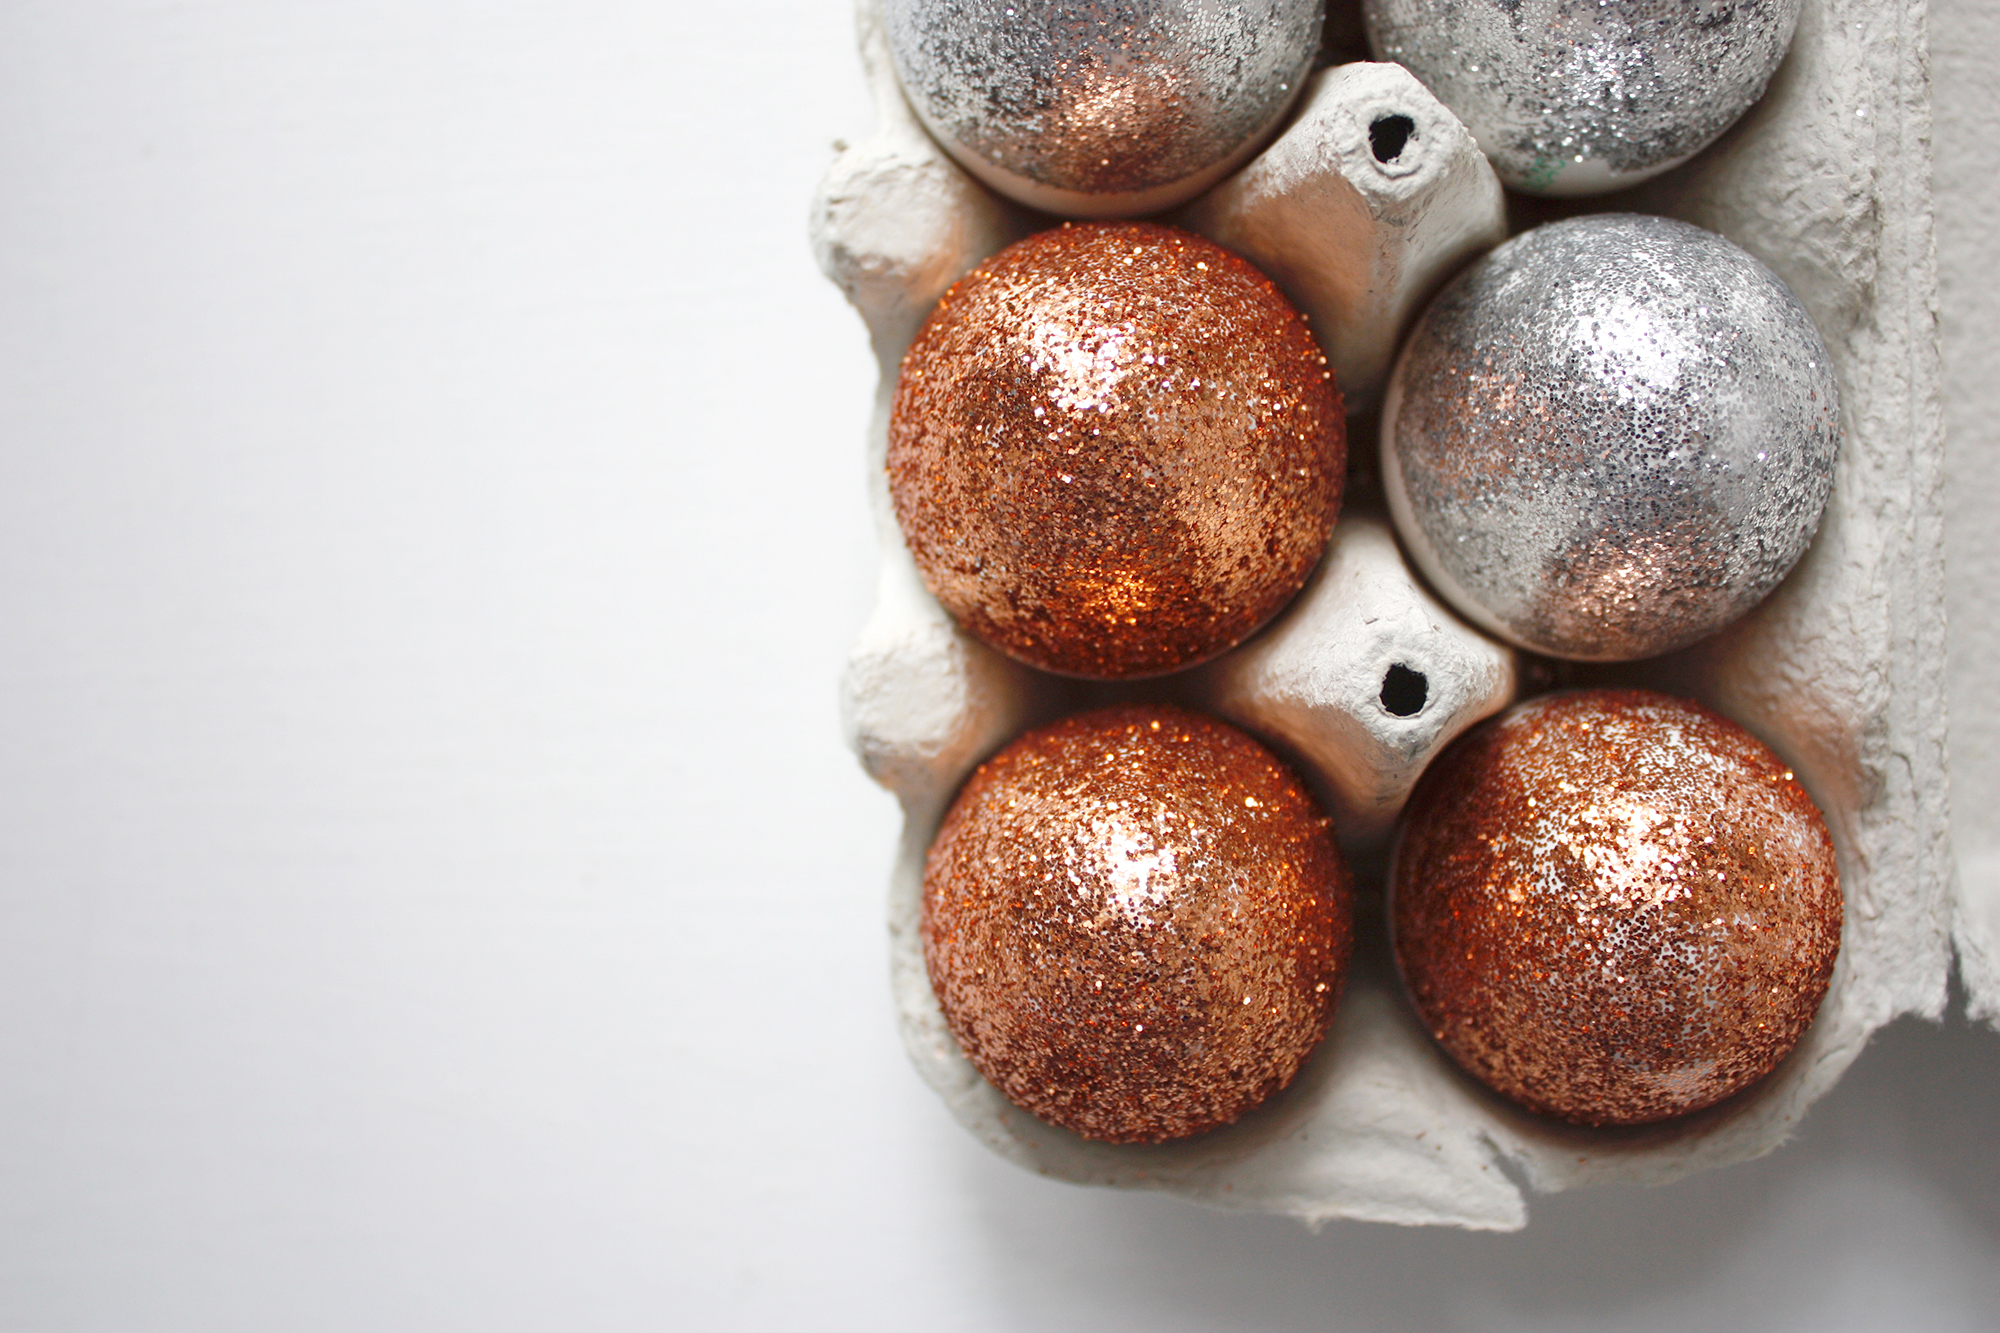
This time I’m going glitter crazy! Let me warn you, this might get a little messy and be prepared to find some sparkle in your morning cereal two weeks from now. But in the end it’s totally worth is, as look how beautiful and sparkly they are, perfect for easter dinner table decorations.
For this DIY you will need:
- hard boiled or dry blown eggs
- glue
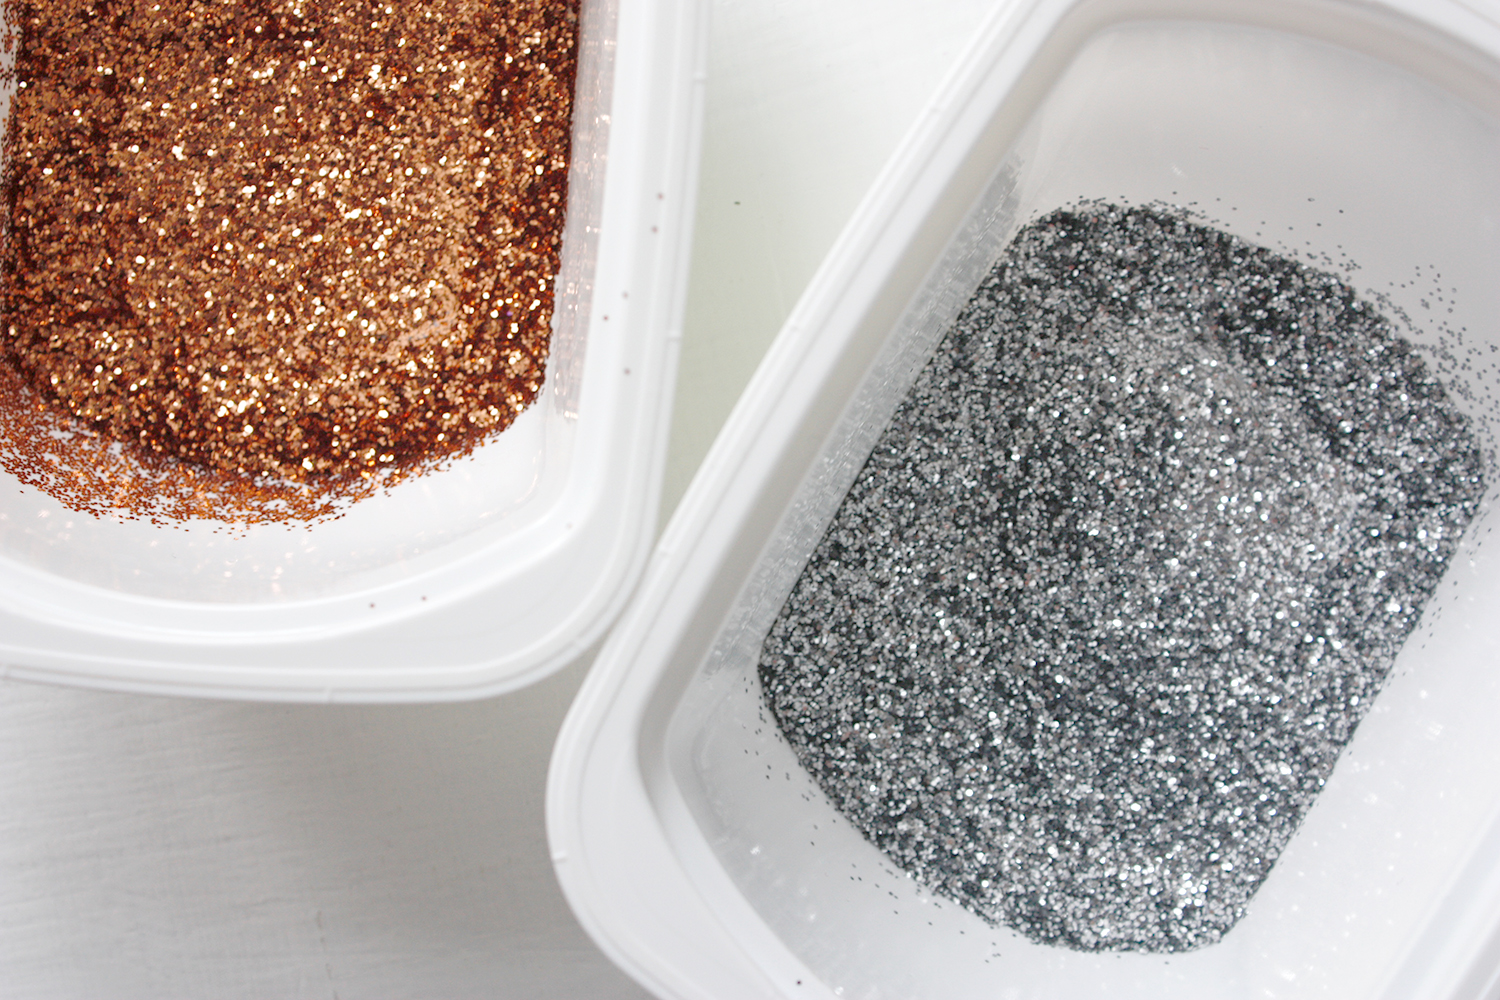
- glitter
- tape & scissors
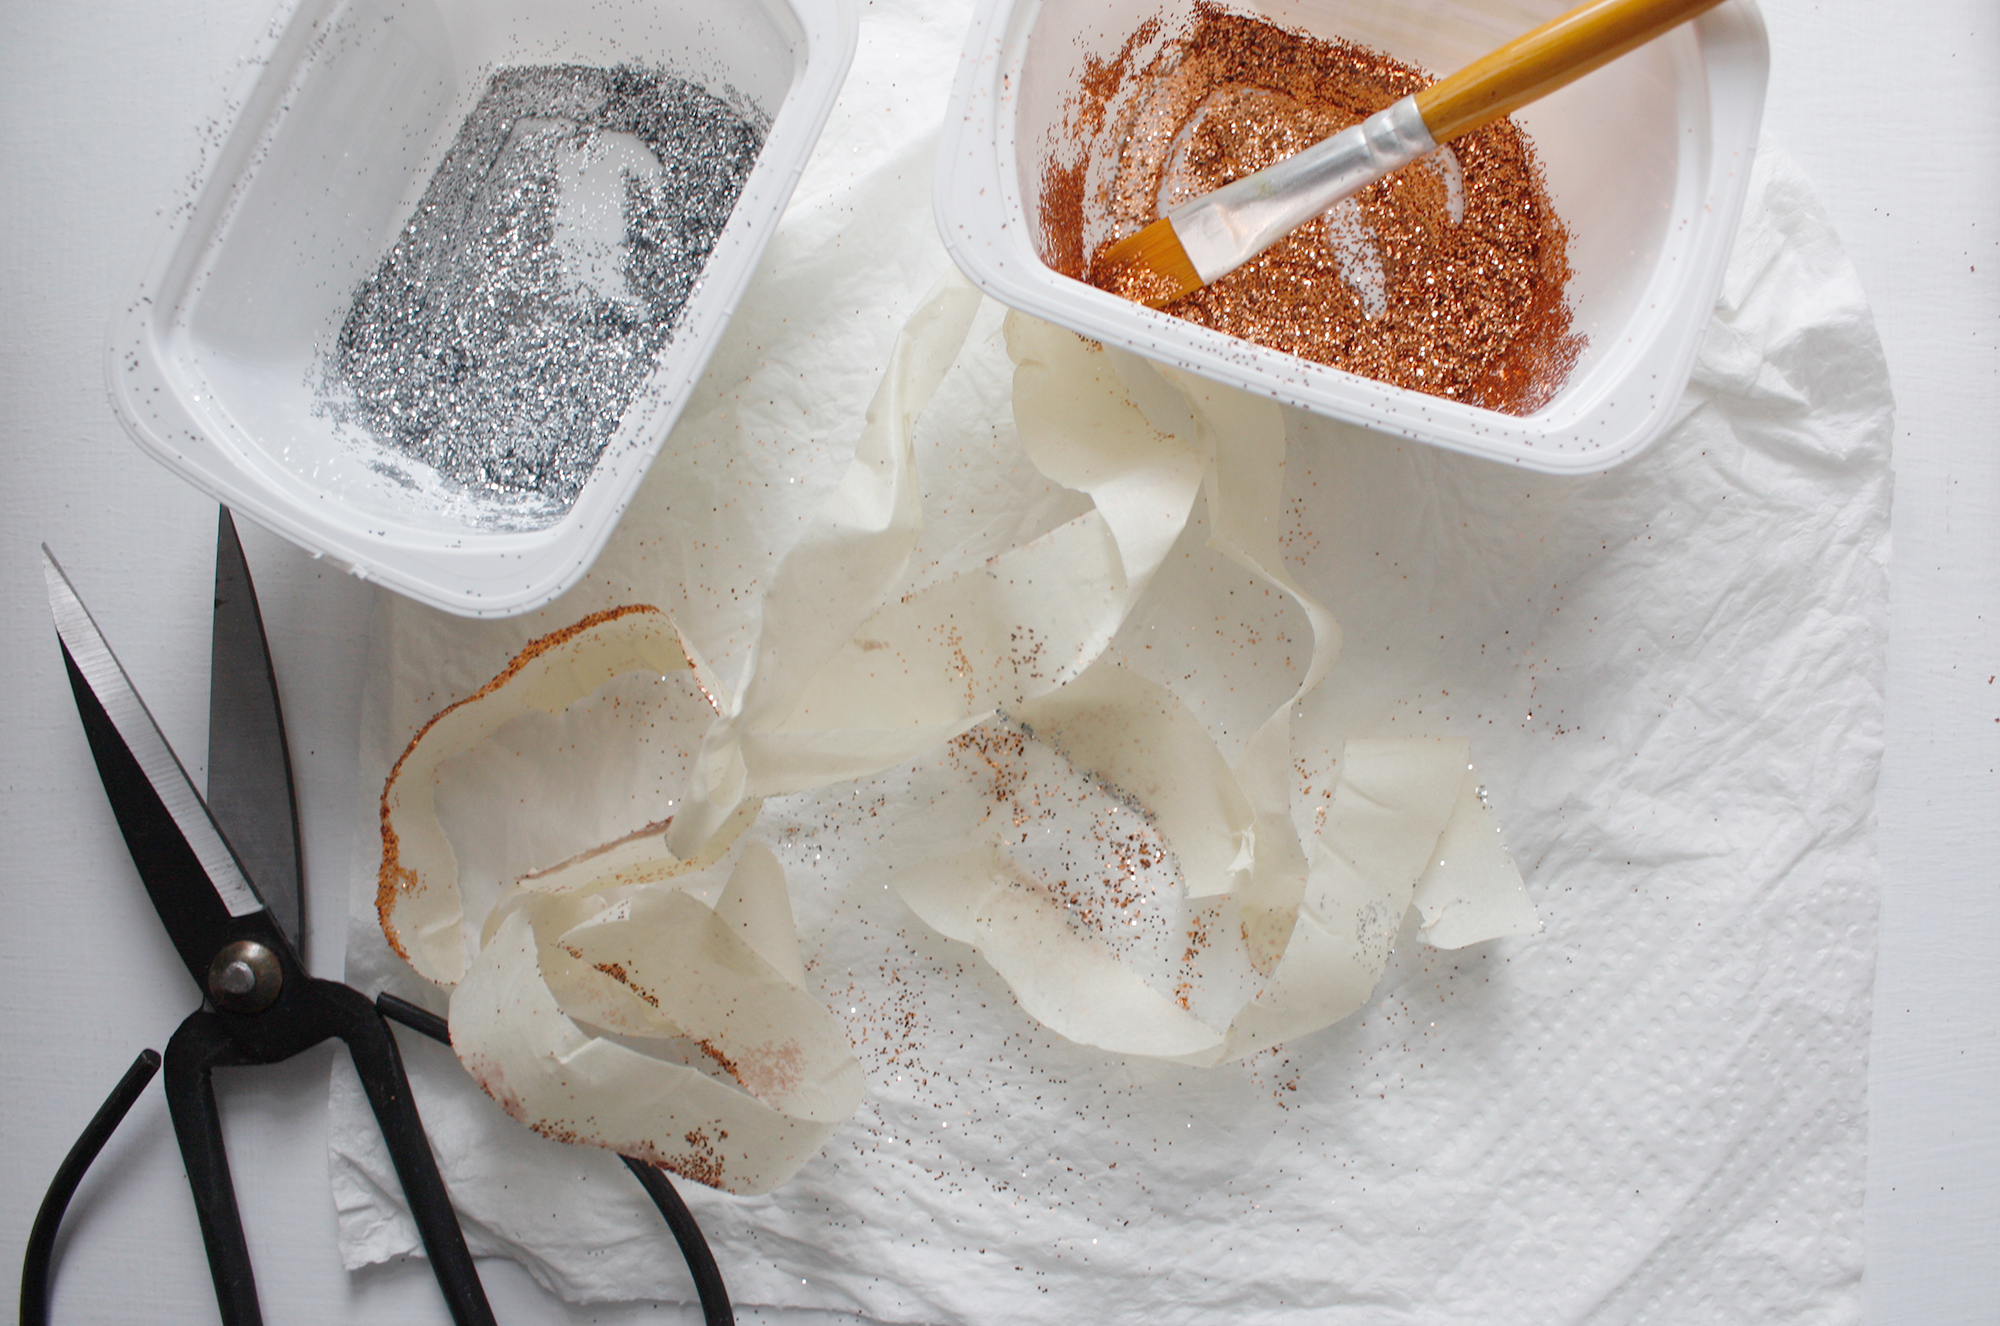
- easily cleaned surface and the nerves of steel Tip. Keep a wet cloth on the table while working, it best catches the glitter floating around!
First things first!
- Please cover your table top or any surface you will be working on. Either with newspaper, plastic or even better, a wet cloth (trust me, it works the best!)
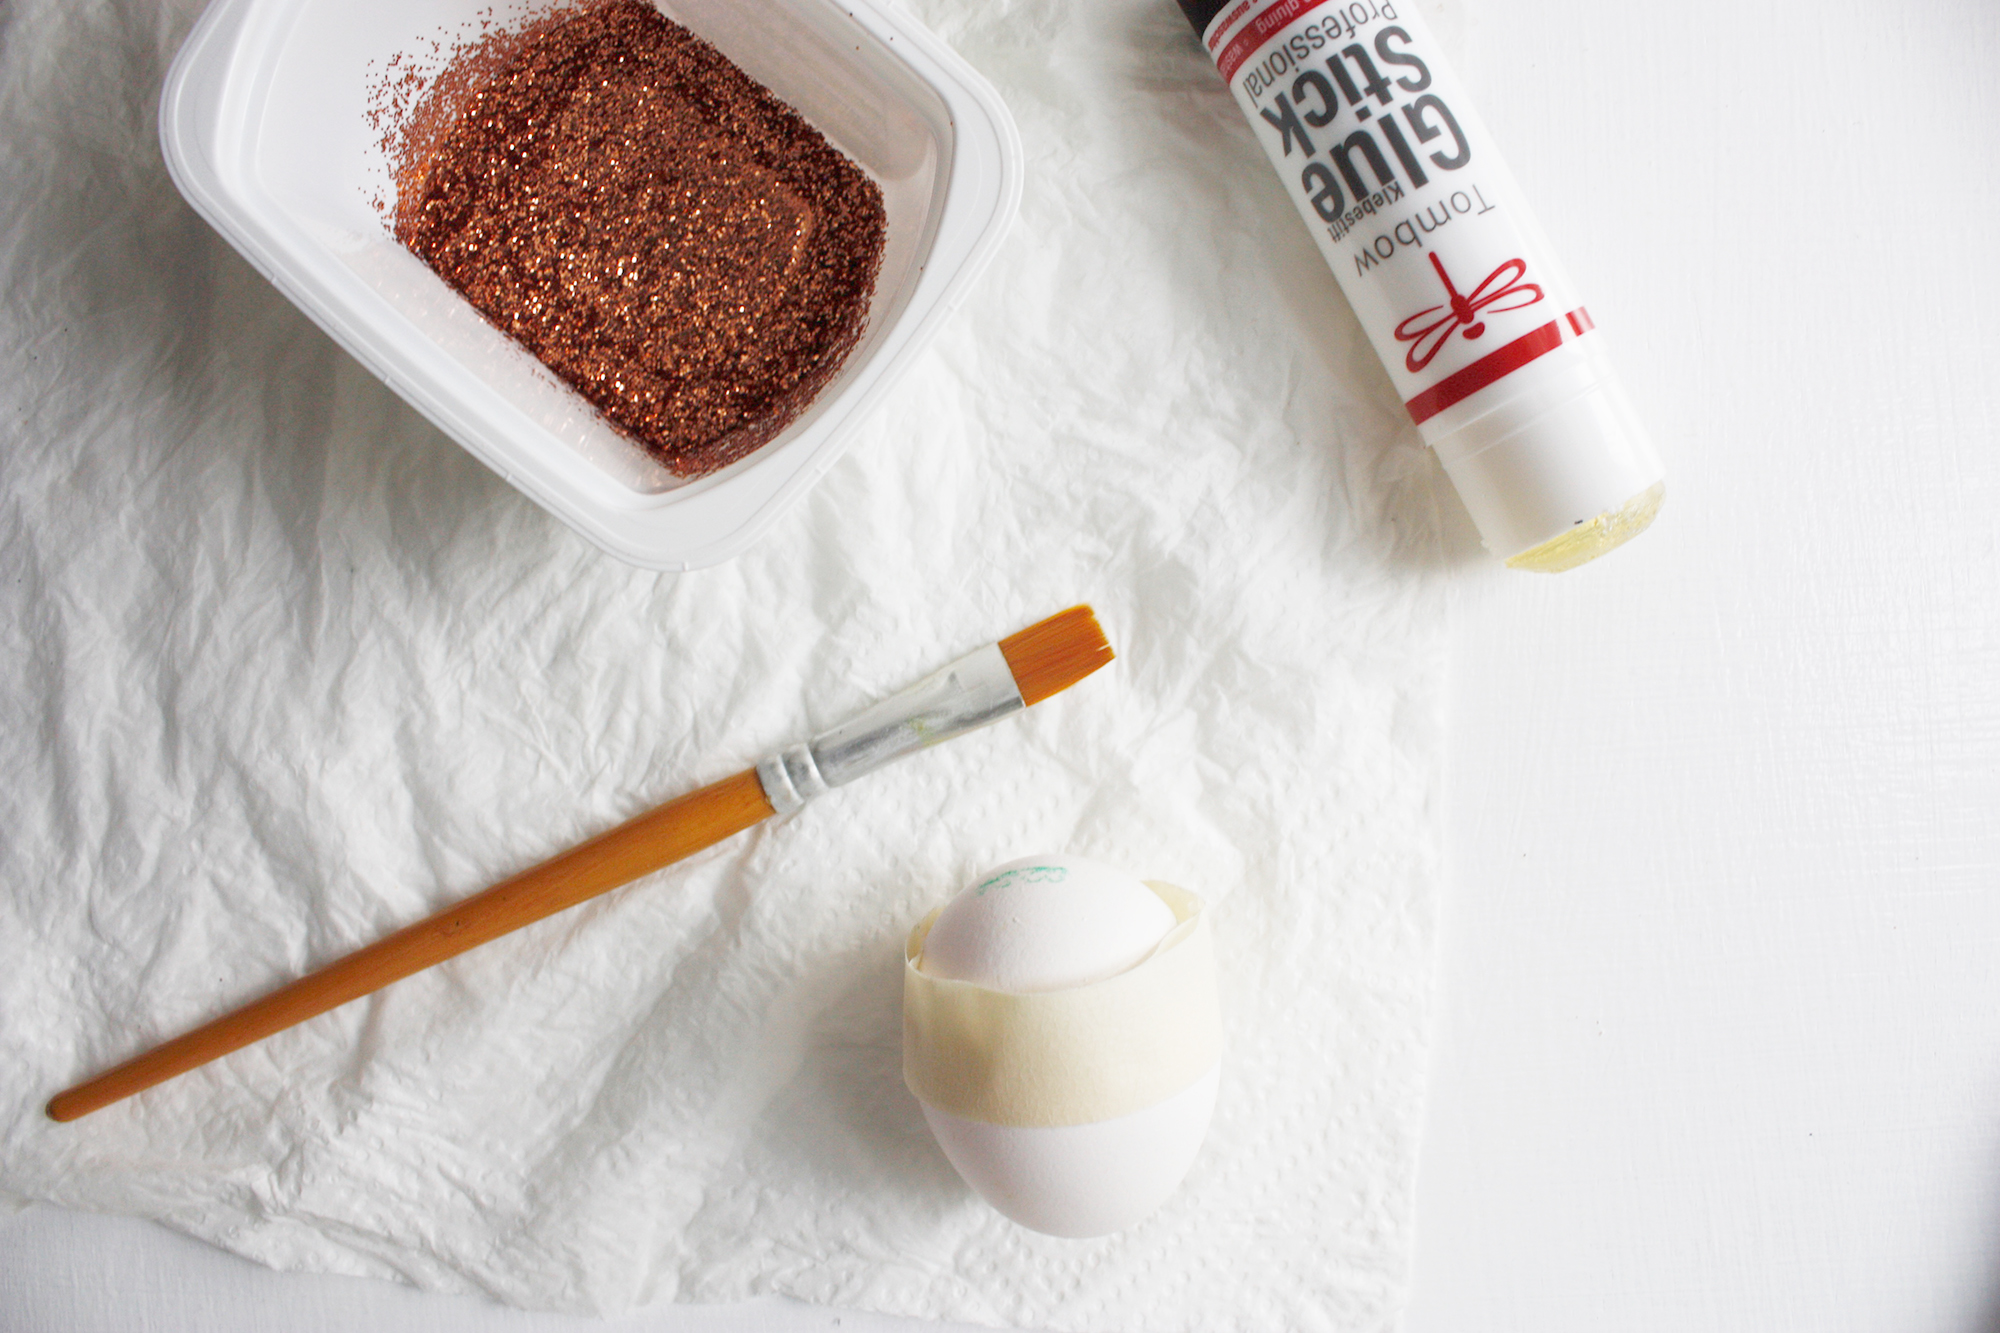
- Ok, once you have everything set up, your eggs boiled or blown dried, you start off by deciding if you wish to cover the whole egg with glitter or do a dip dyed look. I opted for the latter simply because it made the whole process a lot easier and the look a bit more interesting. So I used some tape to create a clean line for the glitter in the middle. See below.
- Whether you are covering the whole egg or doing dip dye, the most important thing is to cover the whole area evenly with glue so the glitter has something to stick t0. I sed simple glue stick, but liquid glue that can be painted on would work equally fine.
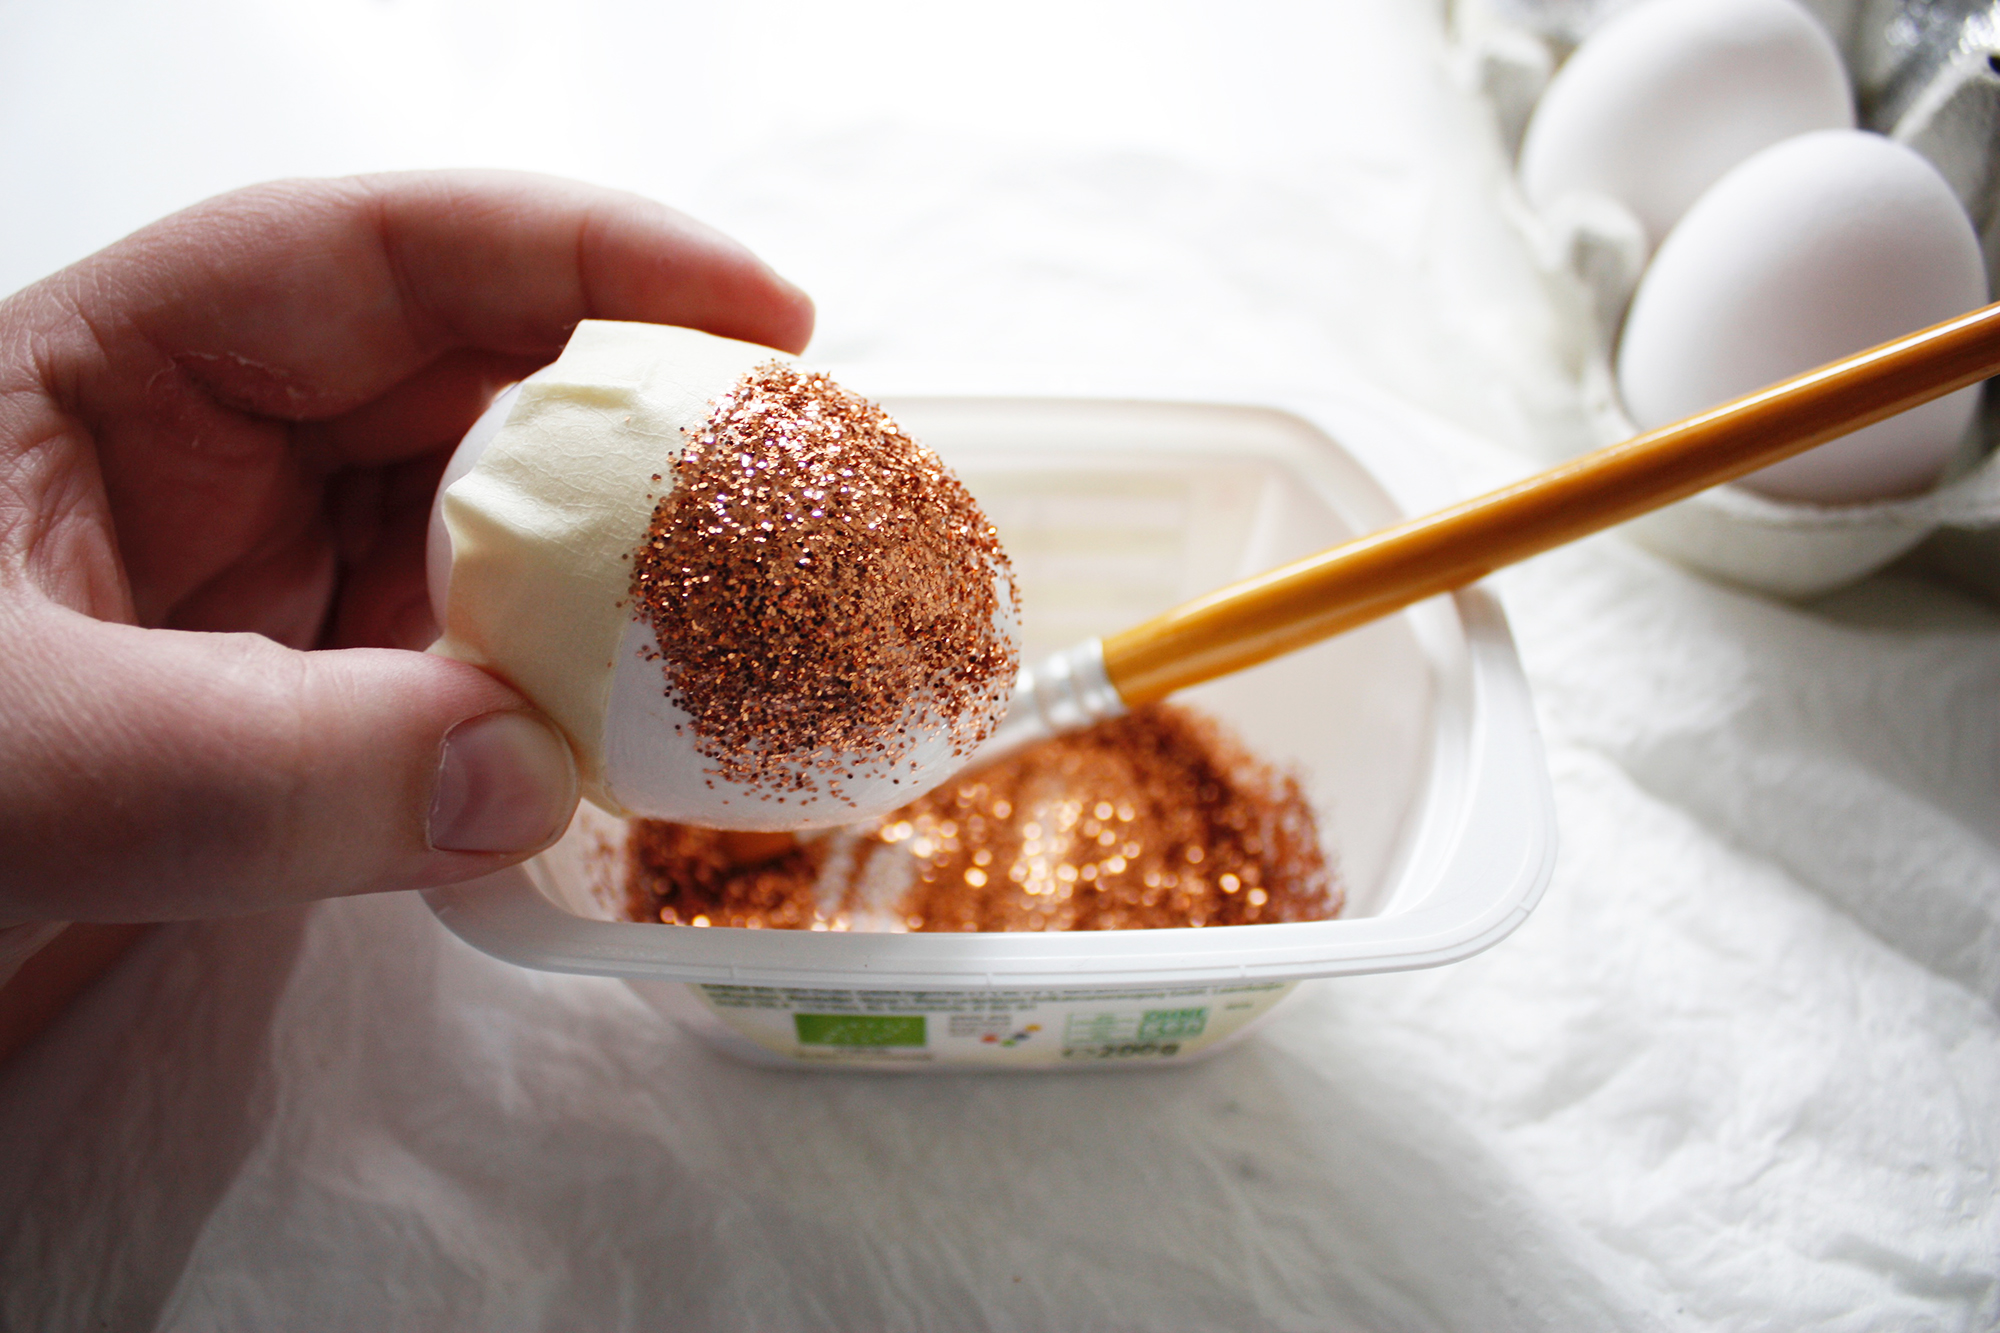
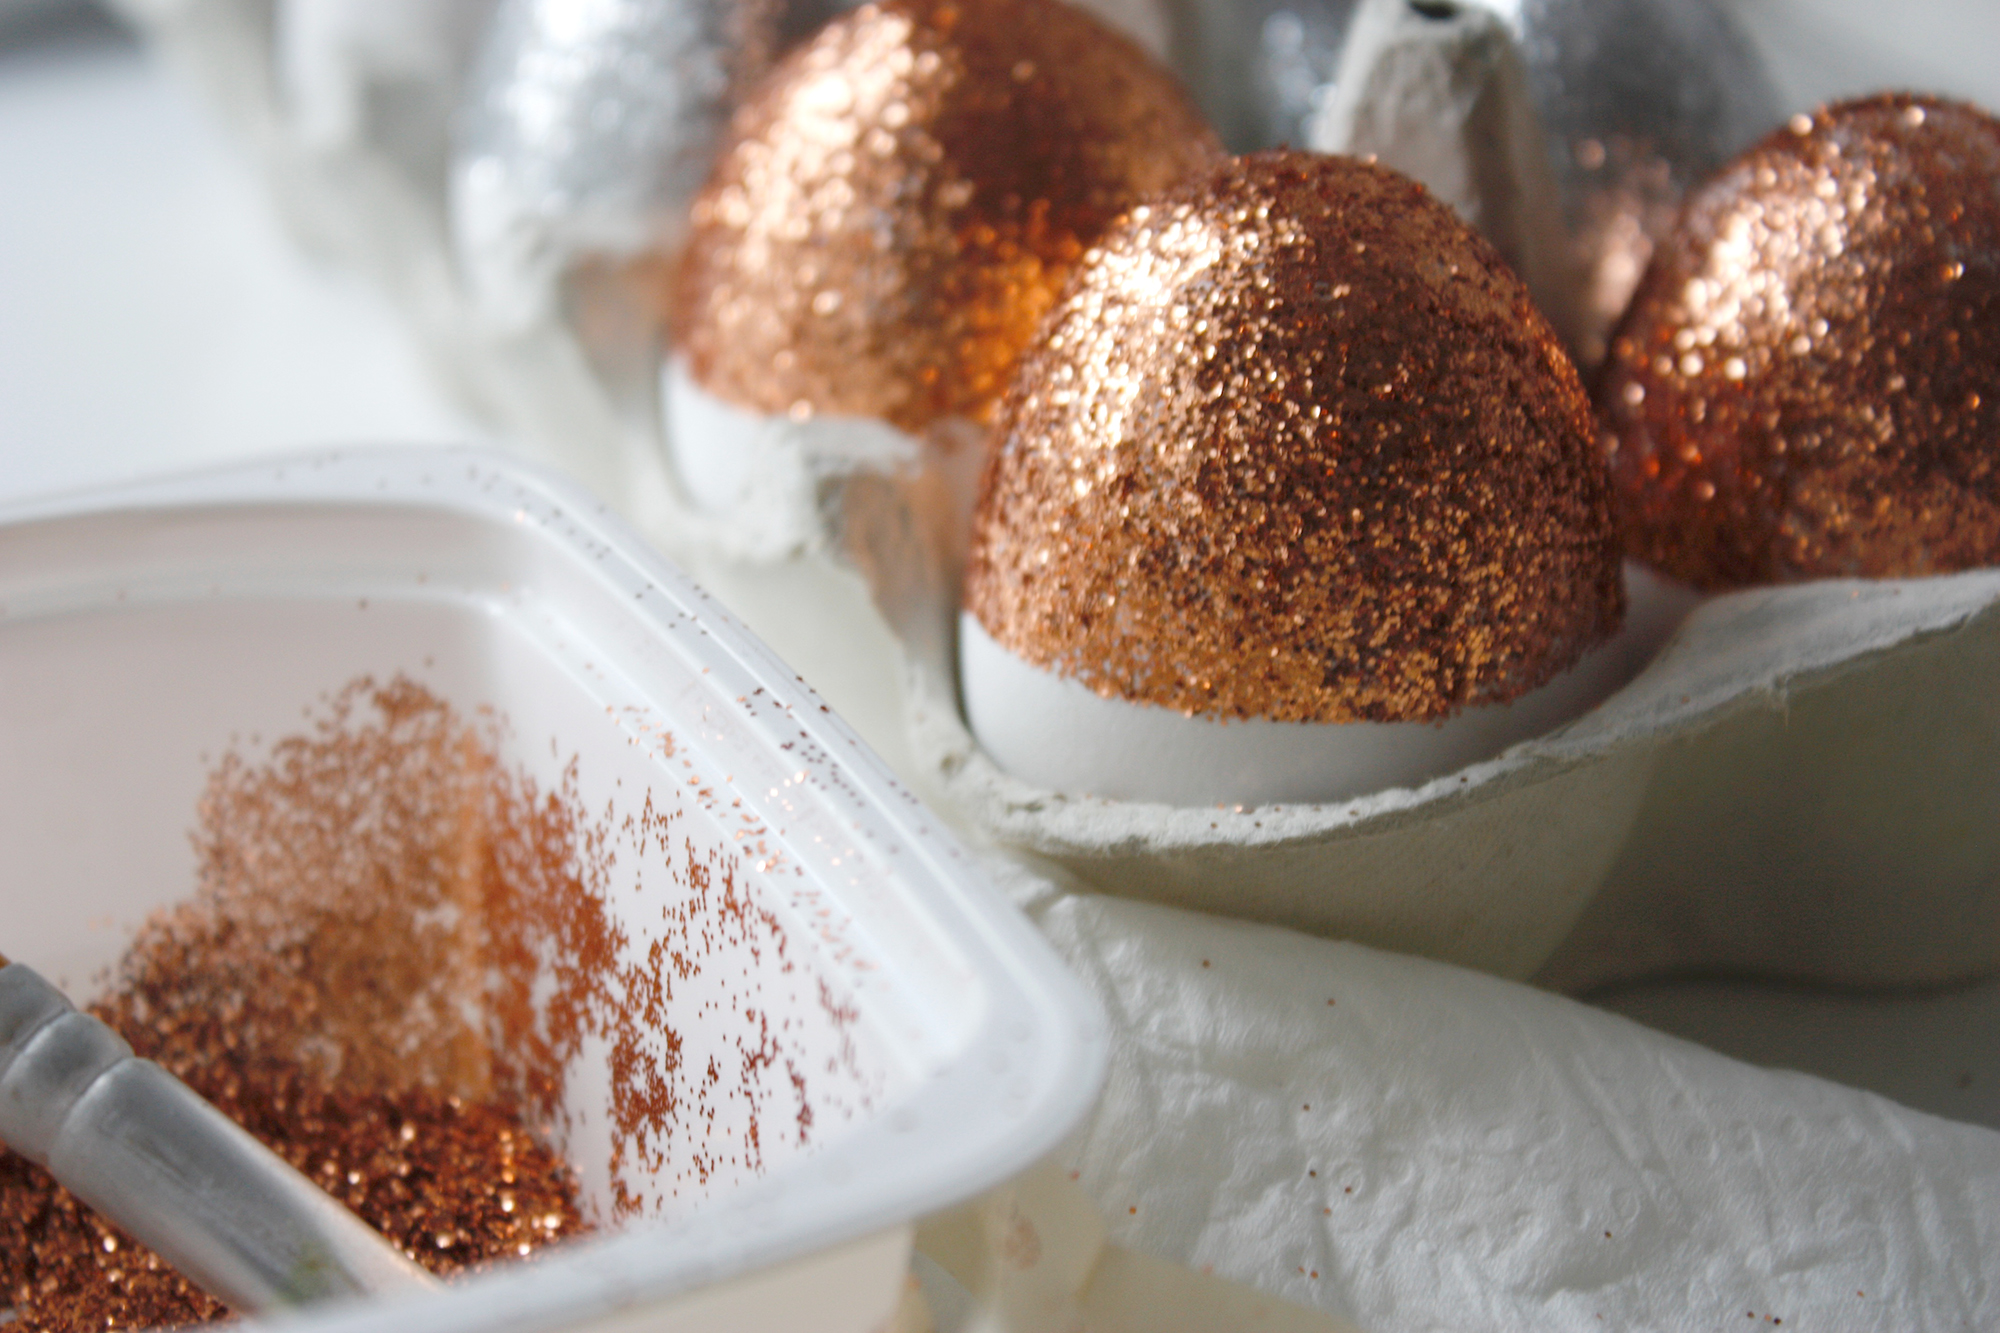
- While the glue is still wet, start brushing the glitter on the glued area. I learned that using a brush to drop and dab the glitter worked much better than simply rolling the egg in the glitter. The result is more event, and the brush helps you to brush off excess glitter back to the jar and not have it dropping all over the place when the glue dries.
- Once the glue has dried, peel the tape off the egg to reveal the final look.
- If you happen to have spray glue, of fixer, this would be the ideal time to use it. Spray if over the eggs to set all the glitter in it’s place. but if you don’t happen to have any, it’s ok.
- Enjoy your new sparkly easter eggs!

© Design&Paper