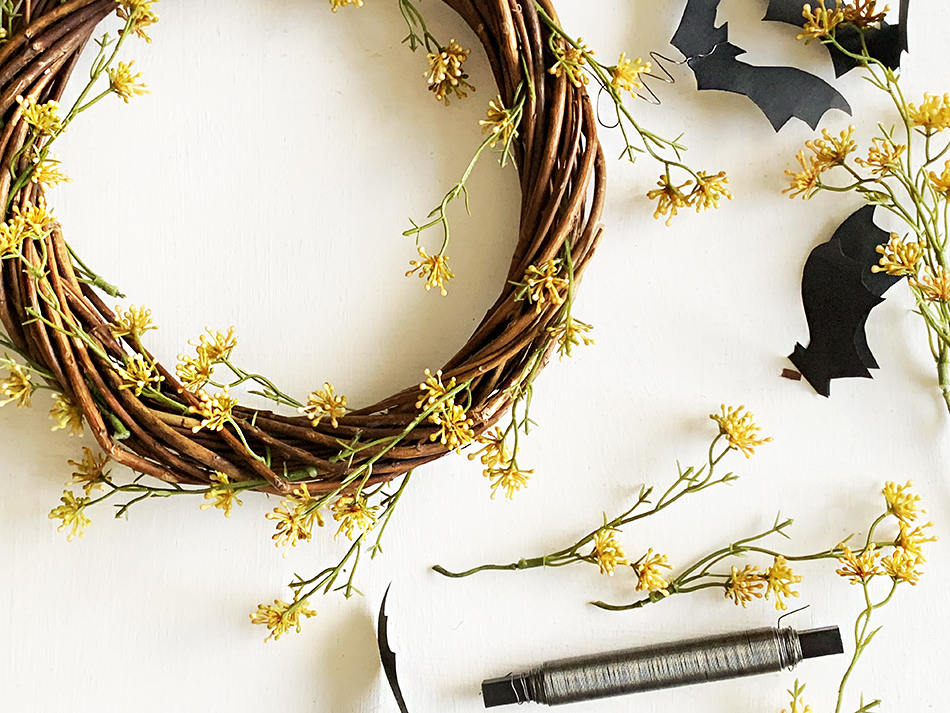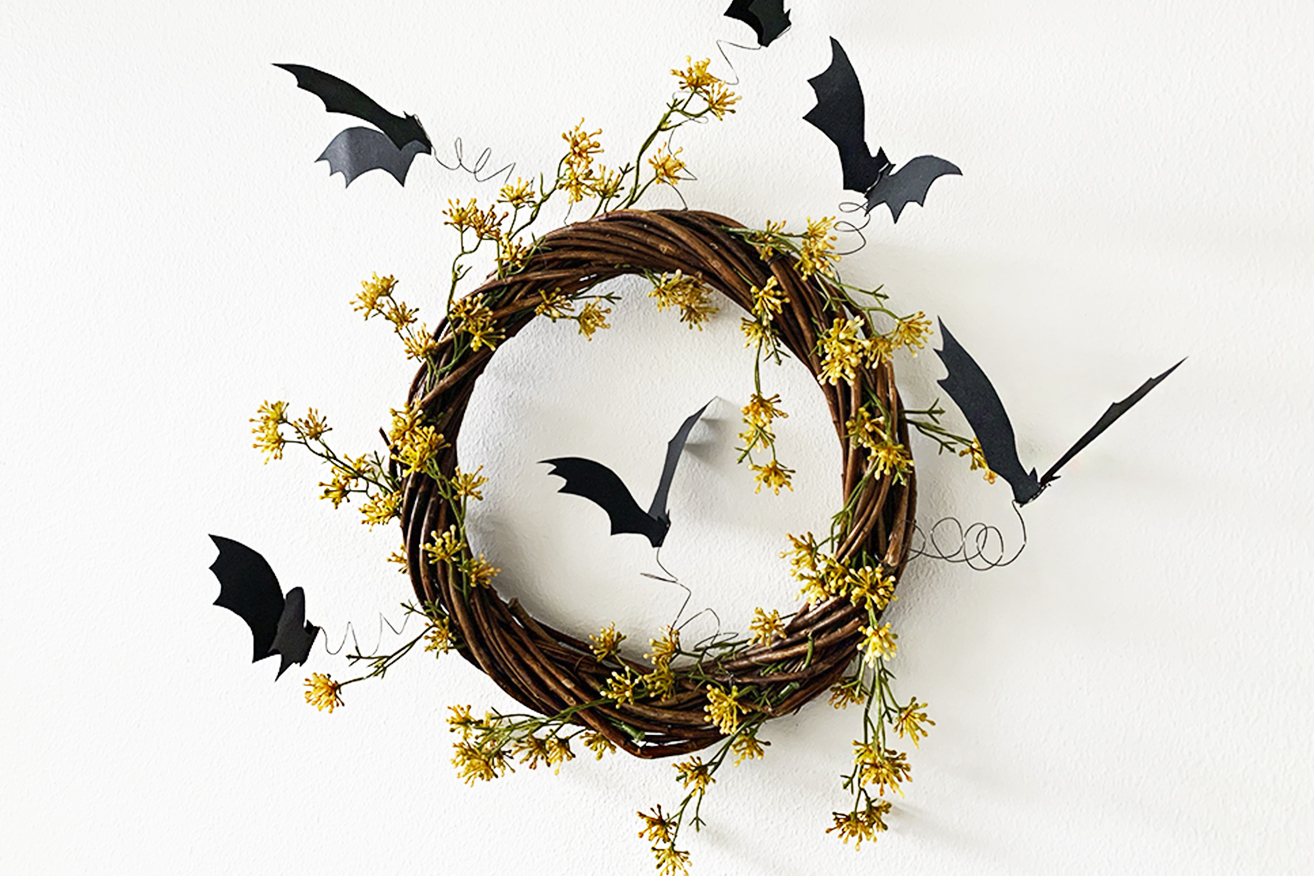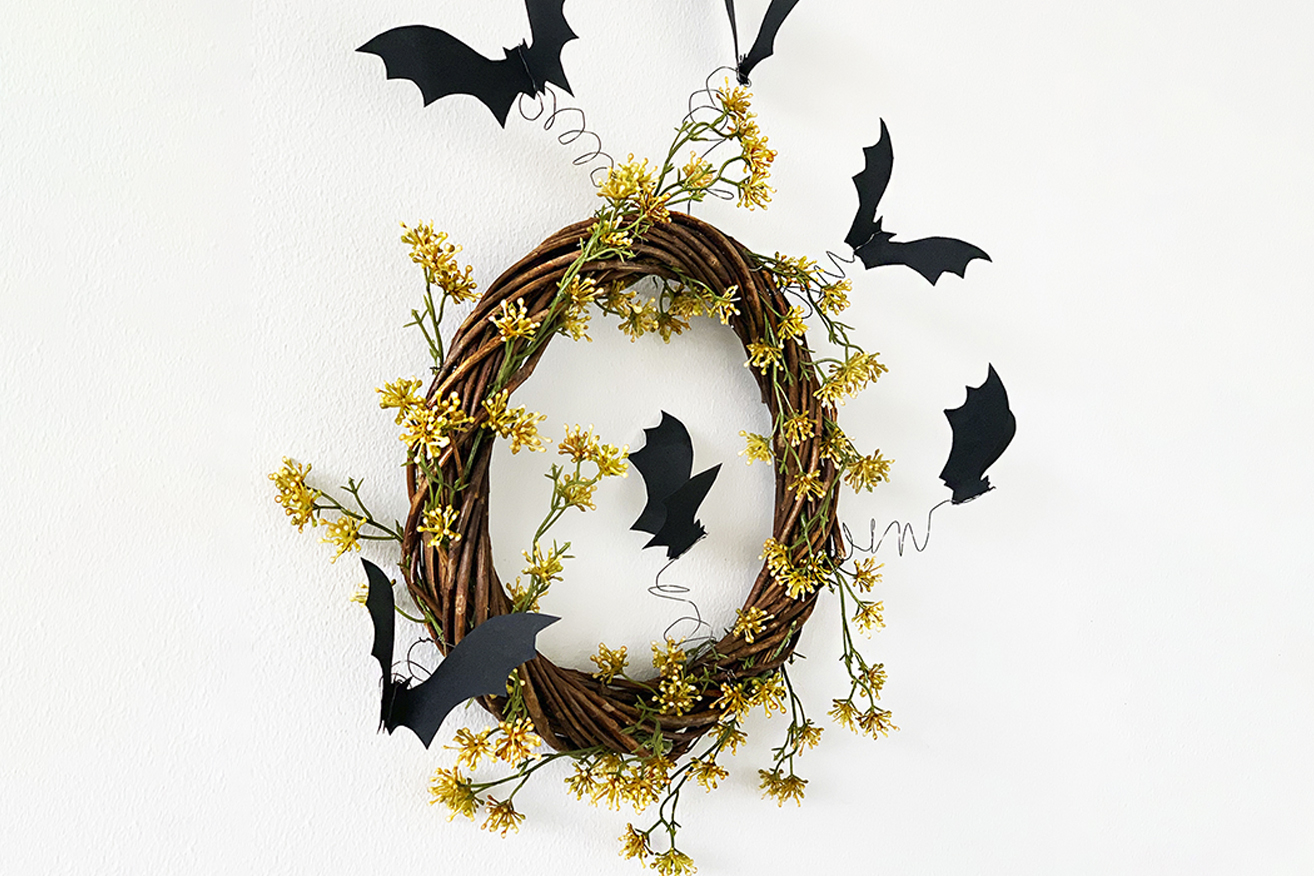
This fun bat-themed DIY Halloween wreath will dress up your door & and get your home ready to welcome all the trick-or-treaters and spooktacular guests you might enjoy over the season. The idea for this Halloween wreath is to combine things you might already have at home or at your disposal, which help you create a homemade wreath just to your liking and the style of your decor. I myself combined a ready-made wicker wreath base with some old artificial flowers and a bunch of hand-cut paper bats – which I attached to the wreath with some spring-shaped metal wire, to create a flying colony of bats.

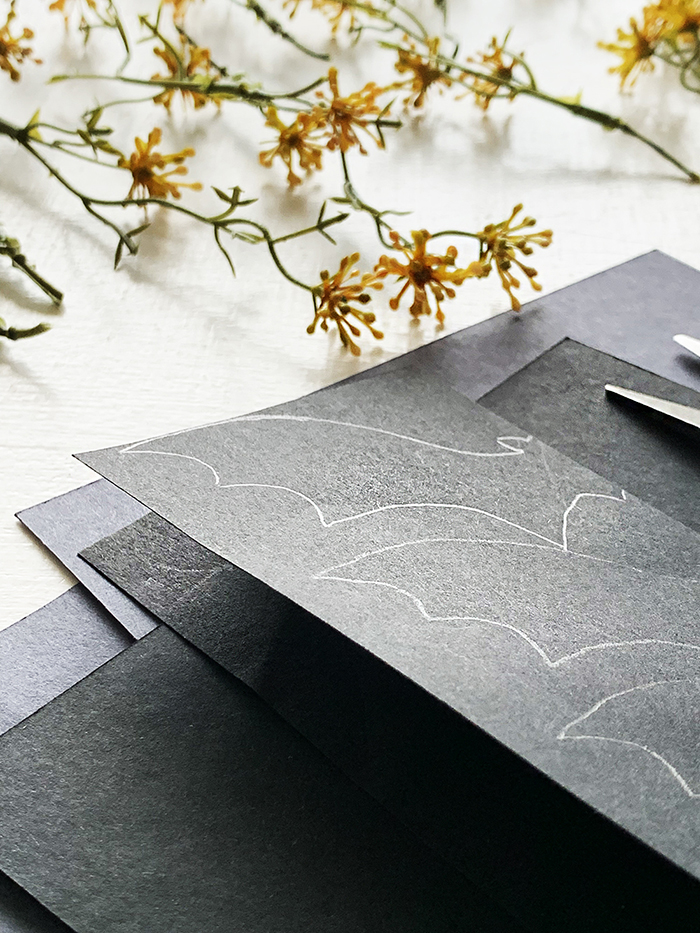
I first got the idea for the wreath when I was presented with the new deep black Koehler Eco® Black design paper made from 100% recycling fibers, and I discovered its unique characteristics like resistance to abrasion, color migration, or bleeding (it does not rub off in case of humidity) which make it perfect for DIYs. Especially in these kinds of projects where you have to draw, cut, fold, twist, and glue the paper, resilience and strength are highly valued qualities. I used the Koehler Eco® Black in both 120 gsm and 350 gsm for making the bats.
Koehler Eco® Black is exclusively available at Europapier Group. The full range includes 120, 160, 270, 350 and 720 gsm. Interested in samples? Get in touch with your local Europapier specialist.
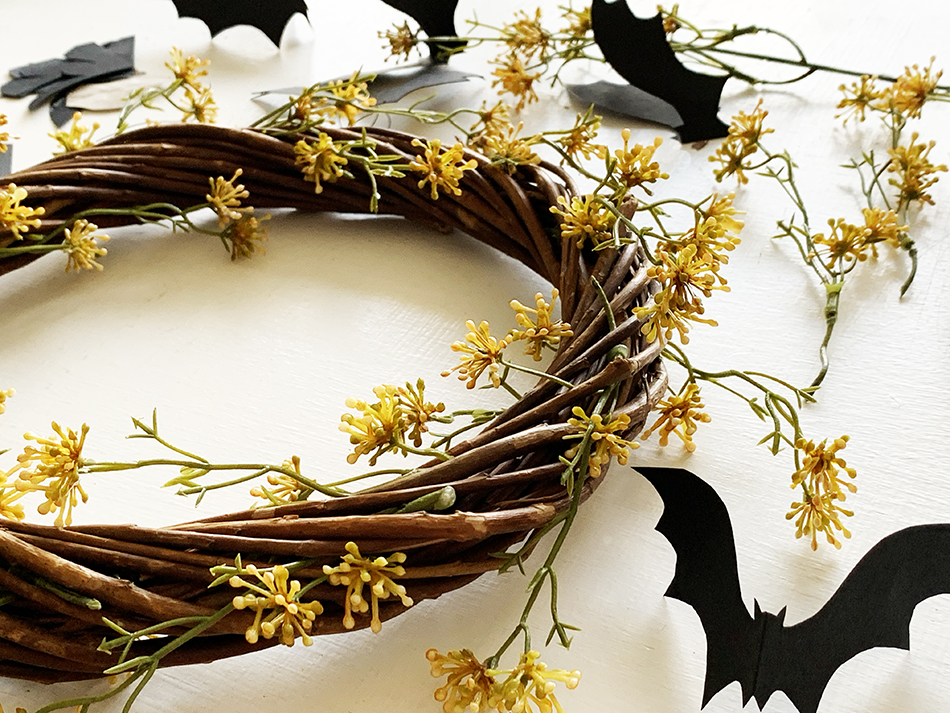
For this DIY Halloween wreath, you’ll need papers, scissors, metal wire, and a ready-made wreath base and decorations of your choosing
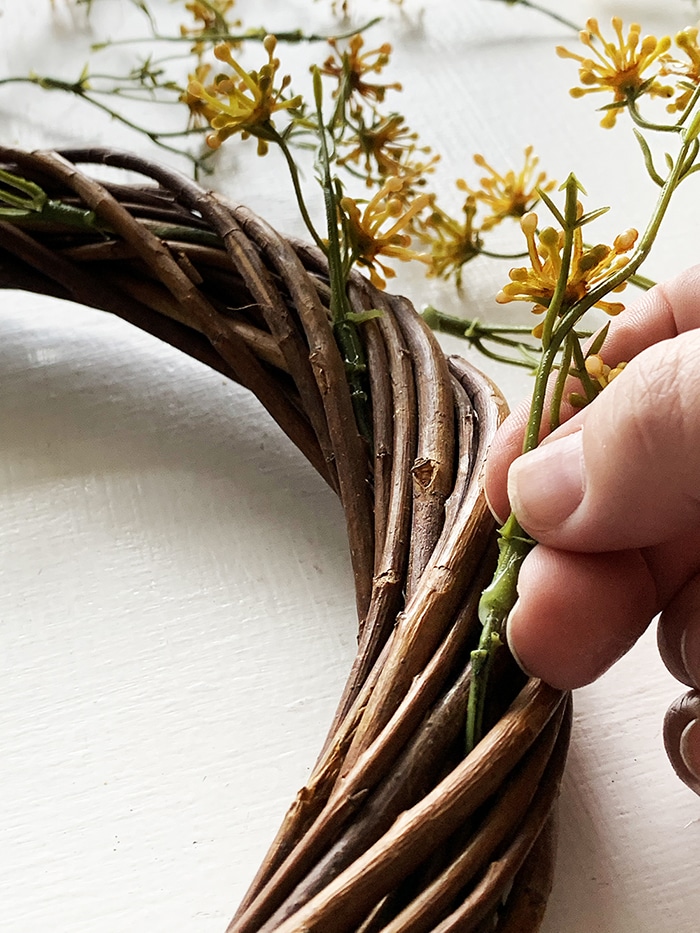
Step 1: Get your wreath base ready. There are various types being sold everywhere from interior to crafting stores, and depending on your taste and style, choose one that pleases your own eye. My idea was to add the flying bats to an existing wreath which I can then reuse during other seasons as well by updating the design with new details. I’m using one made of wicker, but a simple metal frame, or more detailed greens and botanicals would also create a perfect base. Also, stay tuned to see how I will turn this same wreath from Halloween to the Christmas season with a new DIY later in the year!
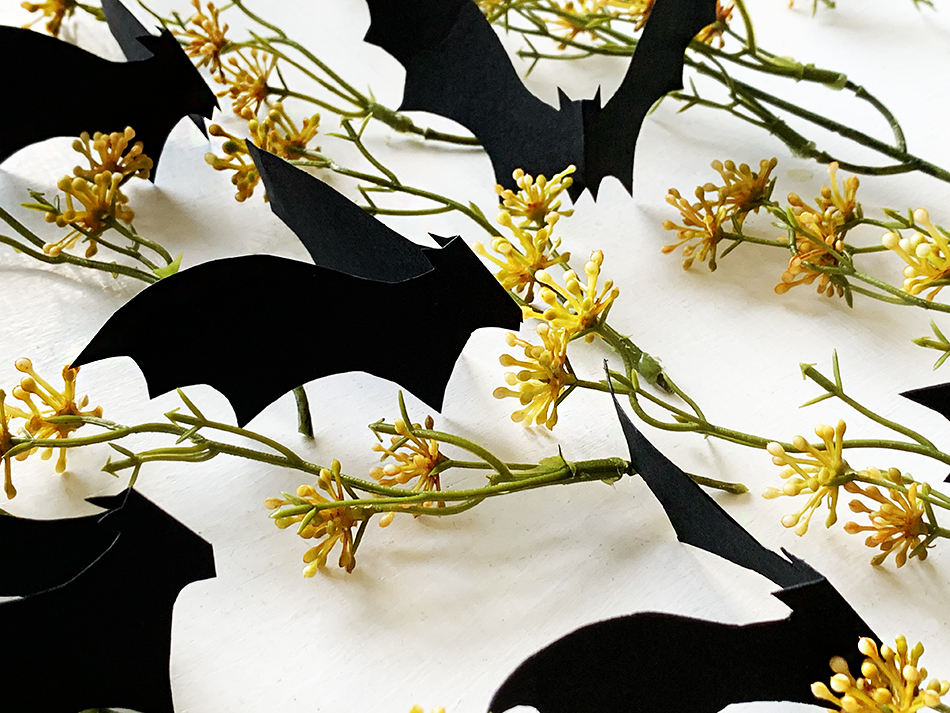
 Step 2: Draw a template for the shape of the bat or you can find one here. The easiest way is to fold the paper in half, draw half of the bat against the fold, and then cut it so you’ll have two identical sides at once. Once you’ve cut enough bat shapes to your liking, curve the ends of the wings a little bit to give it more of a dynamic shape.
Step 3: Decorate the wreath with the details you wish to add. I used an old, discarded artificial flower branch that I cut into shorter pieces and then twisted and stuck between the folds of the wicker wreath. The flowers had a fitting autumn coloring and added a nice rugged feel to the design.
Step 4. Using a metal wire attach the bats to the wreath at various distances and heights. I made my wire into a spring shape to make it easier for me to move the bat colony into a wanted formation, and also keep them agile and in motion as the door, the wreath will be hung on opens and closes.
I personally love how the wreath turned out and it will make the perfect welcome decoration for our front door to help our guests get into the spooky mood when entering our Halloween party next week. And as promised, I’ll be creating a new version of this wreath in time for the end-of-the-year holidays – so stay tuned!