To no one’s surprise, we love love love all kinds of notebooks so it was only a matter of time until we would make our own. Our editor took the bull by its horns and gave it a go! And of course in our very own Design & Paper style!
First of all, I have to tell you it is a lot easier than it seems at the beginning. Even though there are several steps to do, if you follow the instructions carefully there is very little room for errors.
You will need the paper for the pages, and some for the cover, if you wish to have one. I used 80gm IQ color paper in three different colors and white Z-Offset 240gm for the cover. All in all you’ll need 48 A4 papers to make a notebook of 96 pages.
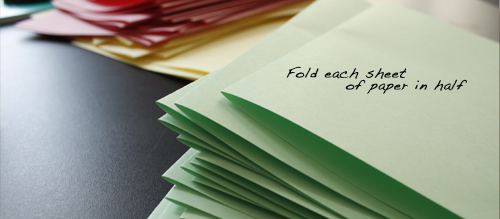
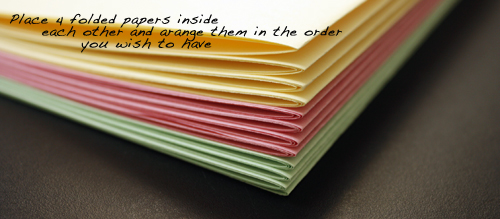 Fold each sheet of paper in half, then place 4 papers inside each other. You will sow these four papers together at a time. I wanted to make the notebook in three different color sections, the colors of Design & Paper. So I had 16 sheets, making 32 pages, of each color. Whatever paper you choose to use, make it an even number to keep the build even.
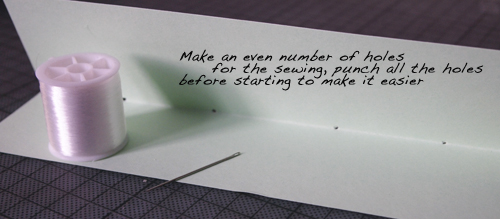

And then comes the hardest part, the actual sewing. The first measure where to place the holes, they need to be an even number. I made 4 holes with the help of a ruler, in an even pattern on the fold using a needle. Punch all the holes before sewing just to make it easier when making the stitches.
When sewing, remember to go in from the outside of the folded paper. Make a simple stitch – in and out, keeping the thread tight. Continue to the end of the second batch and tie it to the string from the start. Continue this, always tying the thread to the previous stitch when turning to the next batch. Use help (clips or binders) to keep the book flat.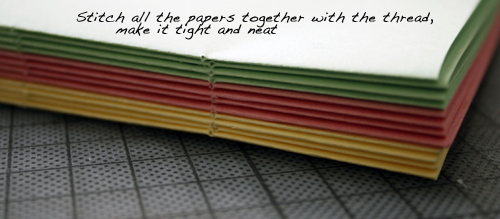
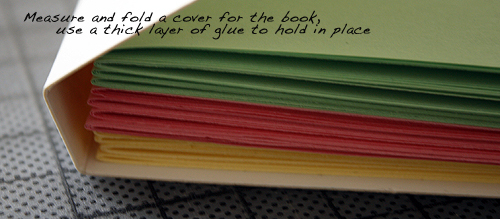
When all the papers are stitched together, its time to make the cover. Cut out a piece of the width, but longer, so it bends all the way around the back of the book. Using a ruler, mark the corners oft he book and bend it to fit the binding. Make sure it fits tightly, any extra room will make it easier to break later in use.
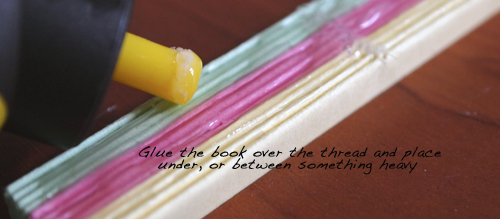
Glue the book, over the thread. Make sure to use enough so the glue covers the whole area. Place the cover over the binding and place the notebook between something heavy and sturdy that keeps it in place. Leave it until it dries completely. Remember to use heavy usage glue, not just any paper glue.
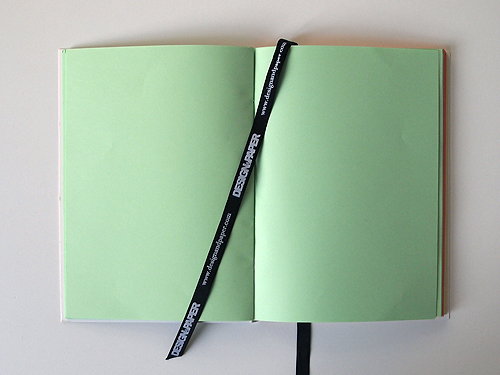
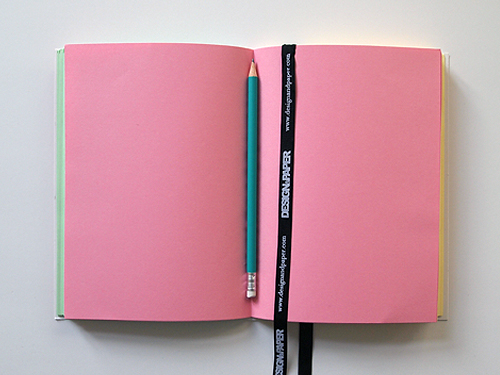
After the glue has tried up, the notebook is ready! It’s as easy as that! Even though the whole thing takes a few hours to finish, if you have the patience and need you can always do more at a time. Play with colors and materials, try out lighter paper or maybe even see through one, so you’ll have tracing paper between the pages. What ever you will be using the notebook for, choose the paper accordingly.
I just love my new notebook and will use it to write all my new D.I.Y. ideas in it! I’m already planning the next one, maybe a bigger one, or one with every page a different color…so many options!
Have you tried it before, or planning to give it a go now?
Share your work and D.I.Y.’s with us!
We’re always open for ideas and suggestions!