
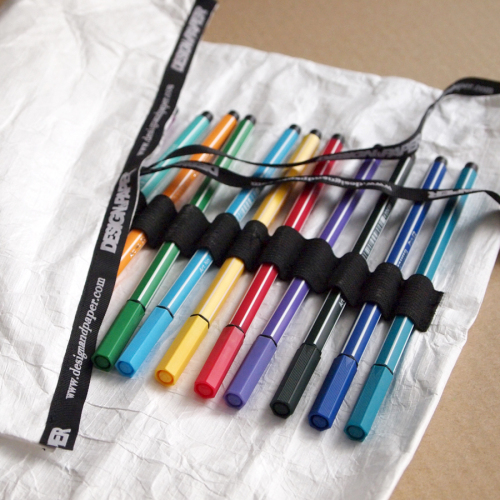
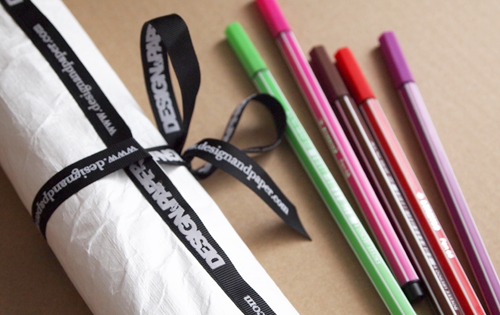
As a kid, I always wanted one of these roll-up pencil cases but for some reason never got one. And now the time has come to correct this shortcoming: my own special Design&Paper Roll-Up Tyvek® Pencil Case. I decided to make it out of Tyvek® because it’s durable, washable and easily sown. You can use the Roll-Up Case for pencils, small tools or other small nicknacks, and personalize it any way you want!
I like my stationeries, papers, and pencils in one place, easy to access and neatly arranged. Which is not so difficult to achieve in a home office where I normally work, but where to put all the stuff when I’m on the go? The Tyvek® roll-up pencil case is great for this. it turned out great and I especially like the clean & crisp black&white look. For younger kids, it’s perfect because they can make their own patterns and draw on it, which Tyvek® is also perfect for, see here.
The whole DIY will take you about 30-40minutes, depending on your sewing skills. It does demand a certain level of skill, precision, and patience but nothing that a beginner couldn’t manage. The important thing is to measure everything accurately from the get-go, so things go smoothly. The whole thing is done in three steps. Just measure, cut and sow.
What you’ll need:
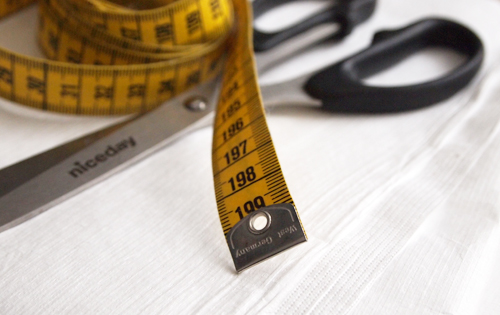
Tyvek® by DuPont, the stronger the better. A piece of an elastic band, few centimeters wide, any kind of ribbon for closing and scissors, tape measure and a sewing machine.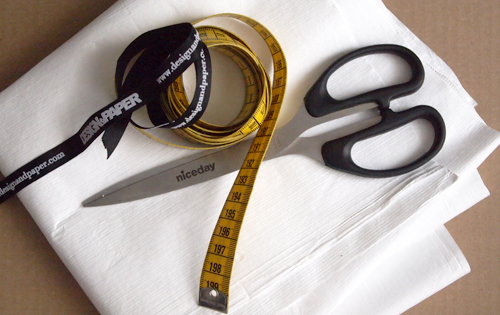
What you’ll do:
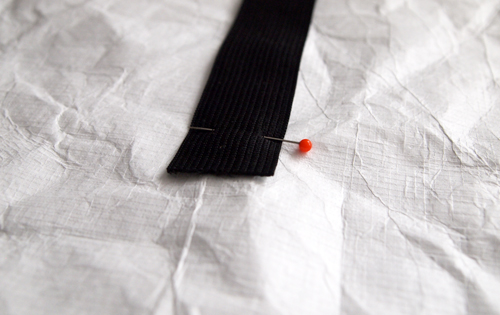
1. Measure and cut a piece of 80cm x 60cm of Tyvek®. This will be folded into half, twice, so the paper is doubled and has some more strength. So you’ll end up with a 40cm x 30cm piece. This is the size of the final pencil case. Mark the middle lengthwise, and attach the elastic band with a few pins.
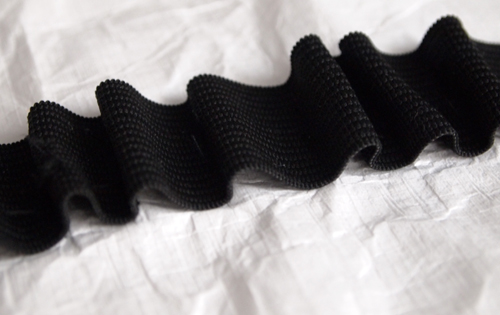
2. Next comes the trickiest part, not hard but be patient. Open the last fold of the Tyvek® so you’ll have a 80cm x 30cm piece, because this way the stitches you are about to make will be hidden underneath later and not shown on the outside of the pencil case. Now you need to sow the rubber band to the Tyvek® while folding the band gently. Imagine you are creating a tiny wave. The stitches go lengthwise, about 1,5cm apart.
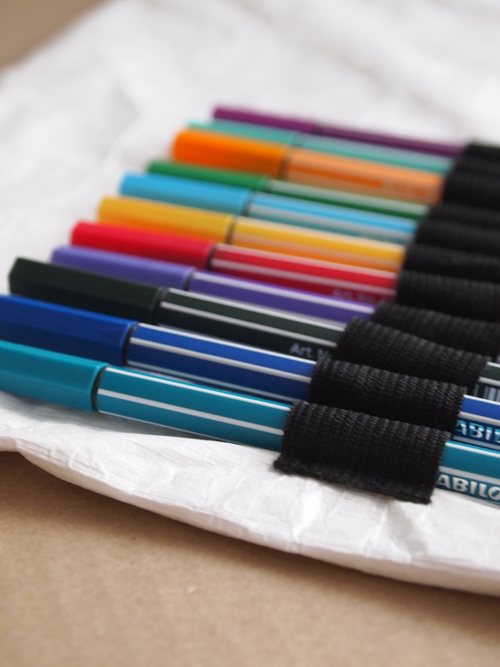
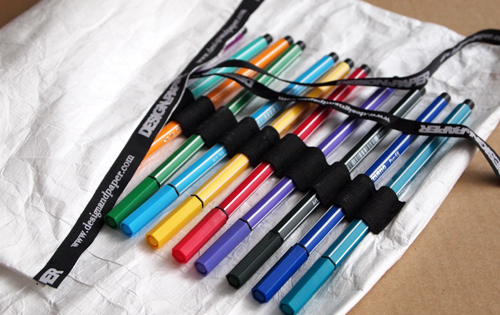
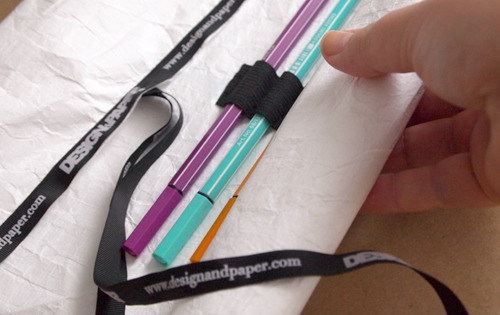
3. After this you fold the Tyvek® back to the final size of 40cm x 30cm (see how the stitches are now hidden) and sow the sides of the Tyvek® together to close the pouch. And you are done with it! Crazy how simple it is, right? Of course, you can add your special touches as I did with the Design&paper ribbon on edge to give it a nice cool finish. Also, I attached two pieces on the closing end, so when I roll-up the case I can tie it together with them. This is an option but recommended, you could also use a piece of rubber band for this.
Photos by Design & Paper