
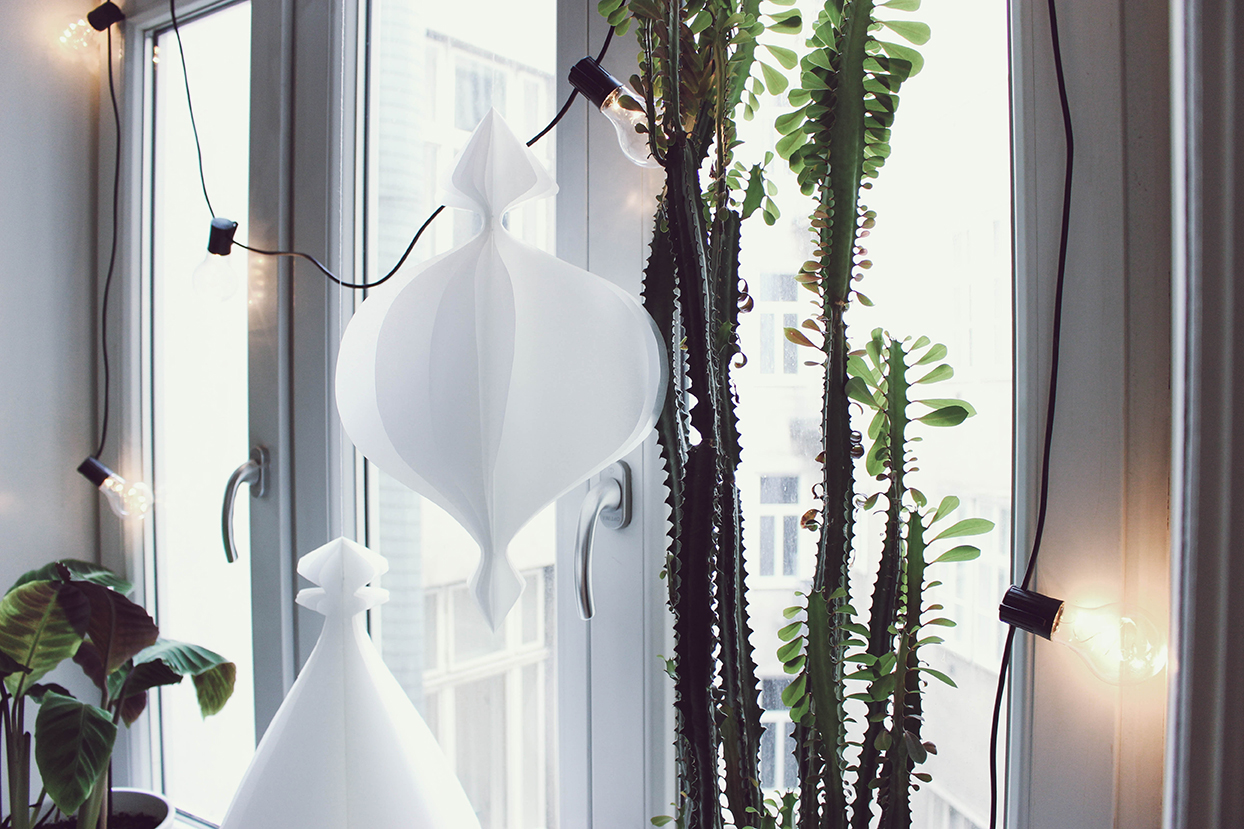
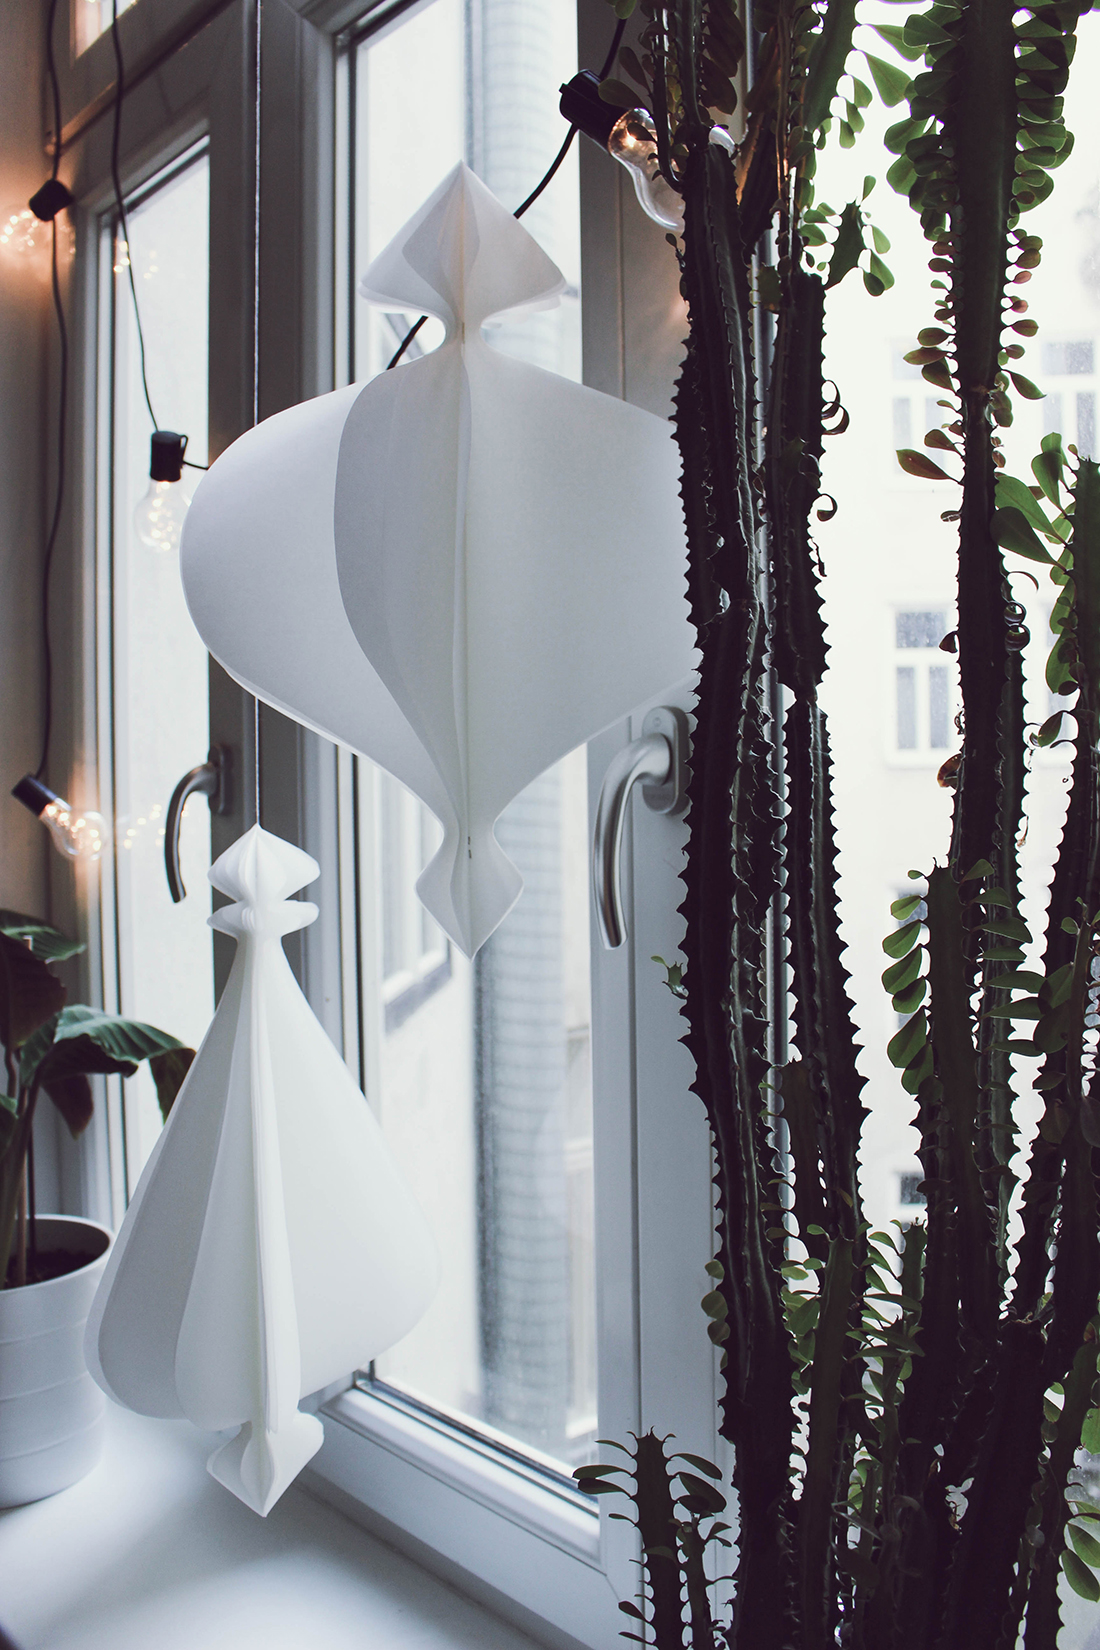
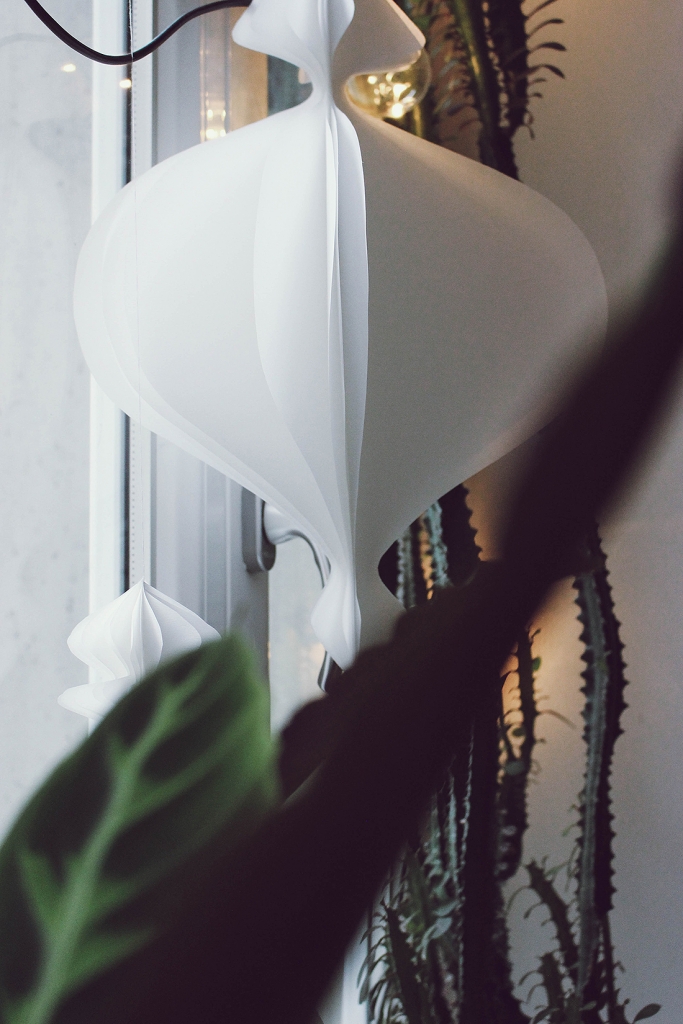
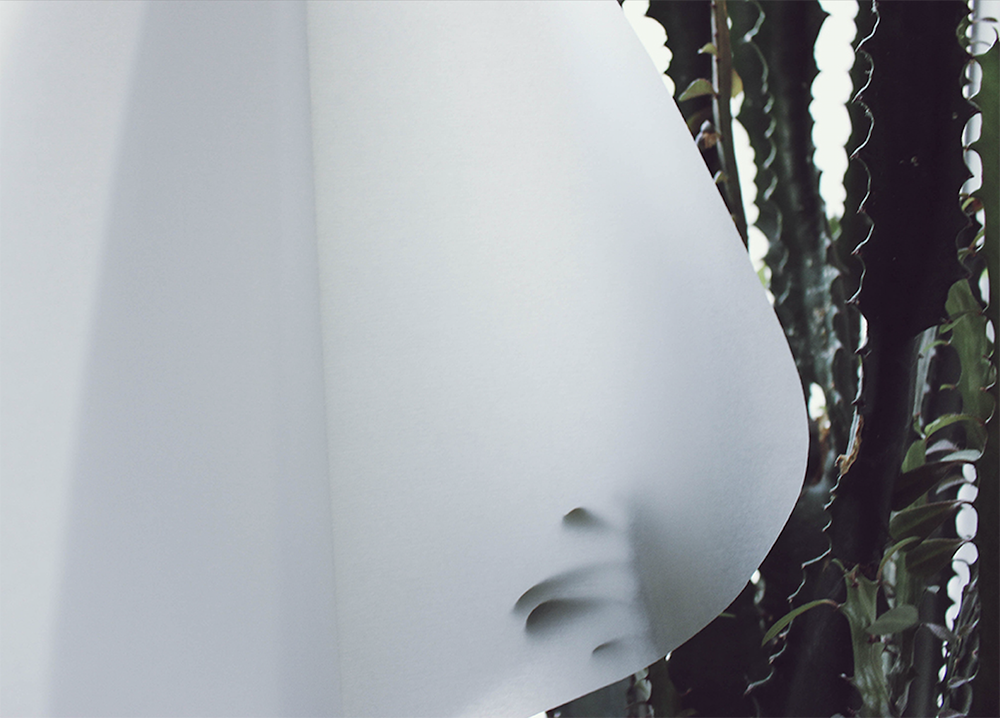
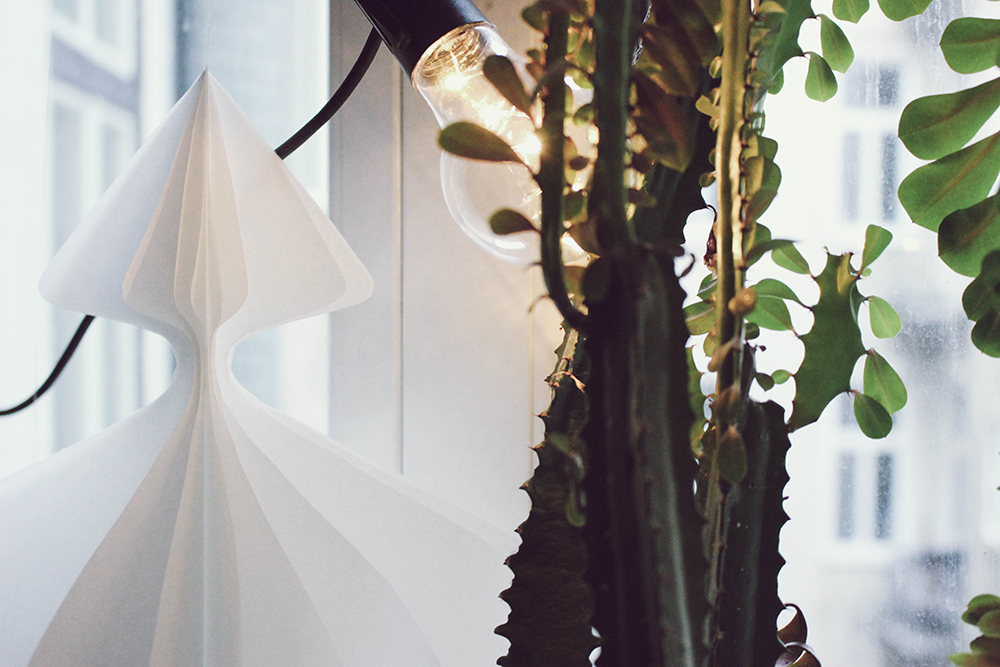
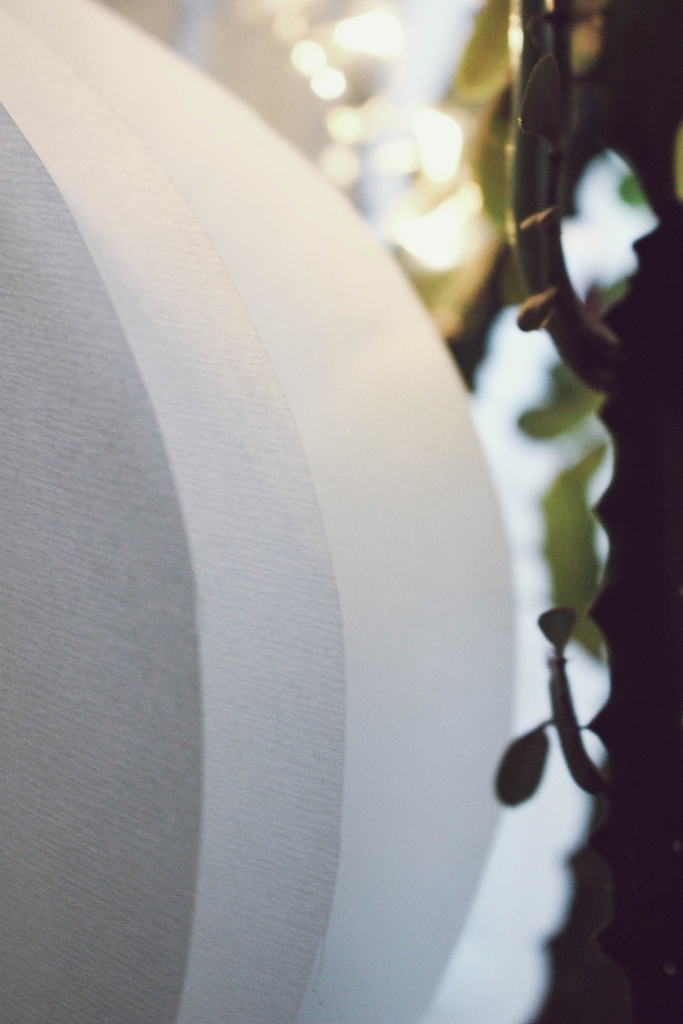
This year I’m putting a special spin on my favorite DIY Christmas ornament. I’m going super size! After opting not to get a tree this Christmas I was trying to think of alternative ways of decorating the house, to still create a festive atmosphere. I ended up revisiting one of the oldies but decided to make them bigger to give it a twist. Inspired by the layered structure of the ornament, I used Europapier’s Enduro Ice paper (available at Europapier). Its transparent quality and frost-like white color make it the perfect choice for a window decoration with the light beautifully shining through it.
If you’ve been a reader of Design&Paper for a while, you must know by now I’m a huge fan of minimalist, contemporary DIYs. Quality over quantity, and definitely fun over complexity is my motto. So I’ve made sure this giant Christmas ornament DIY is suitable for kids and adults alike, but of course, you can make the shapes as elaborate as you wish, depending on your paper craft experience.
You’ll need about 10 sheets of A3 paper per ornament, and scissors, stapler, and some yarn to hang the ornaments up. And about 30 to 60 minutes of your time. If you follow the instructions, you can’t go wrong.
(1.) Set the mood – Before starting, put your favorite Christmas music on to set the mood. A little mug of mulled wine or gingerbread cookies won’t hurt either! The merrier the mood, the more beautiful the ornaments will turn out.
(2.) Paper – Choose the paper you wish to use. I used Enduro Ice 135 gsm for it’s lightweight and transparent quality, which fits perfectly in front of the window as it lets the light shine through the multiple layers.
(3.) Template – Take one A3 size paper and fold it in half, lengthwise. Draw the outline of the ornament you wish to create, and cut it out. Now you have the template you can use to make the rest of the pieces.

(4.) Cutting – Repeat step 2. nine times, so you will end up with 10 identical ornament shapes. Depending on the weight of the paper you use, you can speed up the process and cut two or three shapes at once, but not too many as the size starts to vary.
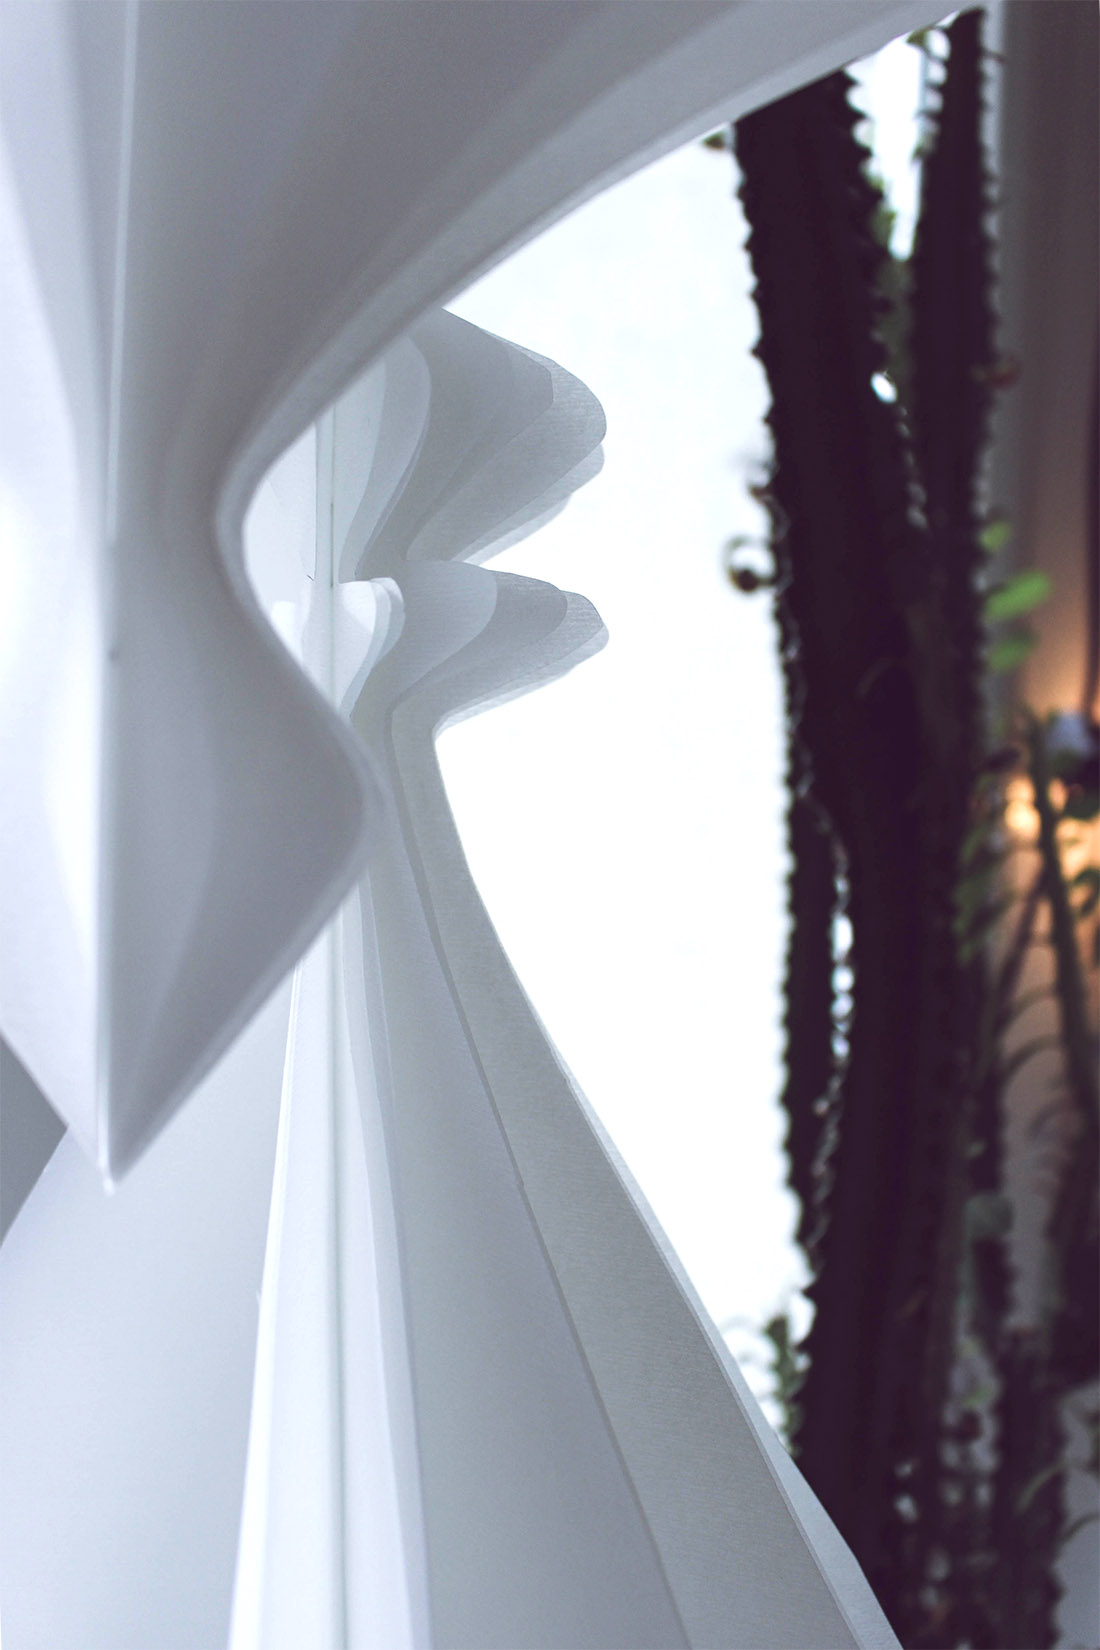
(5.) Assembly – Place the shapes on top of each other and staple them together by the middle fold. With lighter paper, two staples are enough, one on the top and one on the bottom. Fan our the layers evenly, creating a three-dimensional shape. This might also be easier to do after hanging the ornaments.
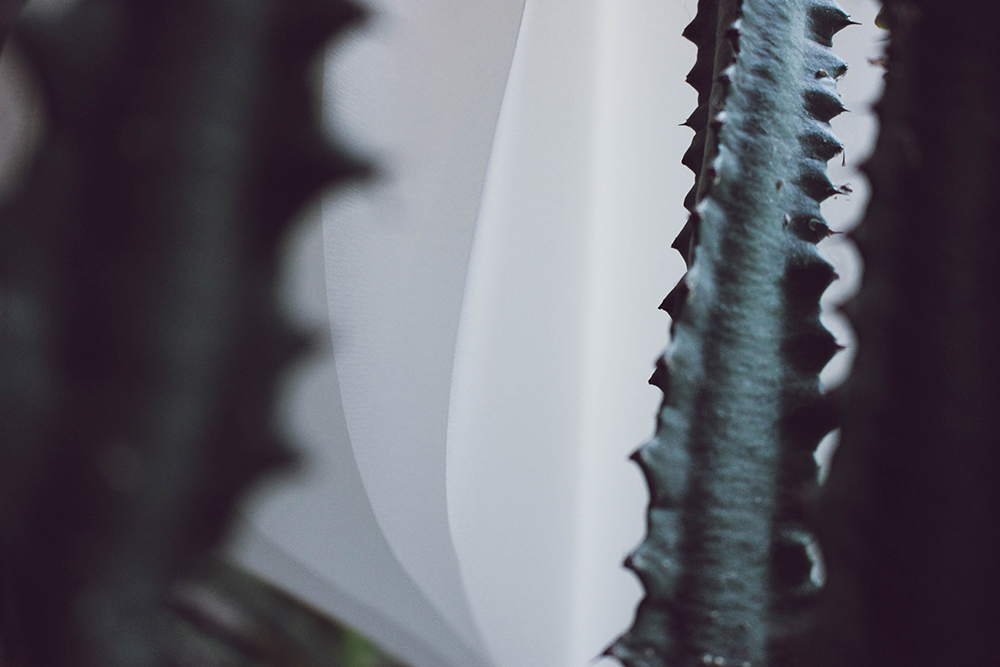
(6.) Hang it up – Find the perfect spot, or give it as a gift. I believe the ornaments look amazing in front of a window, against the light, and I especially like how their delicate nature was contrasted by my tall cactus!
And now you’re done, see how easy it was? Just sit back, sip on your mulled wine and marvel on your creation. If the DIY bug bit you hard and you’re not ready to let go of the glue and scissors quite yet, check out these 34 charming Christmas tree ornaments DIYs.


Images © Design&Paper