
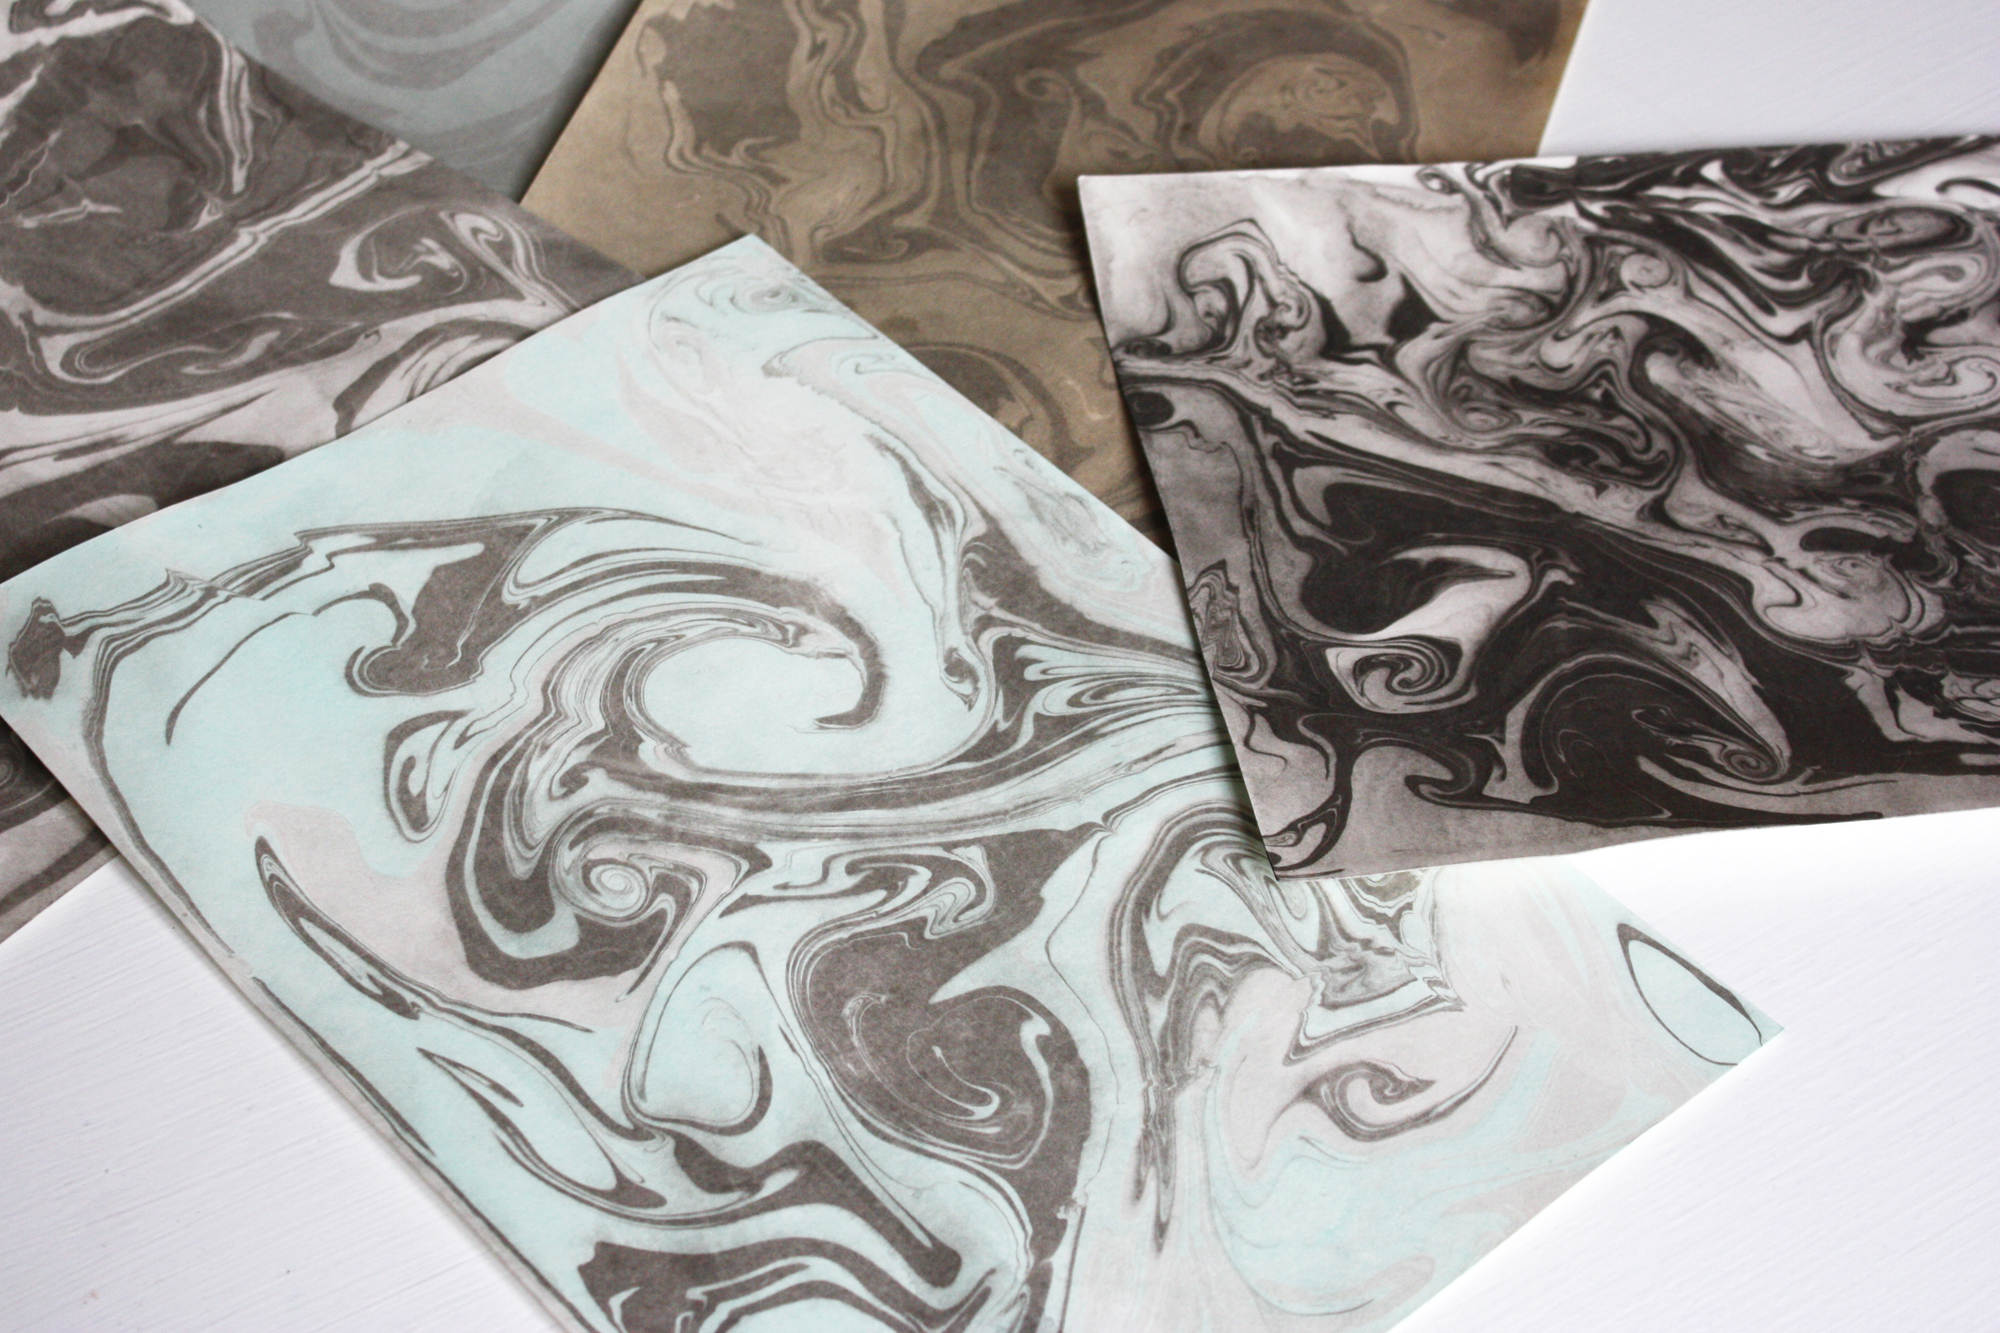
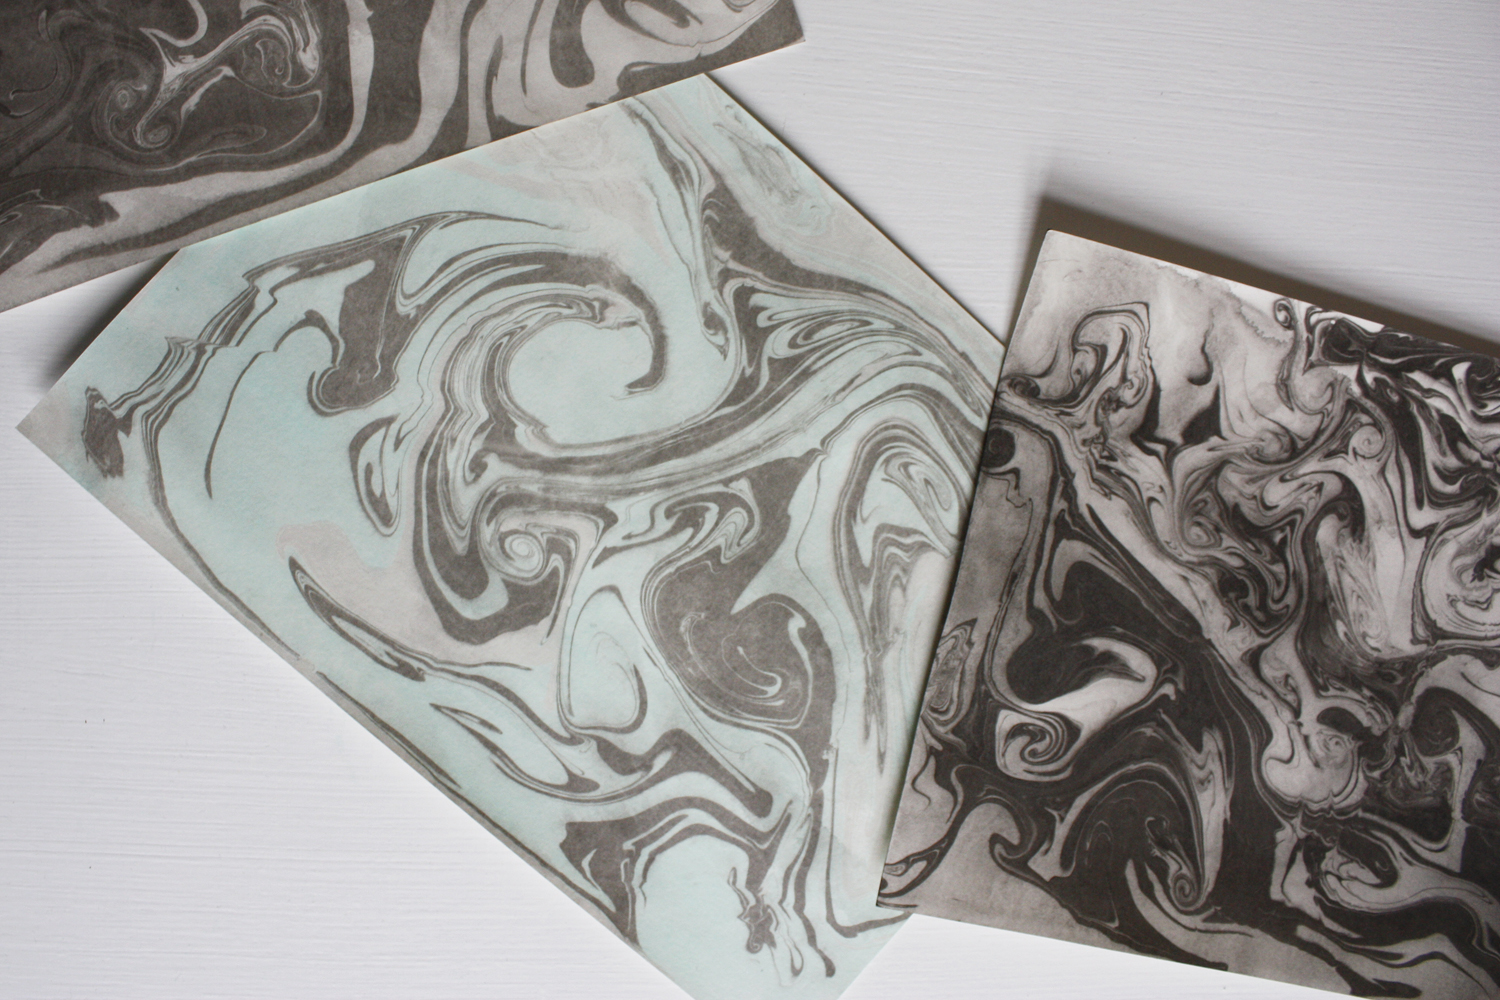
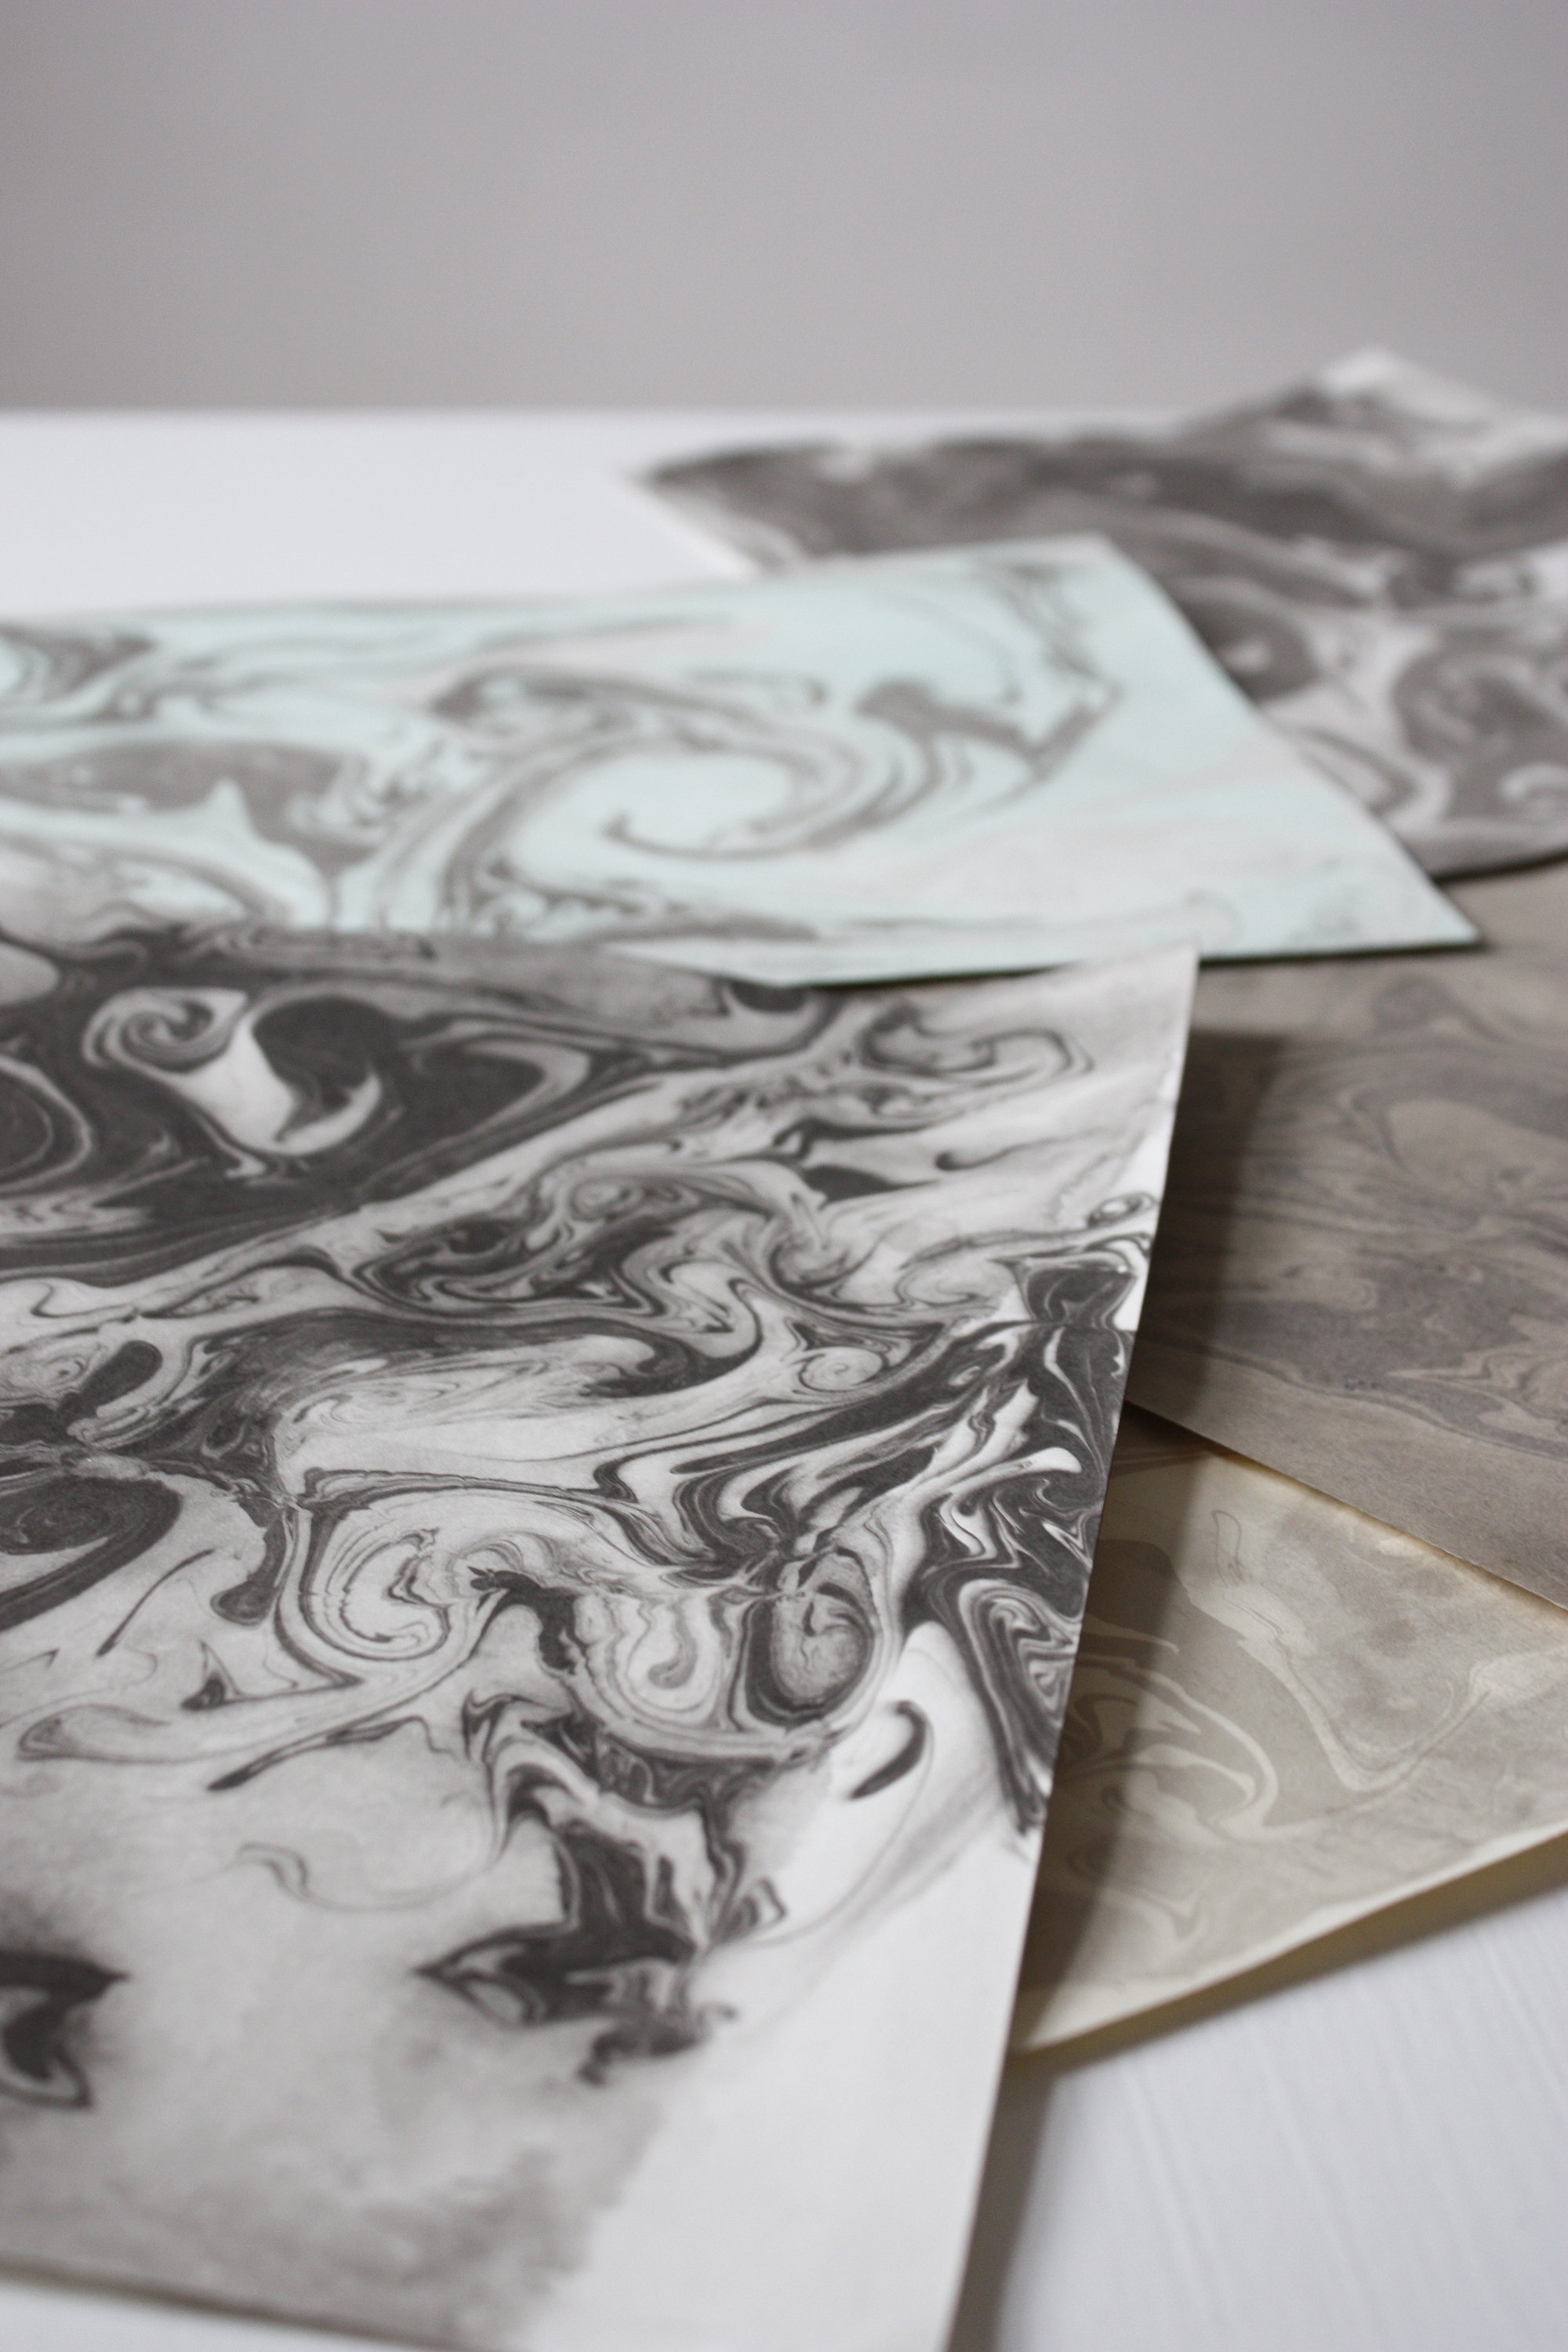
One of the strongest and most persistent trends of the last few seasons has undeniably been Marble. The organic & minimal pattern that gets its name from metamorphosed limestone has become the hottest design on everything; from the plates we eat on to the clothes on our back. And our beloved paper products are no different. But why buy when you can make it yourself? I had a go at marbling today and it turned out to be a lot of fun.
This DIY has been looong in the making. I’ve been planning on trying it out and writing about it for over a year now but a few obstacles have been on my way. I haven’t had the space or light to photograph the process (moving to a new, light-filled apartment fixed this issue), missed the right equipment and honestly I’ve been scared it wouldn’t work, would look terrible or anything that would shatter my long lived marbling fantasies. But I finally gathered the courage (no exaggeration) and got on with it. And let me tell you, it’s so much easier and hassle free than most tutorials online make it out to be. I was so worried about having the right ink, the right paper, the right temperature and making a mess (hmm, I seemed to have a lot of anxiety towards this DIY), which all turned out to be false. I got some marvellous results with the most simple technique.
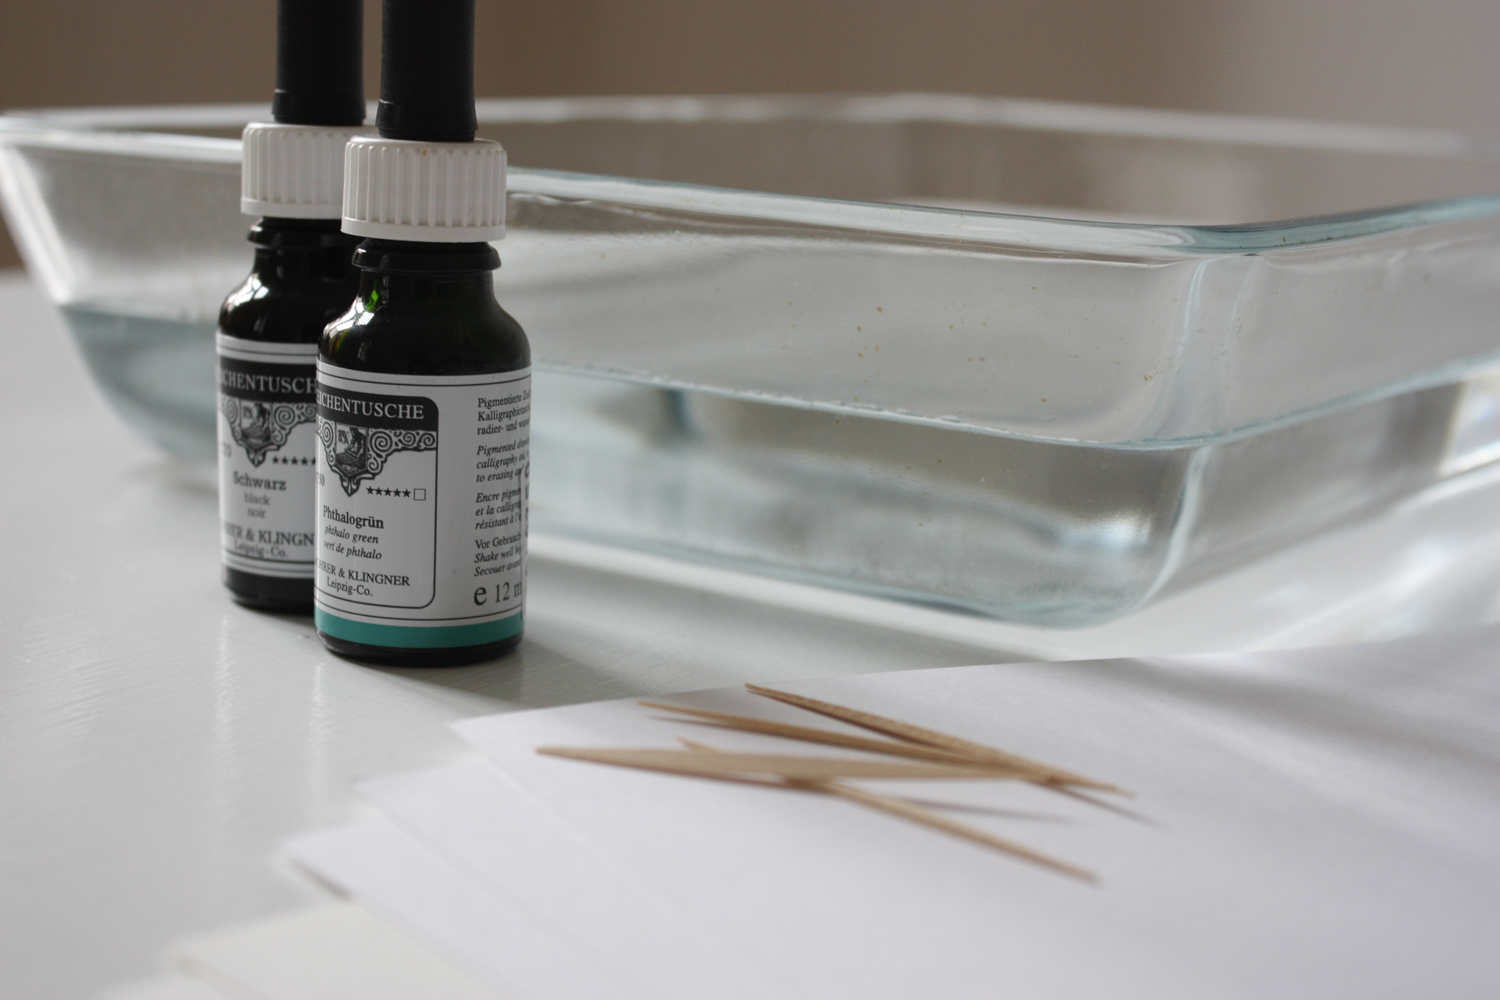
You will need:
• Marbling paint. I used basic drawing-& calligraphy ink by Rohrer&Klingner.
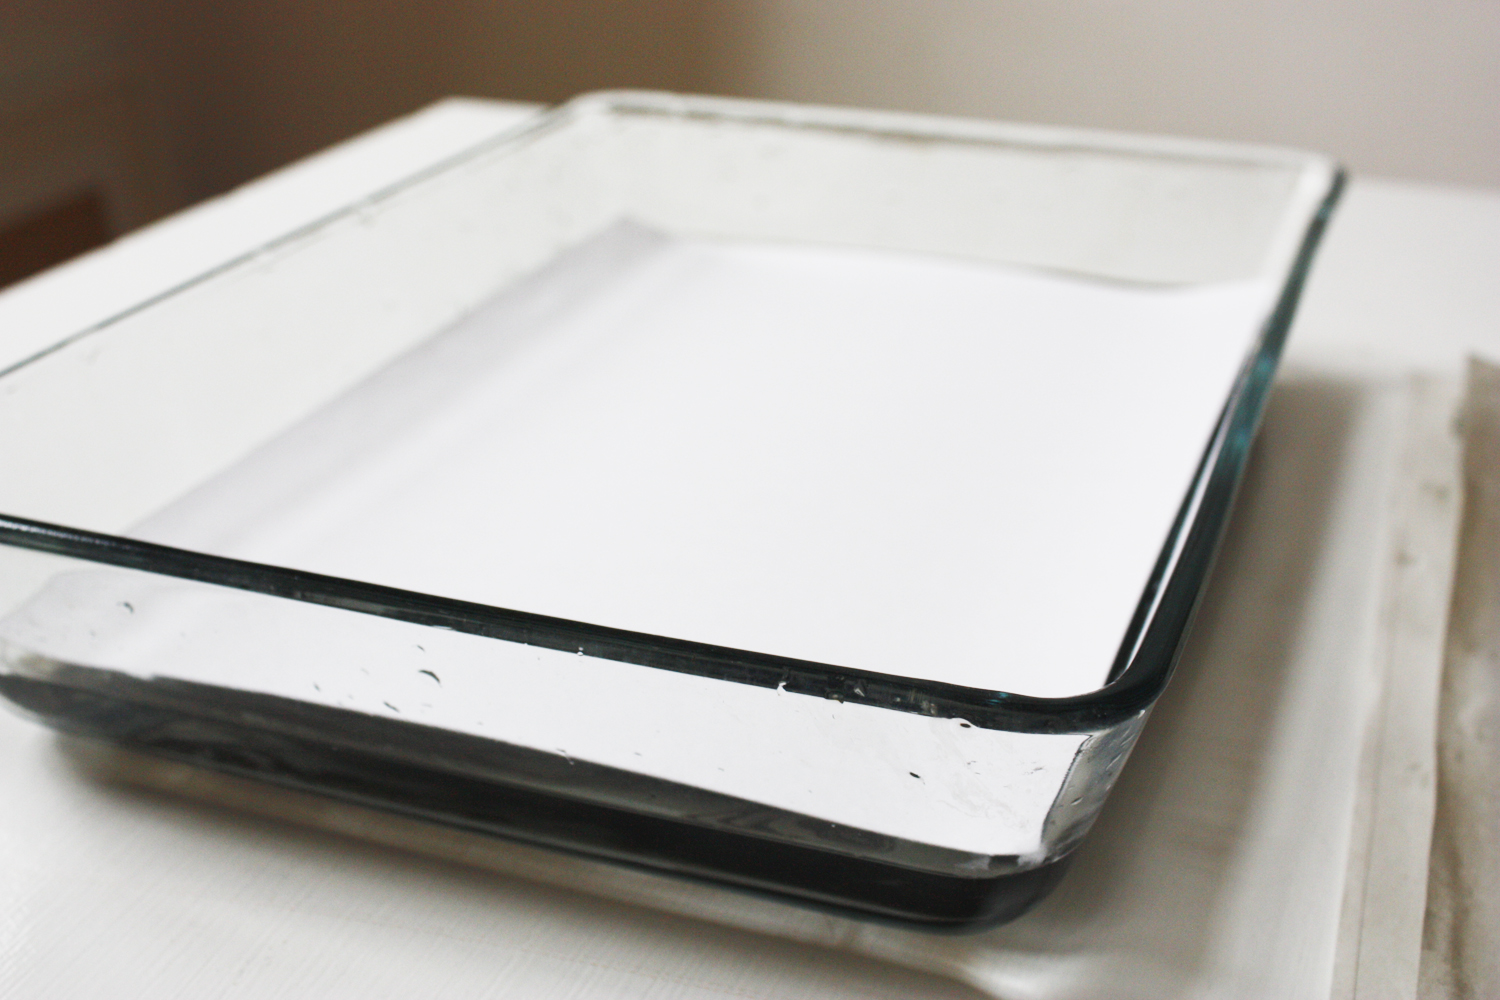
• A tray or a pan.
• Uncoated paper (over 150 gsm – I used mine from Europapier). Make sure it fits inside your tray. Measure this before you start!
• Water
• Toothpicks
• Newspaper for covering the table and some paper towels to dry the excess water of the paper.
Instructions:
• Fill the container with water, about half way up is fine.
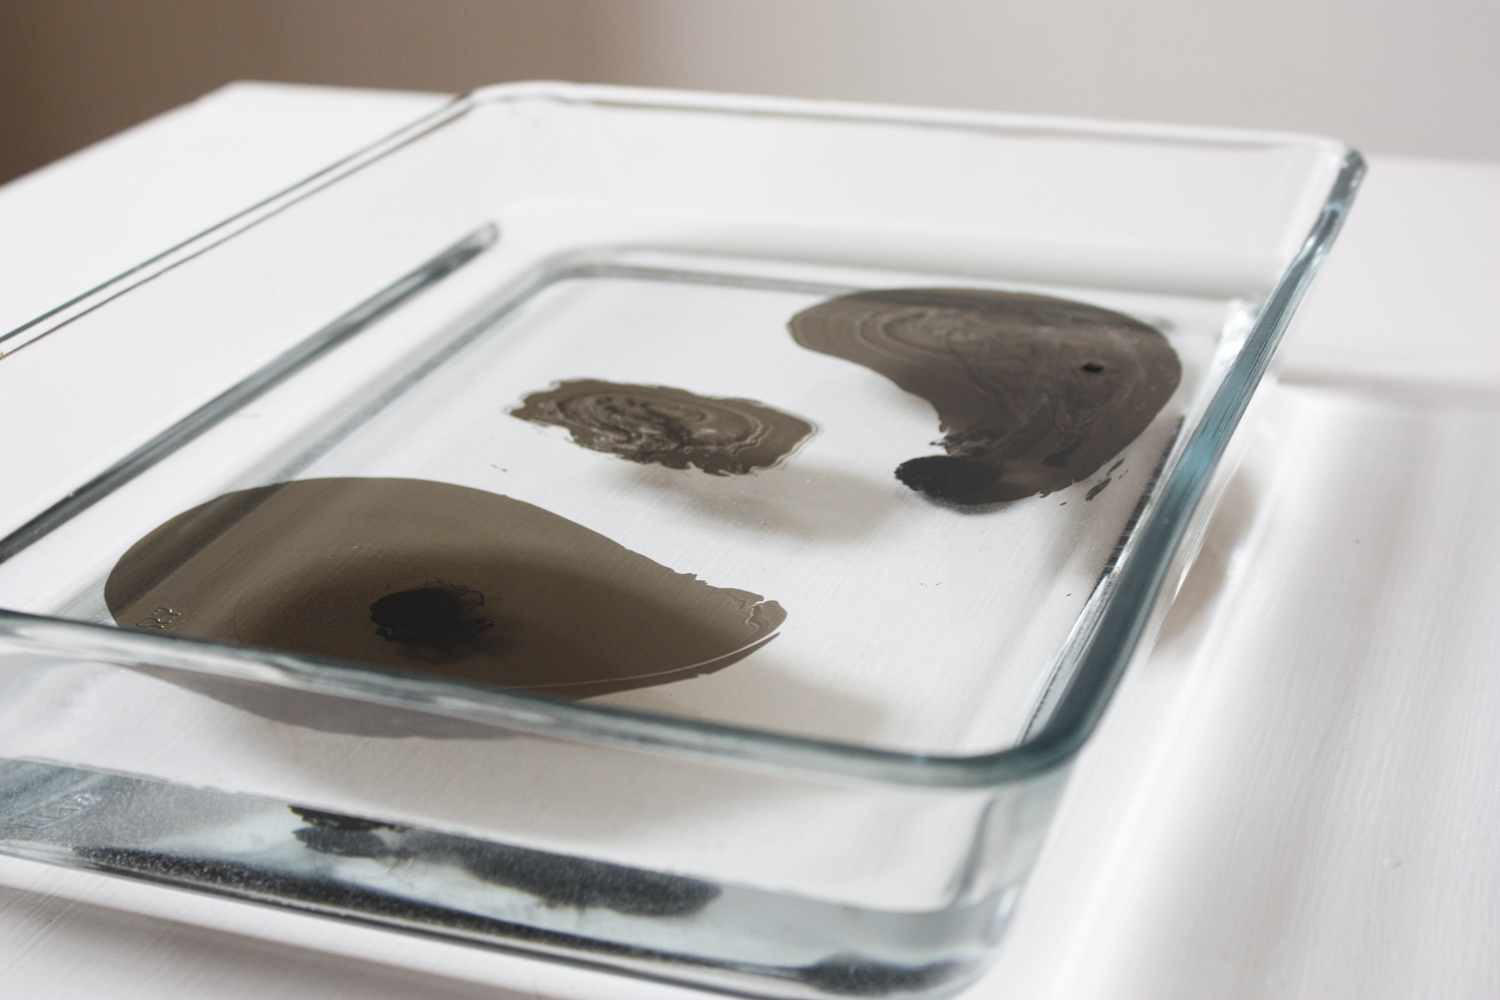
• Drop marbling paint/ink onto the surface of water.
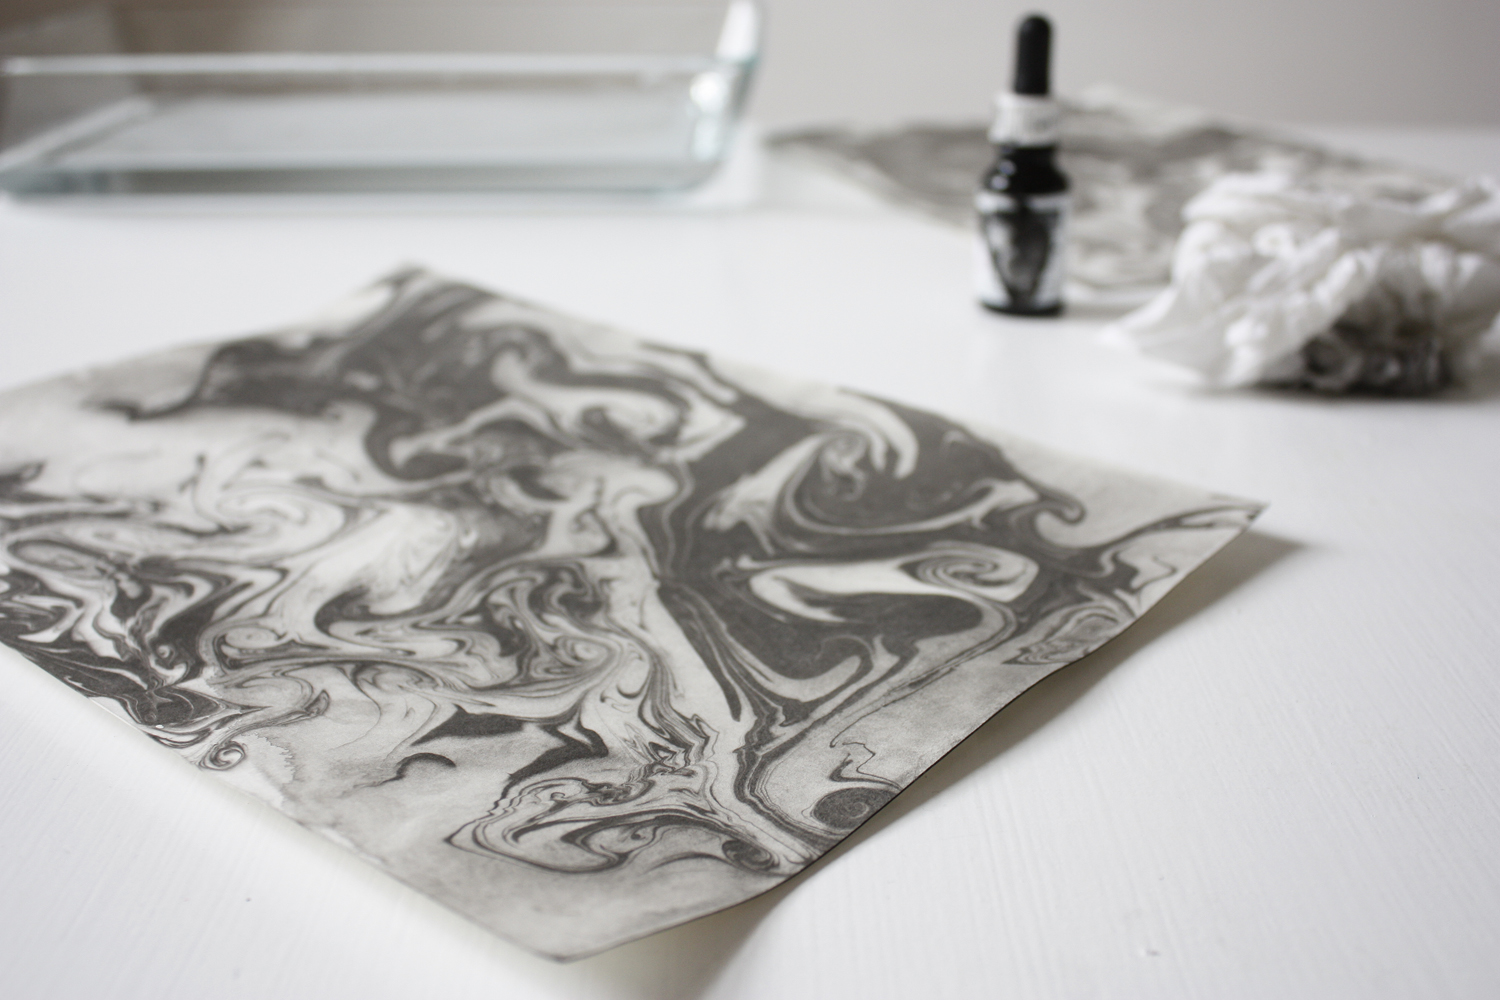
Tip: Limit your palette to three or four colours. As I like to keep things minimal, and eliminate the chances of messing things up, I opted for the classic black and mint green.
• Give the water a swirl with a toothpick.
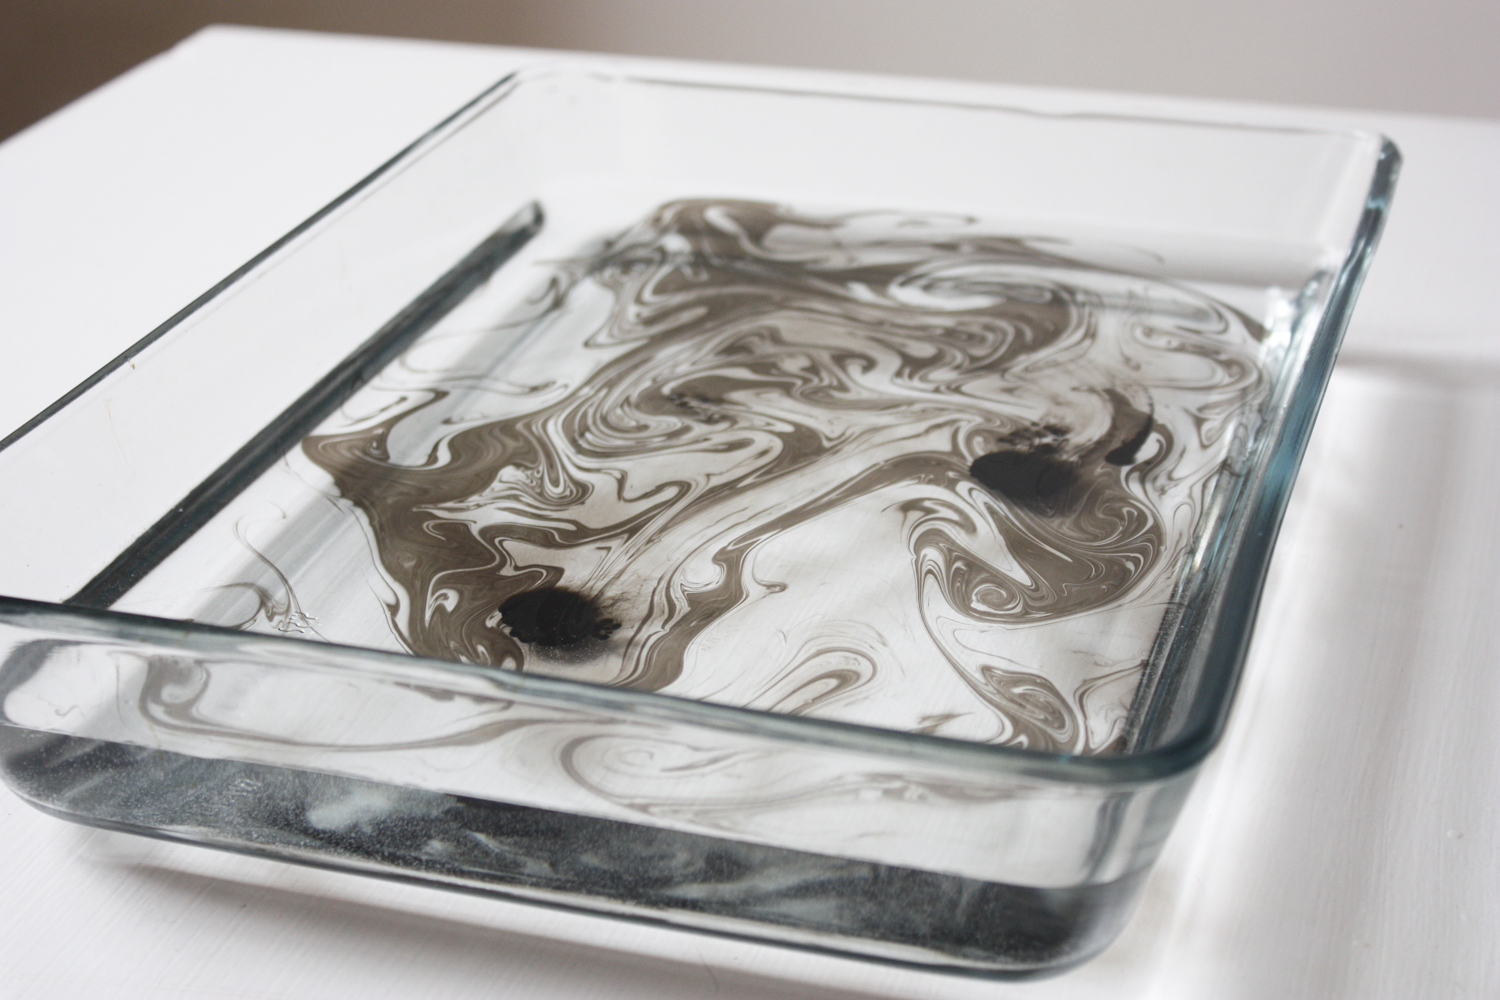
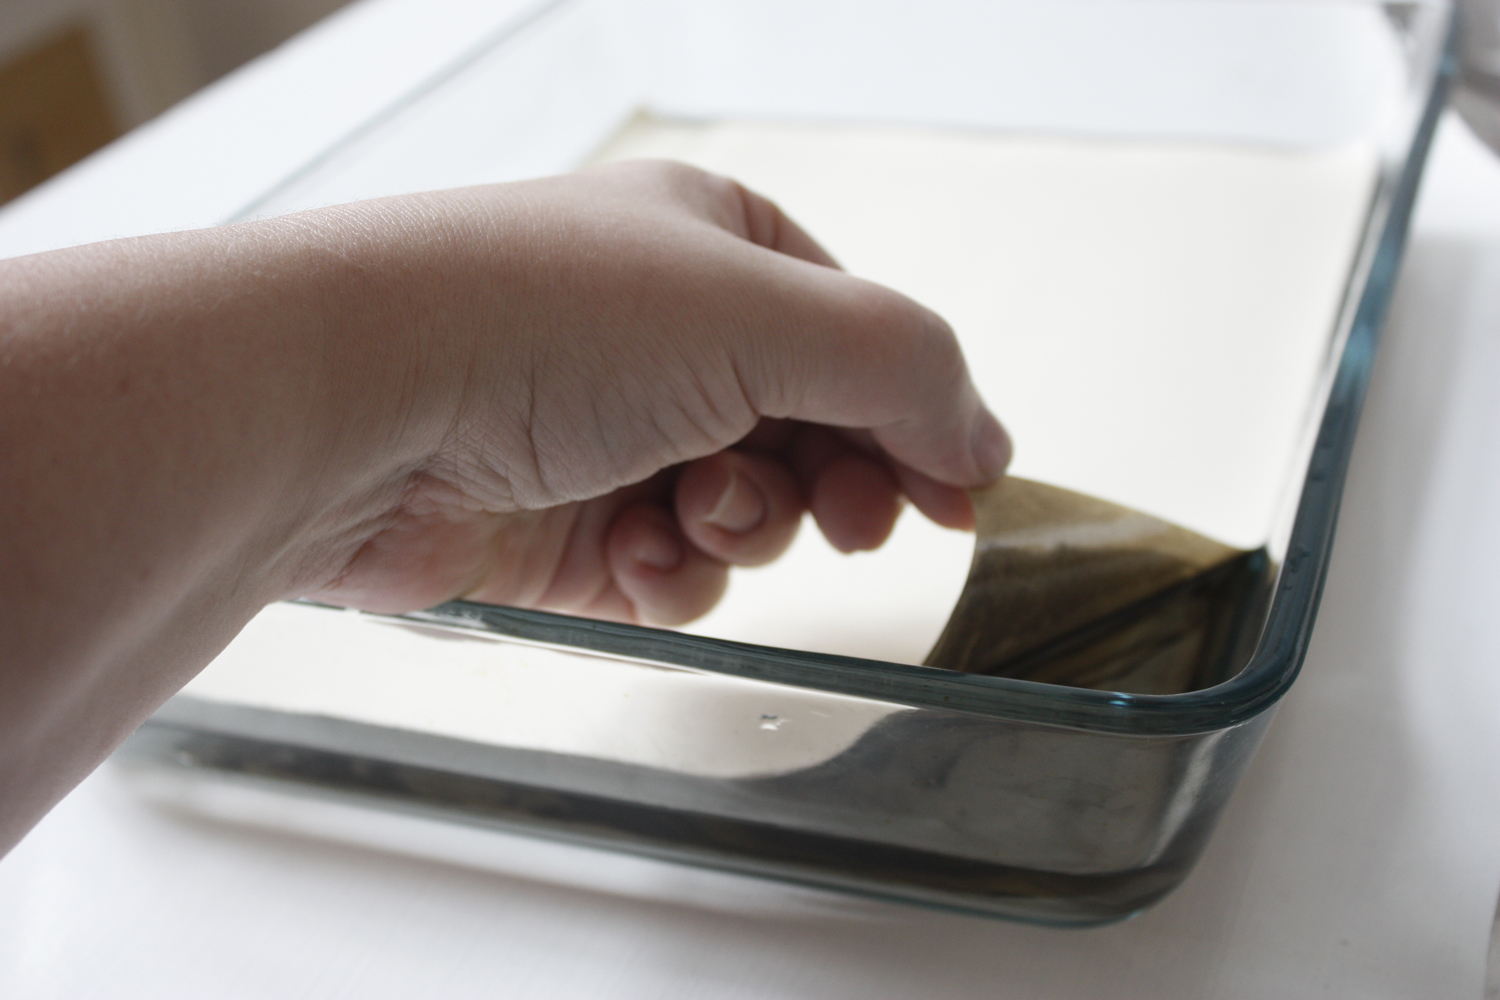
• Once you are happy with the pattern gently lower your paper on the surface of the water and leave it for a few moments.
• Then carefully lift the paper off the surface of the water.
Tip: You can either use a piece of cardboard to scrape and remove the paint residue of the top of the water in-between each go or change the water completely, which is what I did.
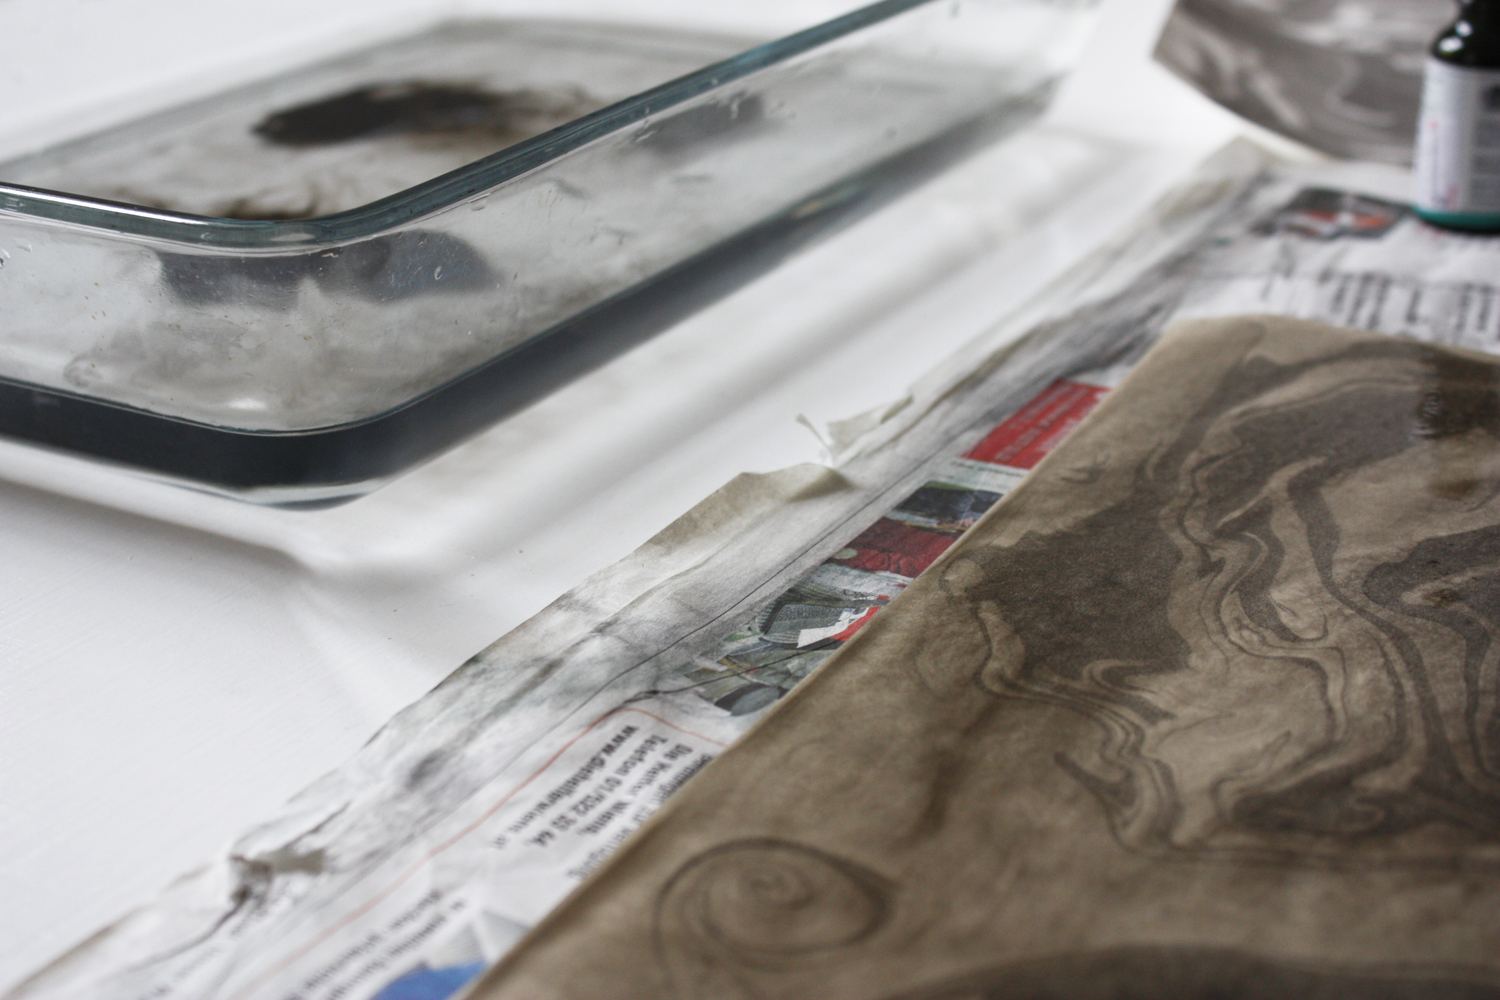
• Place your design, face up, on some newspaper to dry. If there seems to be alot of excess water on top, lightly dap it with a paper towel. Once dry, use it as stationery, make some enveloped out of it or use if for decorations.
Tip: When the paper has dried, press it under some books to make it flatter and smoother but make sure you place it between greaseproof paper just in case it leaves a mark.
Images © Design&Paper