

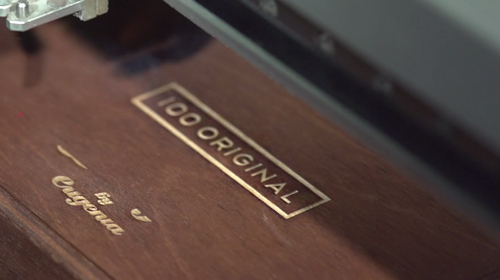
Last month we interviewed the owners of Herz & Co, a letterpress studio in Vienna, who showed us some of the beautiful stationery they produce on their Heidelberg machines. Today though, we want to get more into the technical details and present you a great video by 100Original which sums up perfectly the delicate but precise work that goes into printing with letterpress. The video shows every single step, from cutting the papers to mixing the colors. Check it out and read the step-by-step explanation!
You are currently viewing a placeholder content from Vimeo. To access the actual content, click the button below. Please note that doing so will share data with third-party providers.
Letterpress is one of the oldest printing techniques known to man, and it has changed very little since its invention in the 15th century. It remained the main printing technique till the creation of off-set printing, which revolutionized the printing industry. Lately the old classic style of letterpress has come back into fashion, and more and more letterpress studios are popping up. Why all the fuss, what is so special about letterpress?
In letterpress the ink is applied to the raised portions of a so called printing plate which is then pressed on the paper leaving an inked impression. This means the feel of letterpress print, compared to other printing techniques, is more clear and crisp with more visual and haptic definition – in short you can feel the difference!
Back in the days printers used a movable type system invented by Johannes Gutenberg , however, nowadays most letterpress printers use photopolymer printing plates as seen in the video by 100Original.
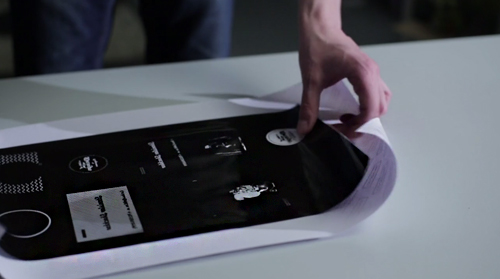
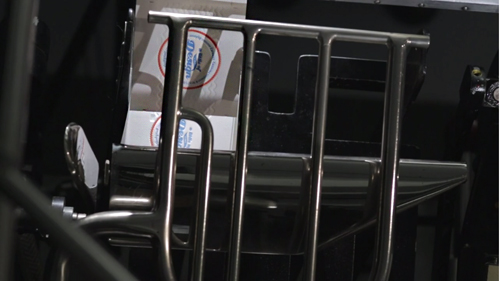
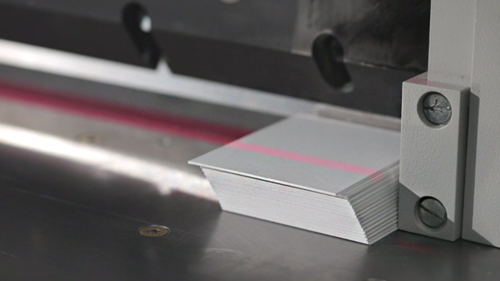 The first step is the photopolymer platemaking. After cutting the business cards, the print maker unrolls the negative film. In the next step the photosensitive photopolymer plates are exposed to UV light through the negative film in a vacuum table. The UV light shines through the clear sections of the film and hardens the polymer. After the plate is washed out only the exposed areas are left to form the relief. Now the plate is fixed, cut into shape and ready to be mounted onto the Heidelberg printing machine.
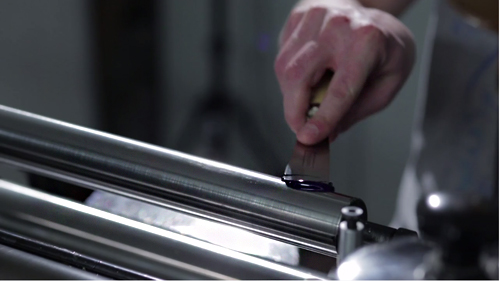
 The second step is to get the ink onto the printing plate (“ink it”). In the video, the printer applies the ink directly to the rollers, which then pass over the printing plate inking it. This means the ink passes from the rollers to the plate on to the paper.
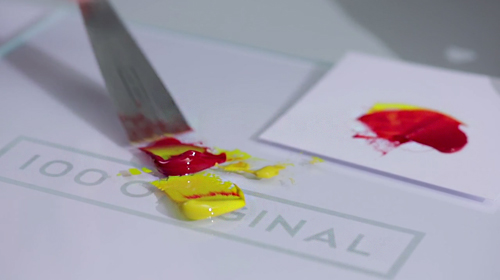
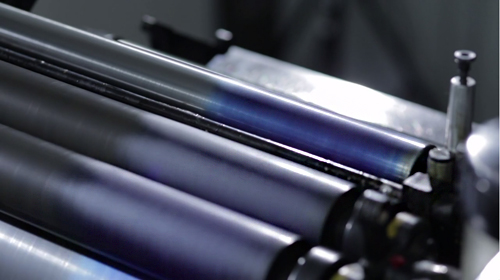 Now we can start printing our first color! Remember, in letterpress printing you can only print one color at a time and for each color you need a seperate printing plate. After the frist run of blue, the machine is cleaned and a new plate is mounted for the red run. The last run is a so called inkless blind impression where the image is created with just an impression in the paper surface.
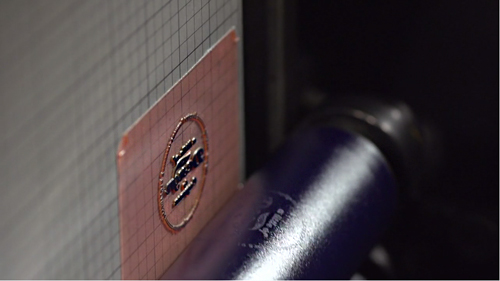
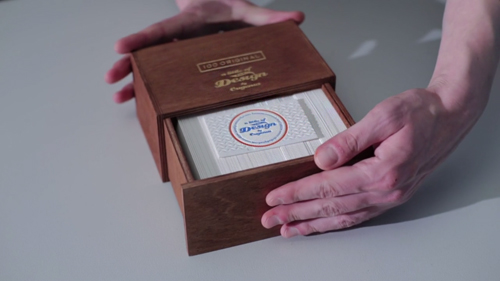
Now the business cards need to be cut and they are ready! As you can see the process of letterpress is not simple, it requires concentration, precision and of course experience with the machines. However, in a world where most printed material is flat, letterpress is a true highlight and can help you set yourself apart – God bless letterpress and thank you to 100Original for this instructive video (and the great music choice)!
Video and photo © by 100Original