
You just realized Valentine’s Day is tomorrow and you’re struggling the same battle as every holiday: how to find something cute, meaningful and personal for that special someone, that won’t take you all day to find or break the bank? I gotcha – personalized chocolate wrappers.
Sit down, stop worrying and take 2 minutes to read what I have to say. This DIY is so easy it’s practically already done. Whether you have 5 minutes to spare or an hour you can decide how elaborate you want to go. There is only one limiting factor: does that special someone like chocolate? And now that you have rolled your eyes and whispered “who doesn’t?”, you are ready to start.
Now, the time, skill and level of effort you want to put in this defines what happens next. If you only have a few minutes – simply unwrap the chocolate from its original packaging and then re-wrap it with your own paper, on which you can write those three special words or a quote etc. But, if you can spare 15-30 minutes, follow the steps below.
How-to-do:
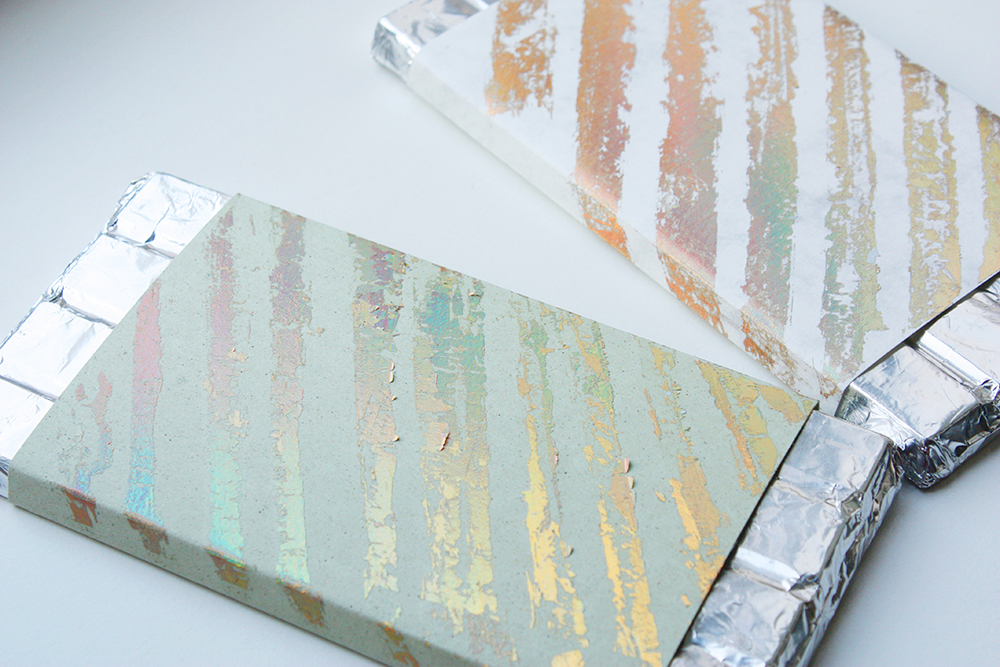
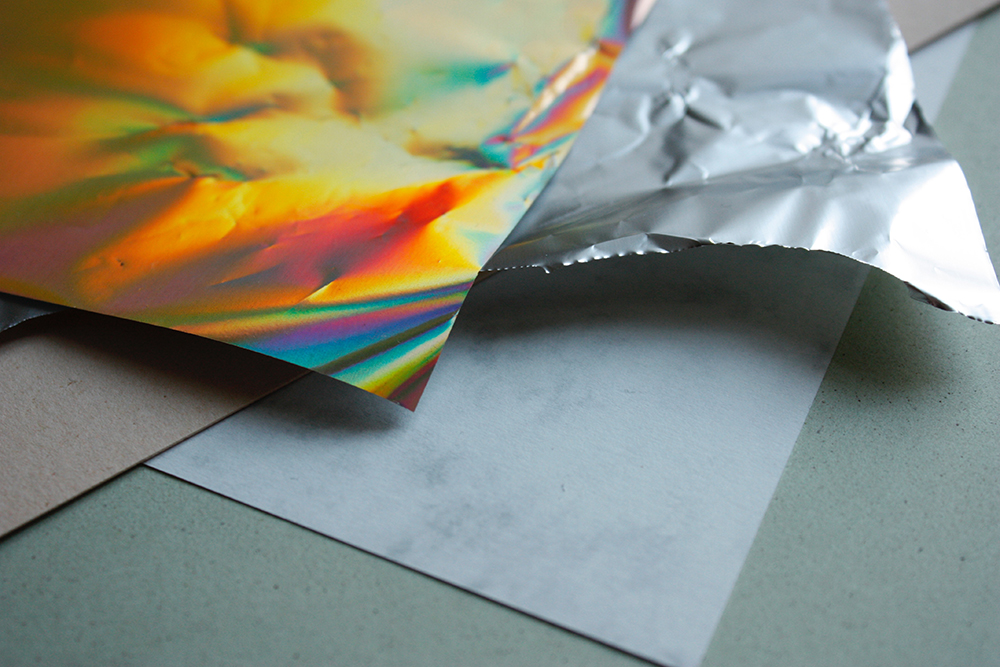
Choose the nicest, most special paper you have. My favourite at the moments are a soft textured light green Crush Kiwi and of course, the all-time-love classic Marmor in marble white. For Valentine’s Day you can also go as kitschy as you want so be brave and reach for that hot pink you’ve been saving. You will also need a pear of scissors, glue, tin foil and transfer foil, which you can find at any local stationery/hobby store.
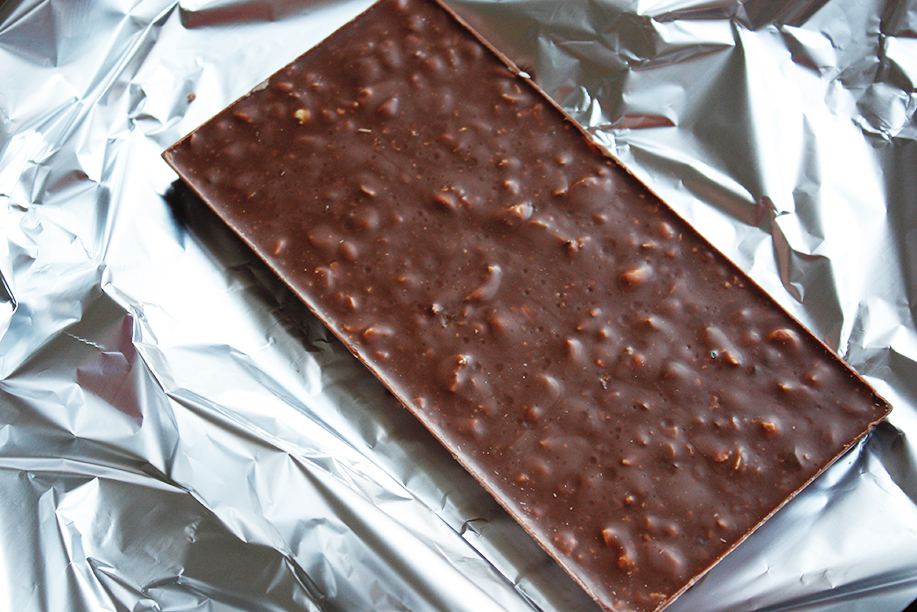
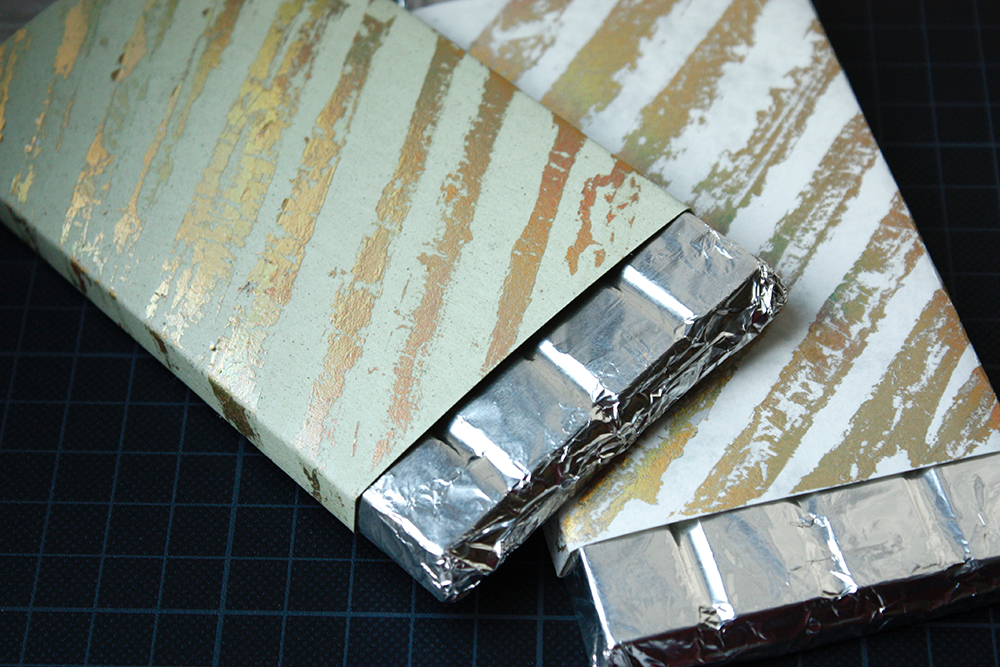
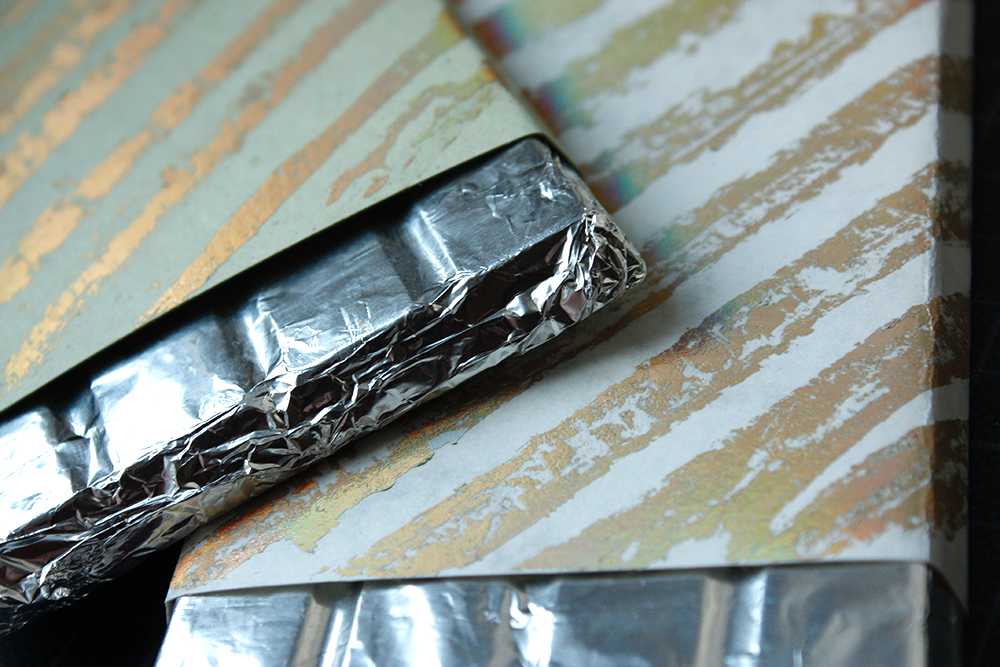
(1) Unwrap & rewrap the chocolates. You can use the old wrapping as a template for the new to make sure it’s the right size, or do like I did and use tin foil for the under-wrap, as it goes nicely with the gold foil. Also silk paper works for this.
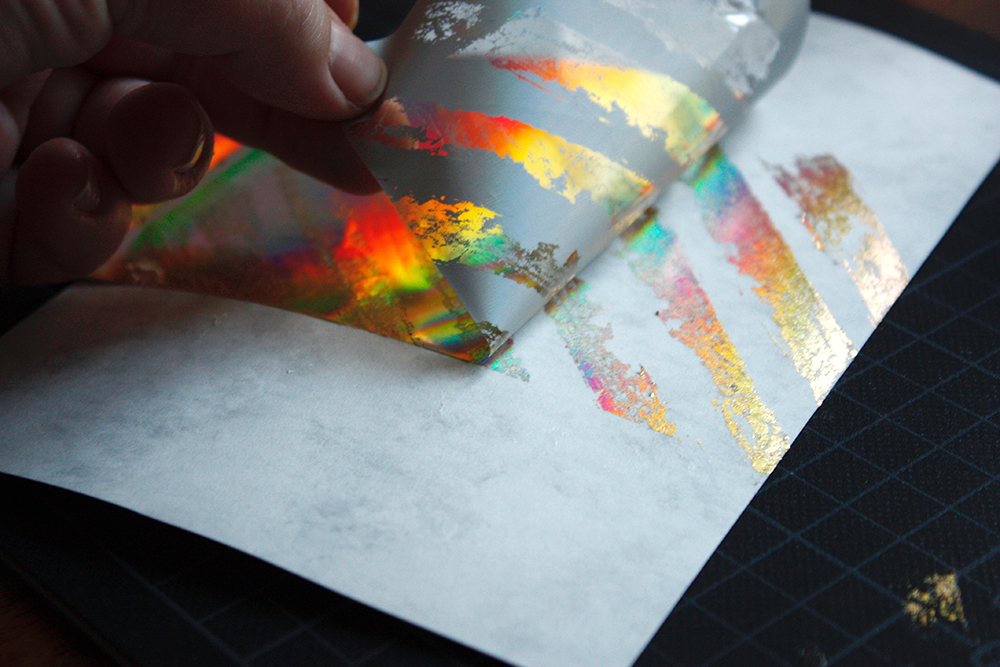
(2) Study the instructions on the specific gold foil packaging you have. For most you simply need some glue, but some work with a damp cloth or require a specific surface you work on.
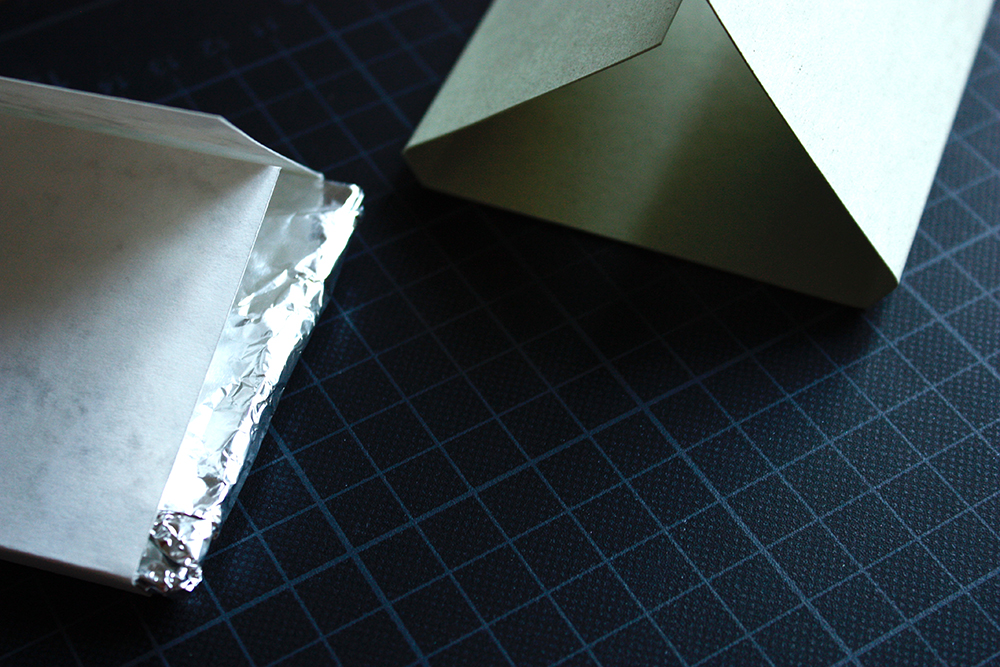
(3) Pre-cut the paper wrapping and fold it nicely around the chocolate bar. Make sure you have the folds done before decorating or writing on it, so you can see the area that will show on top.
(4) Use the gold foil to write or create a pattern on the paper. If you aim to write something, make sure to practise it before and the foil can be a bit tricky to use. I opted for a more minimal approach with a stripe pattern. Firstly because I think the reflective foil was enough for a detail, but secondly because the foil I used did not give the most clean finish. Practise makes perfect!
(5) After the decorations are done, wrap and glue the paper around the chocolate. To make things even more special, you can write personal greetings or even a poem on the inside of the wrapping. I promise whoever will receive this present, will love it! (who wouldn’t, it’s chocolate after all?)
Images © Design&Paper