These Christmas angel ornaments are a fun DIY project for the whole family – especially for the young ones. who I promise will love the folding of the paper. The project only requires two steps to finish, and no precision or high skills are required. All you need is your favorite papers and some yarn, and of course some Christmas carols and a festive attitude. The two latter are required. Minimal effort with the maximum finish!
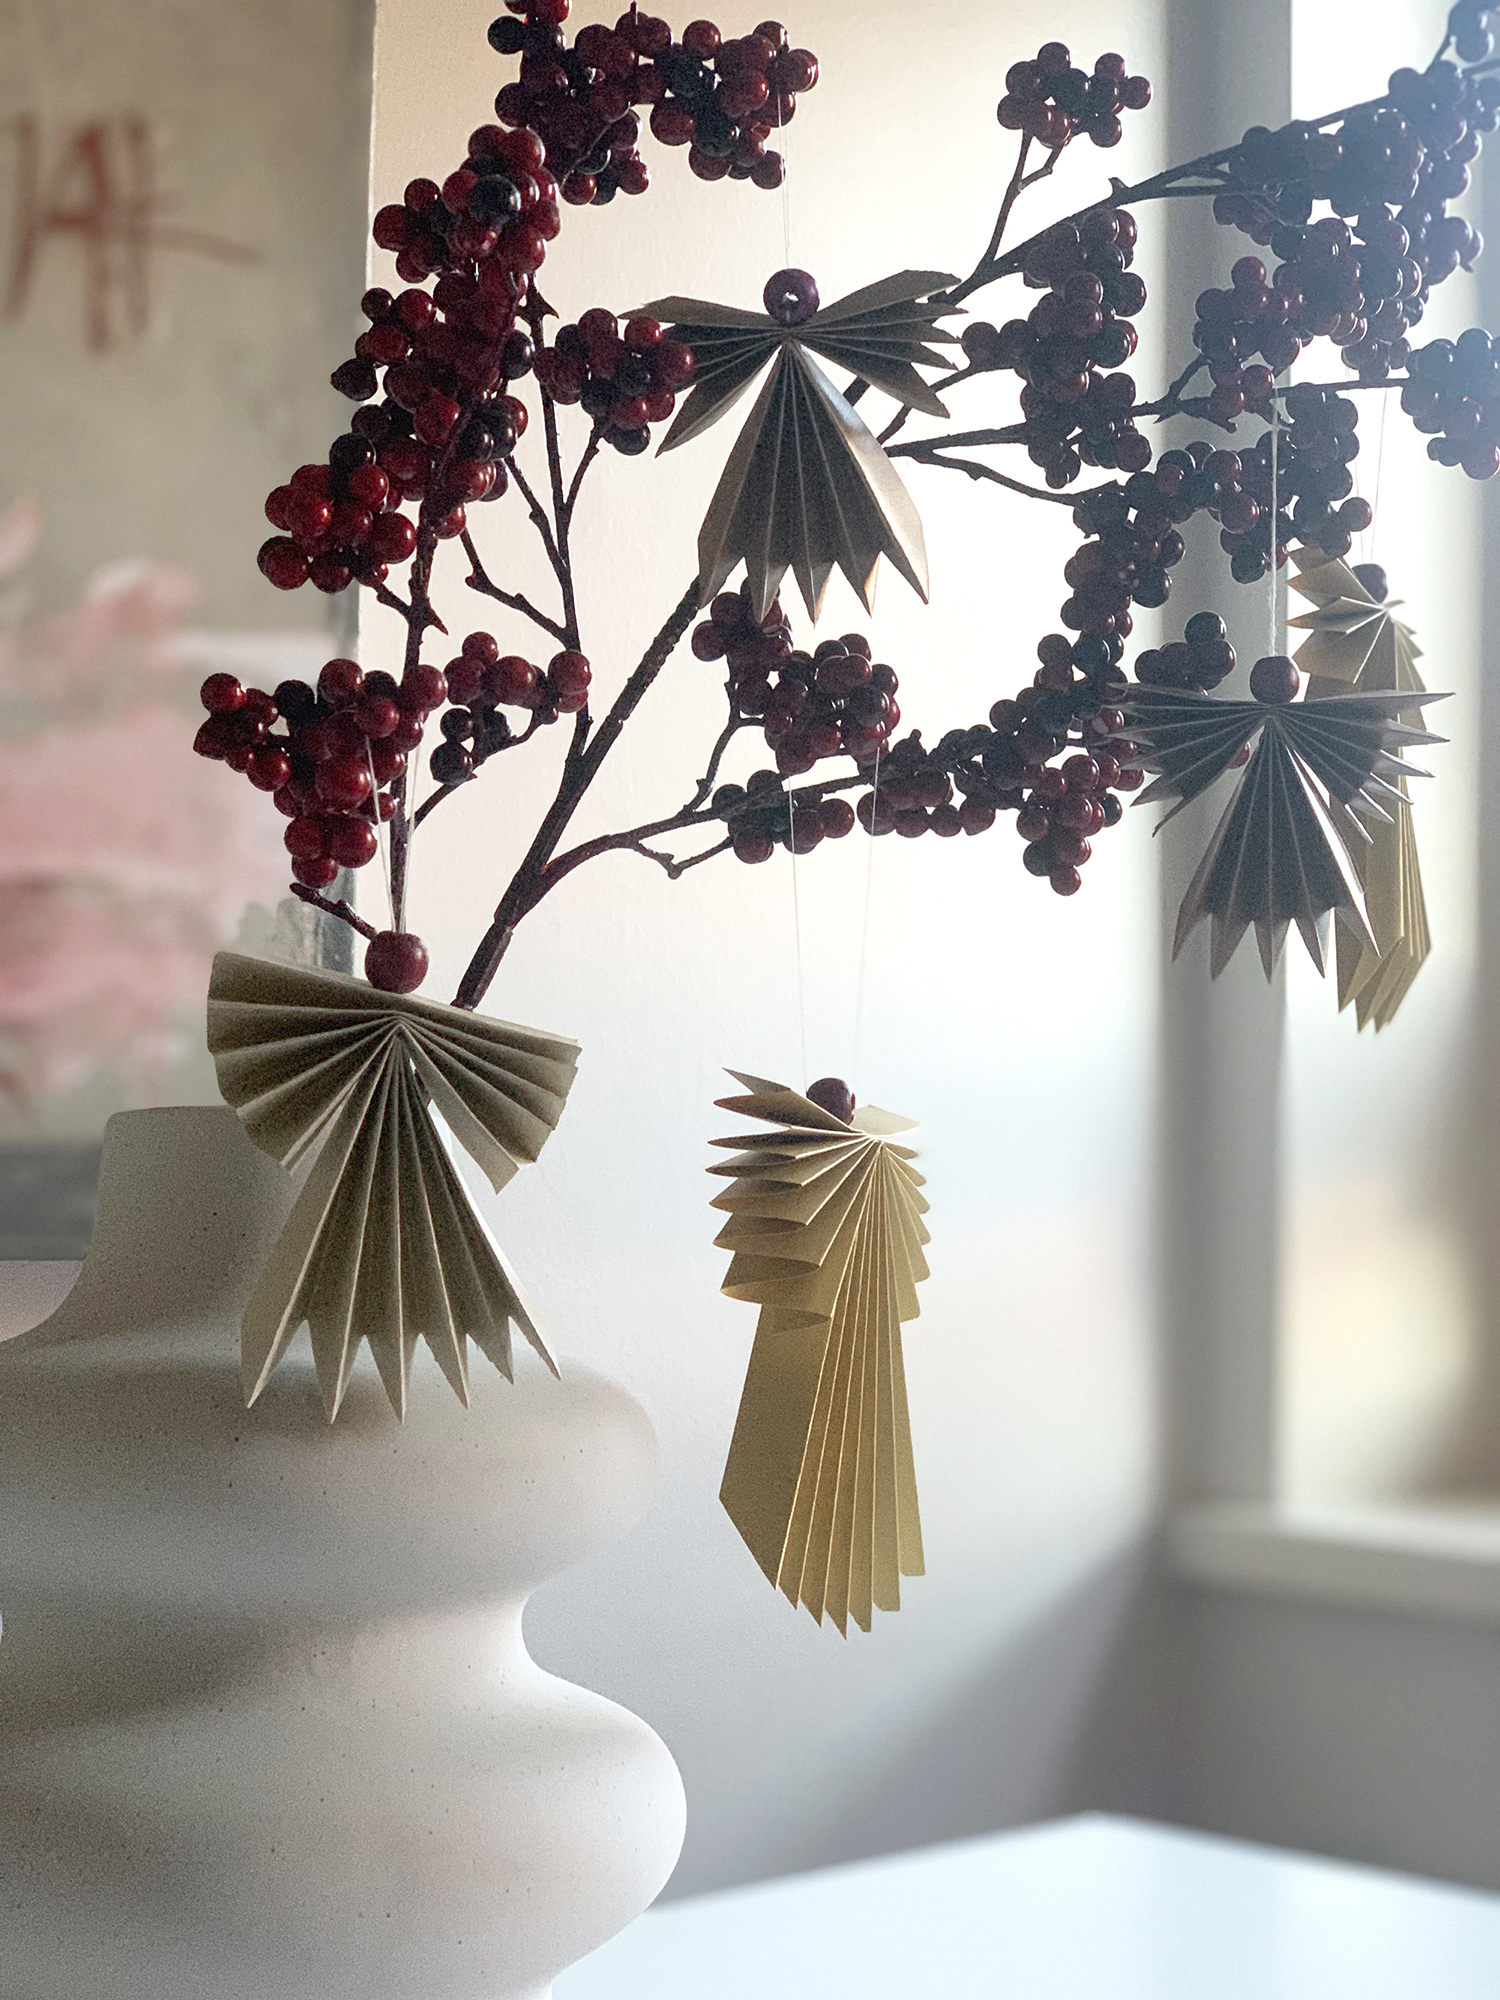
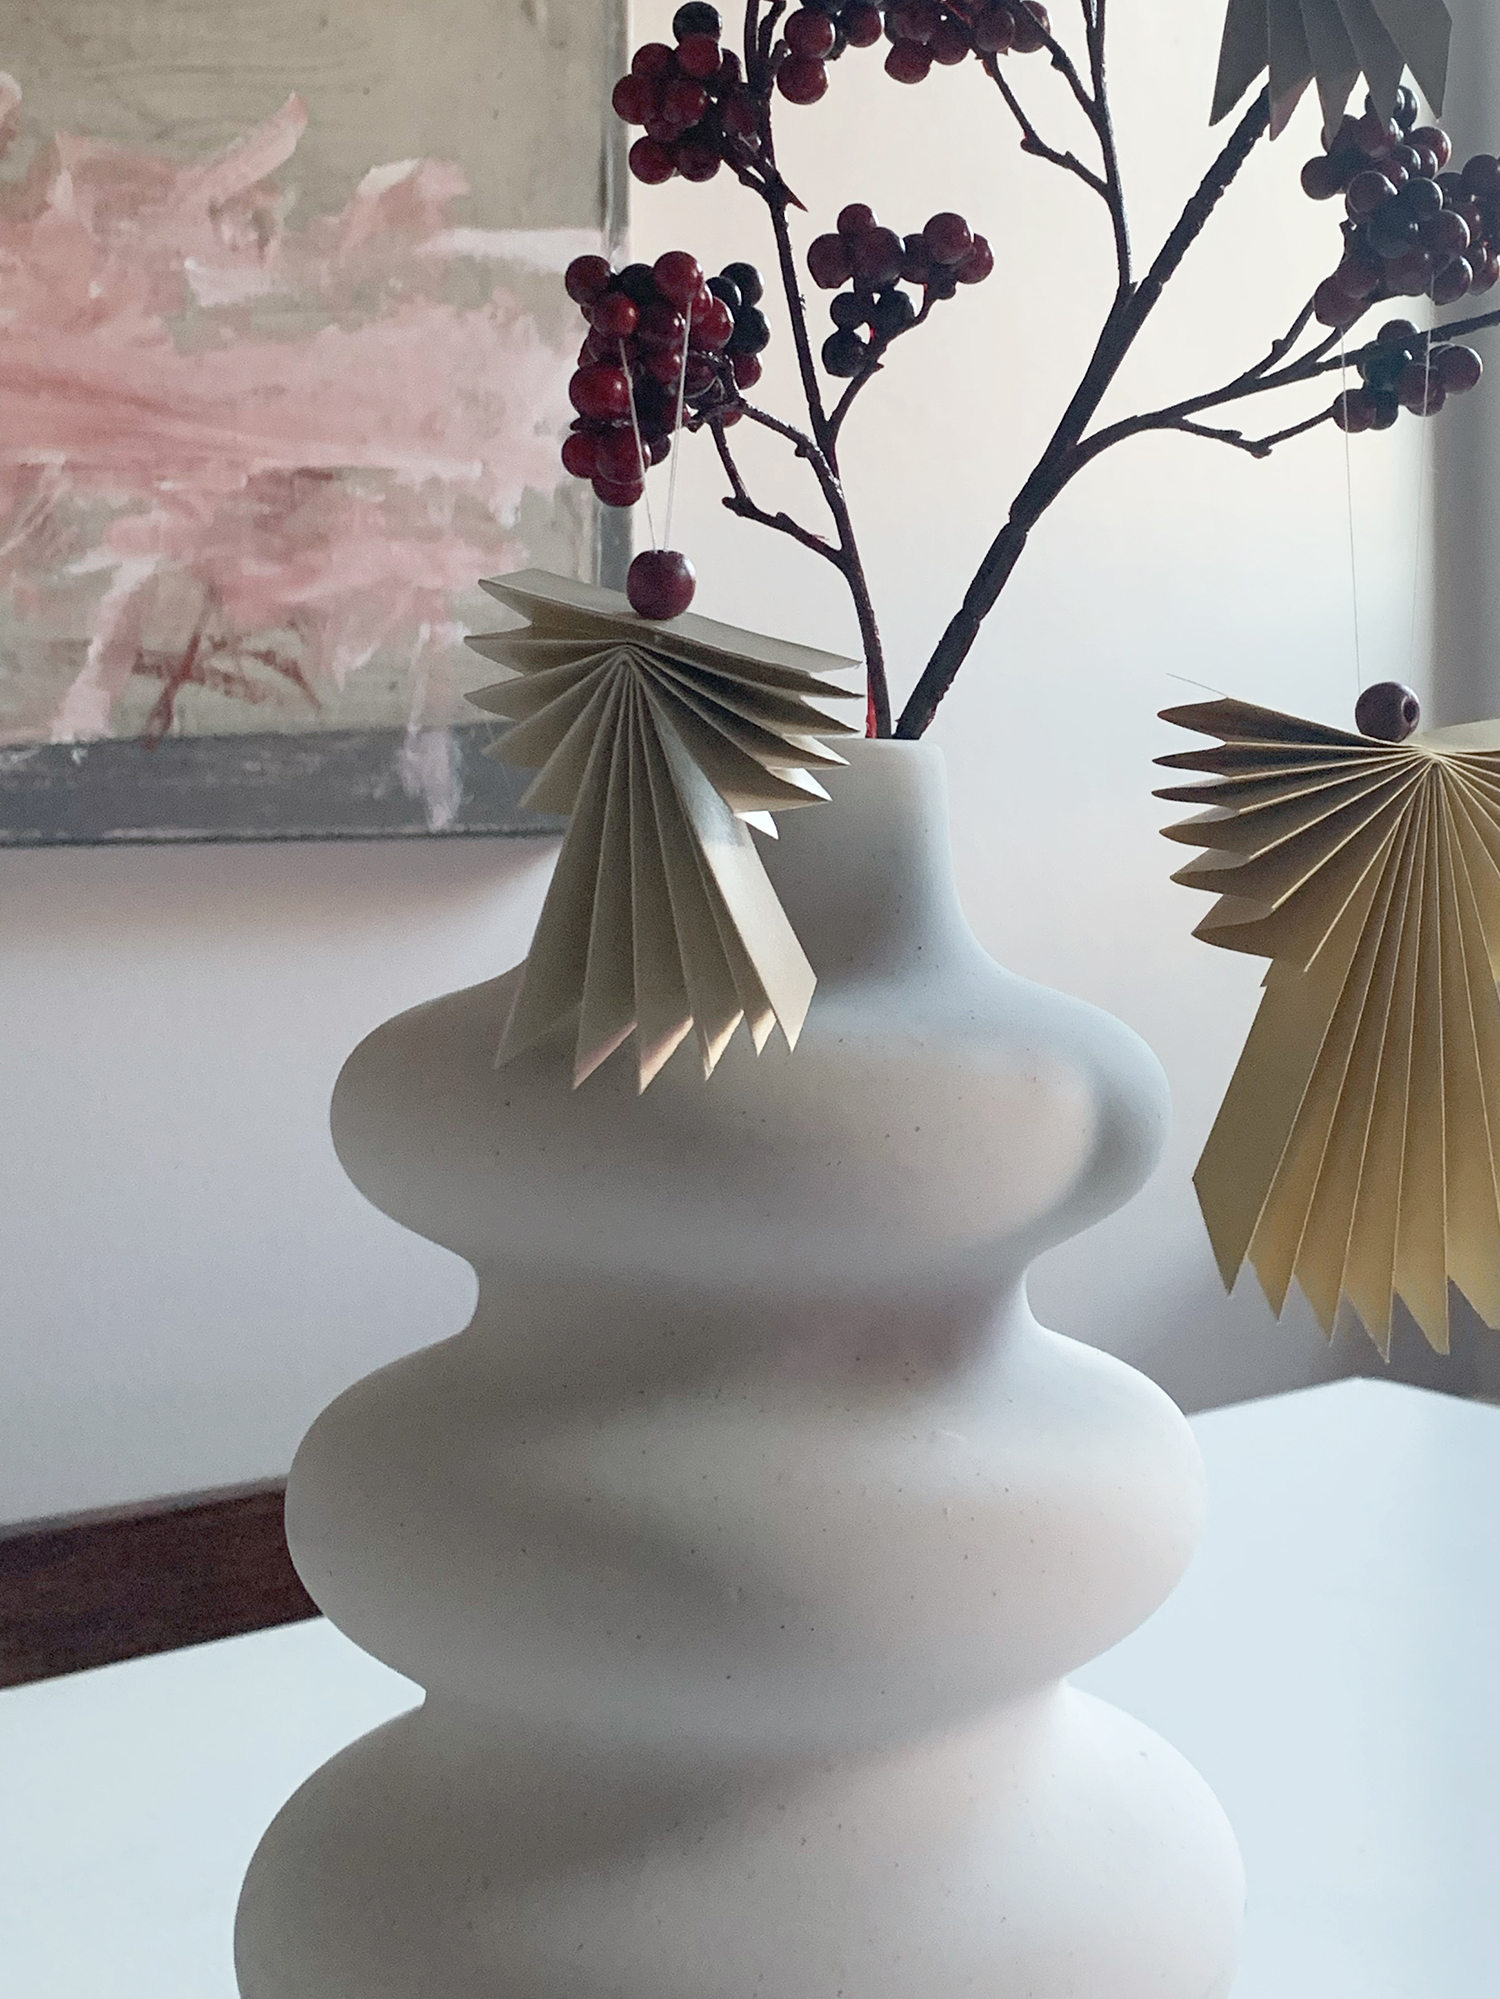
You can also scale the idea to however small, or large, you wish. The smaller versions can make amazing Christmas tree ornaments, while a larger one would look stunning hanging in the window. I made mine with my favorite festive design papers, the GLAM papers by Europapier Group. The pearlescent GLAM papers are perfect for holiday decoration with their unique metallic shimmer and exquisite and harmonious colors. The high-quality papers are great for folding, as the edges stay sharp and crisp.
The pearlescent GLAM papers are perfect for holiday decoration with their unique metallic shimmer and exquisite and harmonious colors. The high-quality papers are great for folding, as the edges stay sharp and crisp.
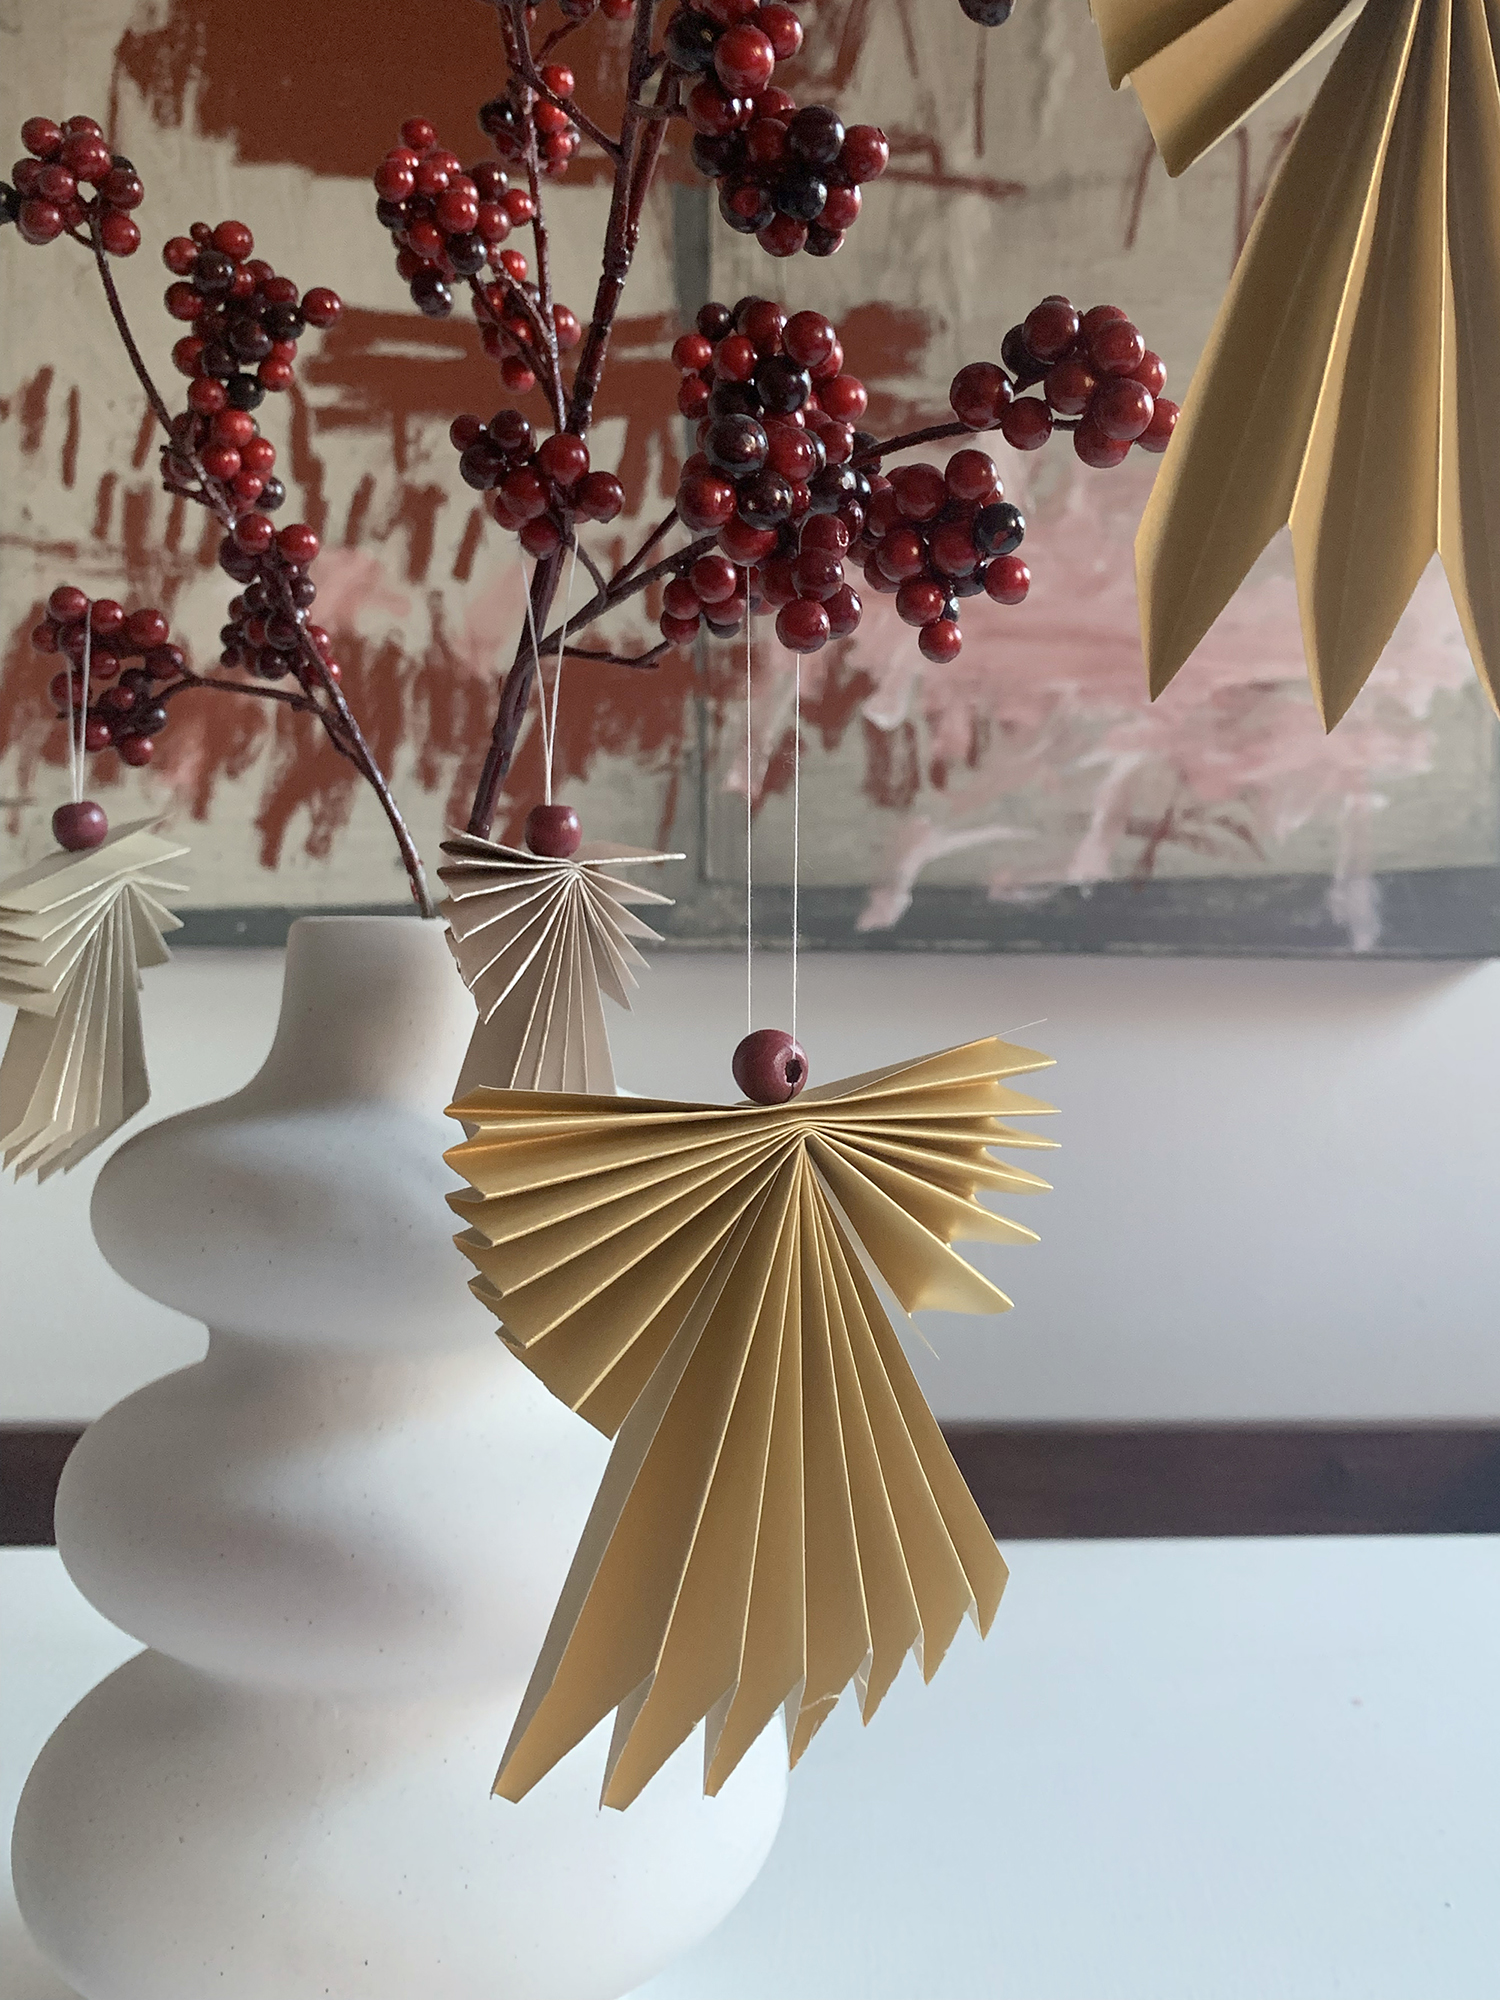
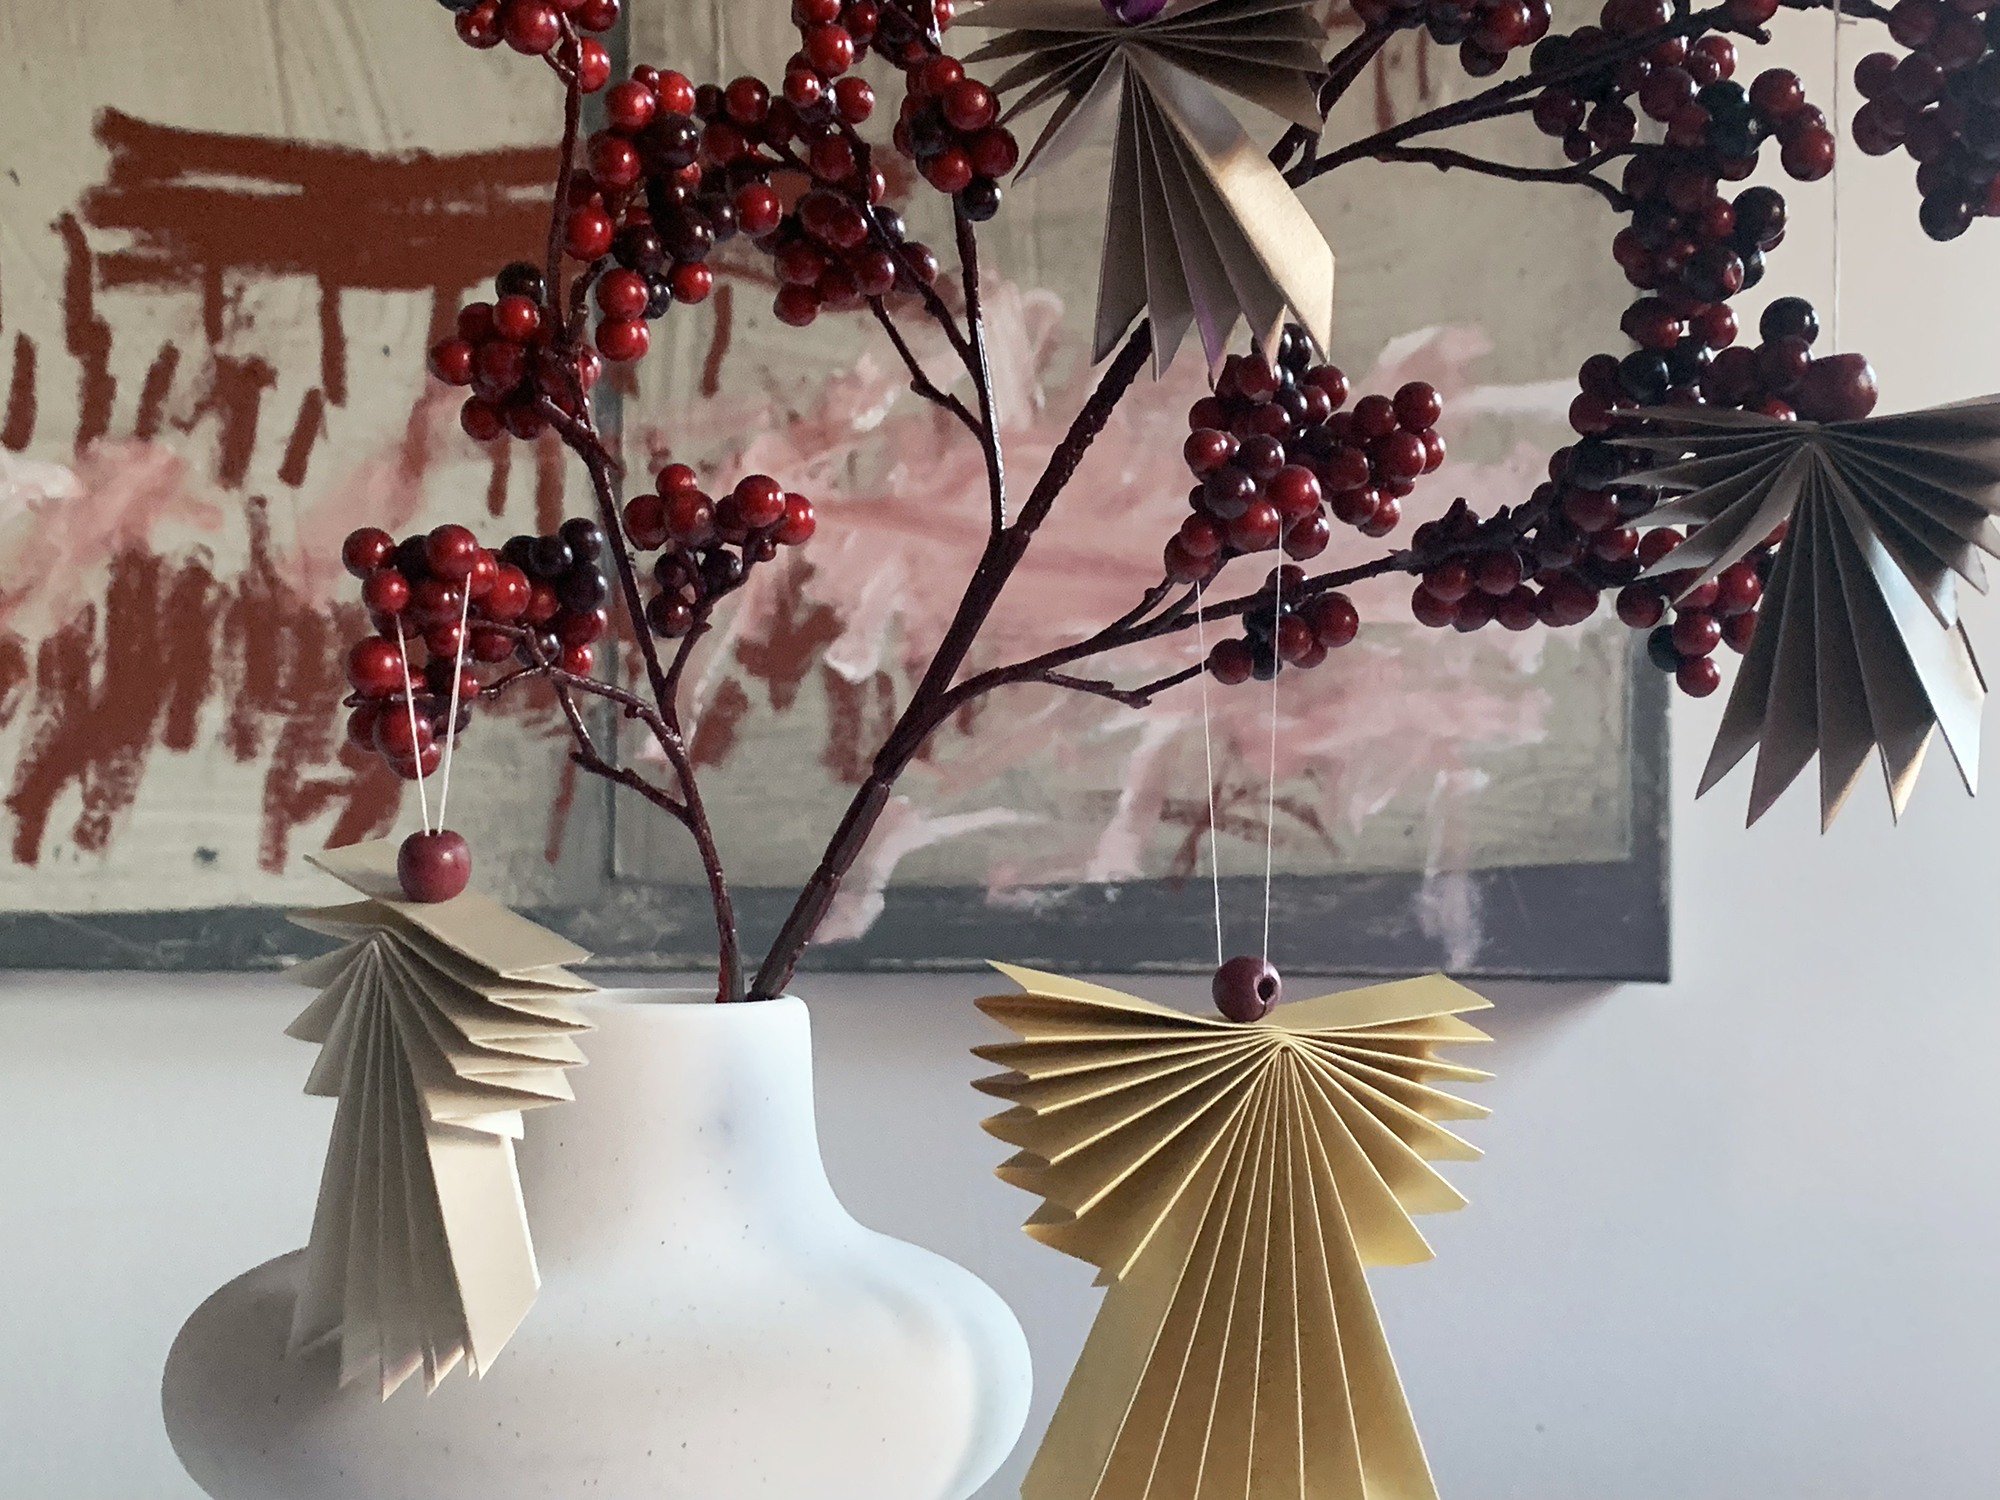
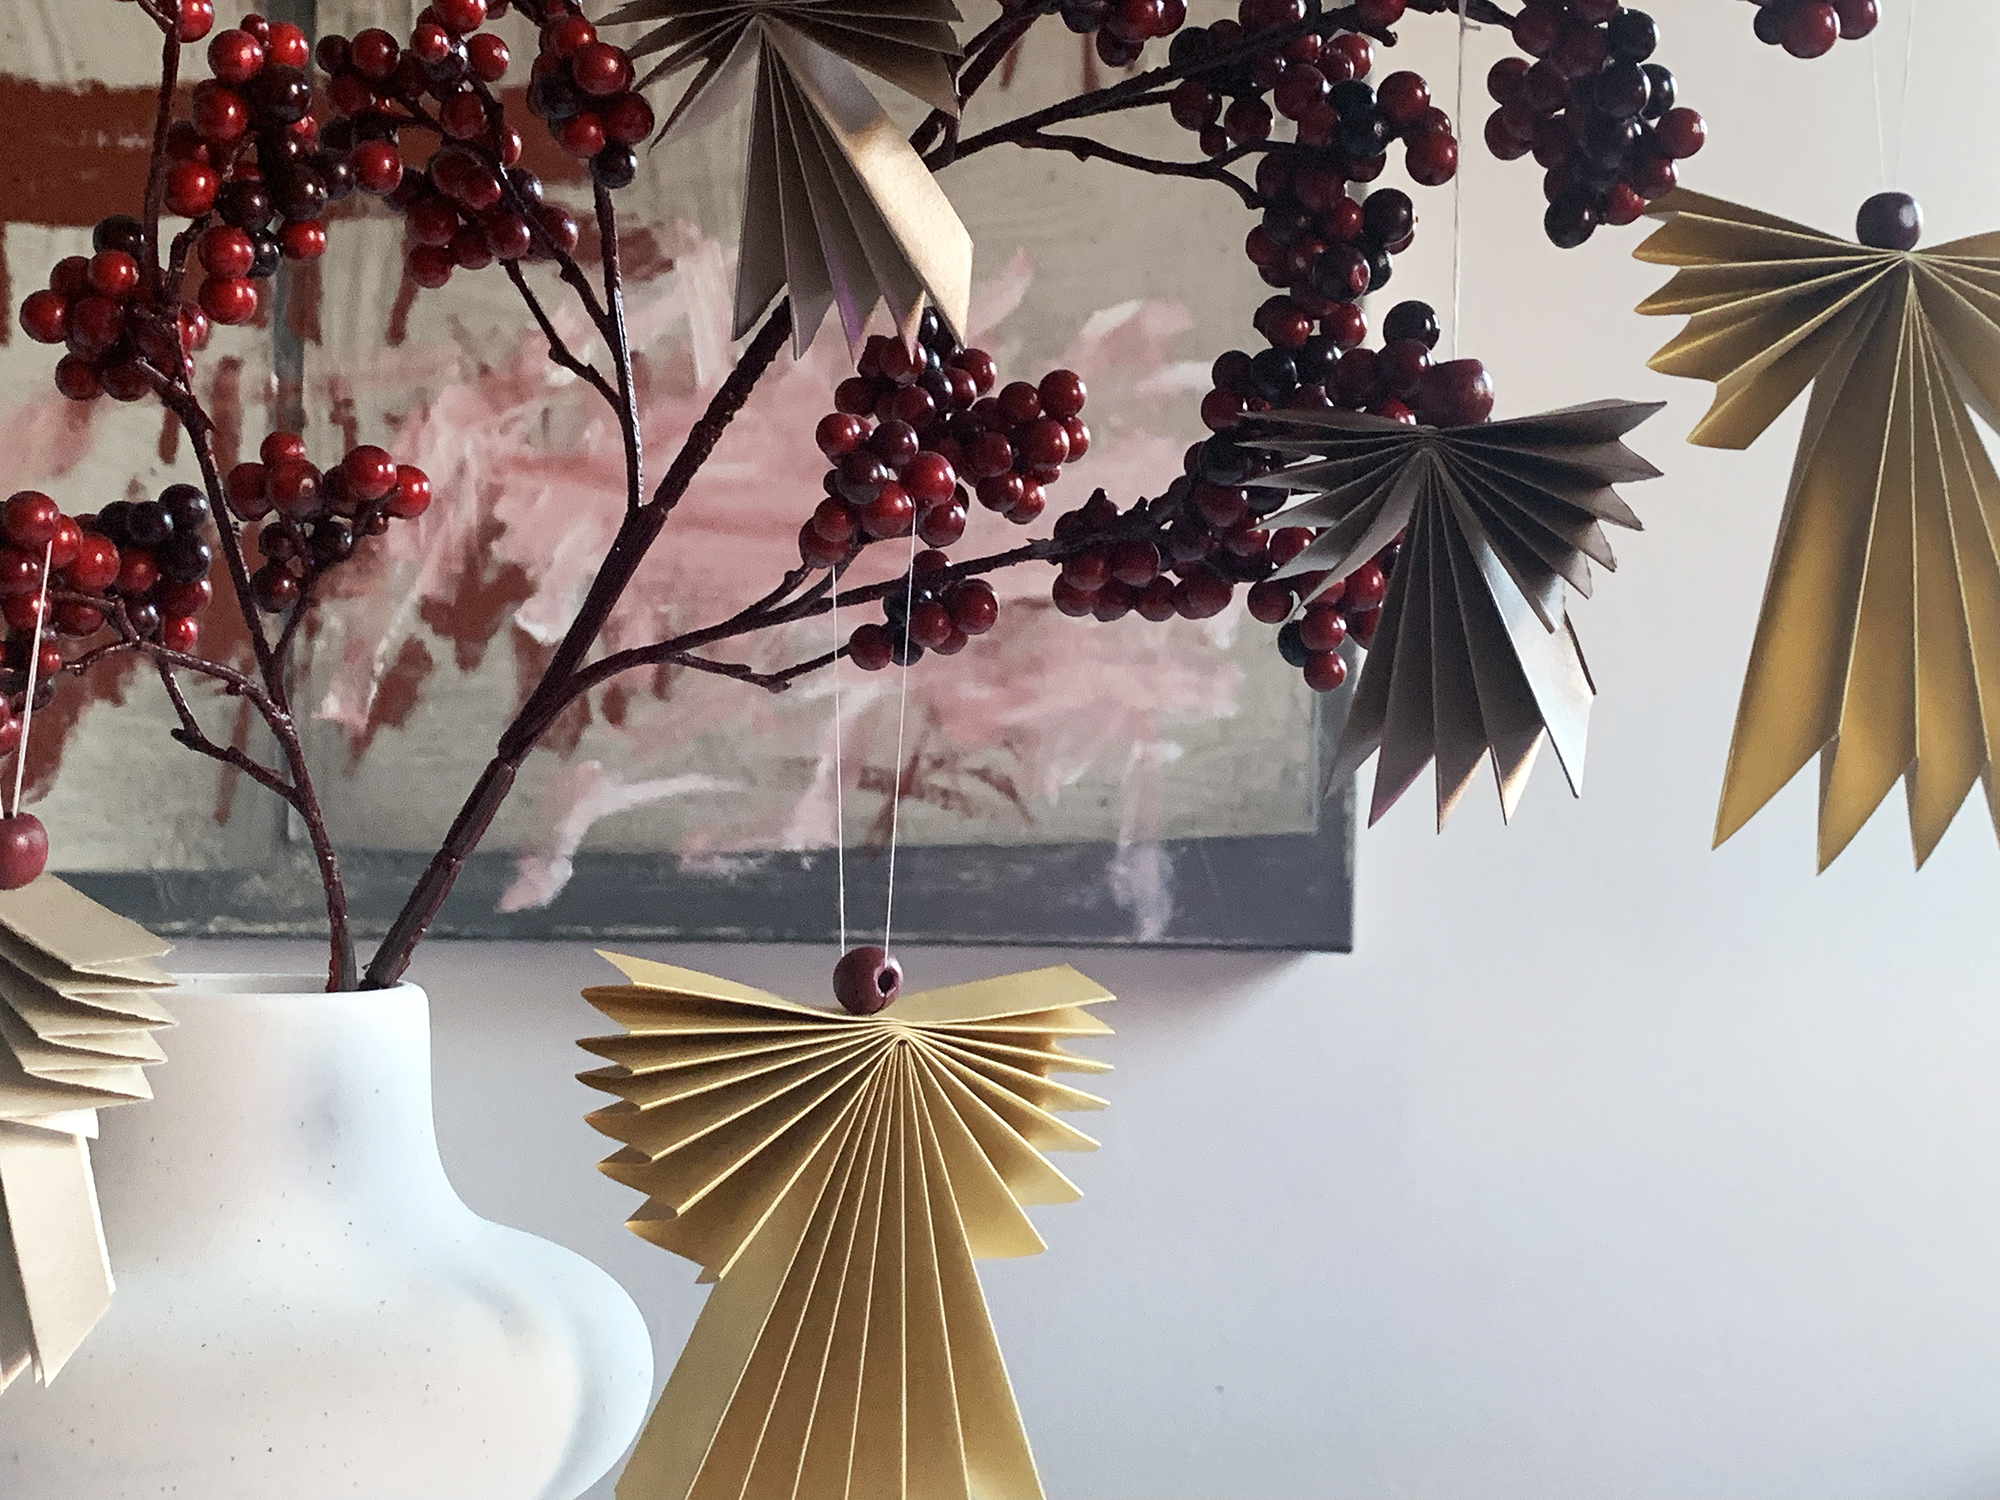
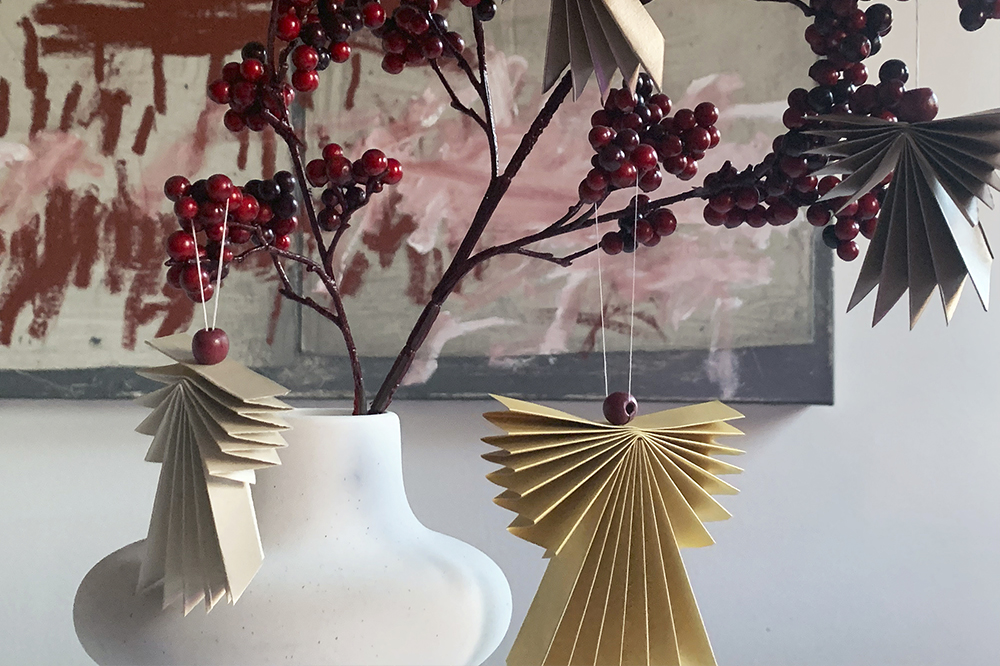
After making many versions I opted for the GLAM Gold, GLAM Blush, and GLAM Champagne, all in 120 gsm – which gave the ornaments a touch of glamour and elegance. The papers perfectly glitter when the low winter sun hits them, but also seamlessly tie in with the decor. I combined the paper angel ornaments with wooden beads painted red, to match the holly tree branch I used to hang them on.
For the folded paper angel ornament DIY you’ll need papers, scissors, thread & needle, and some beads
Step 1: Depending on what size ornaments you wish to make, use papers in the required size. For smaller ones, take an A4 paper and cut it into 4 pieces, first length-wise, and then horizontally. Fold each piece in an accordion style with the same fold width. (These four pieces will make two angels.)
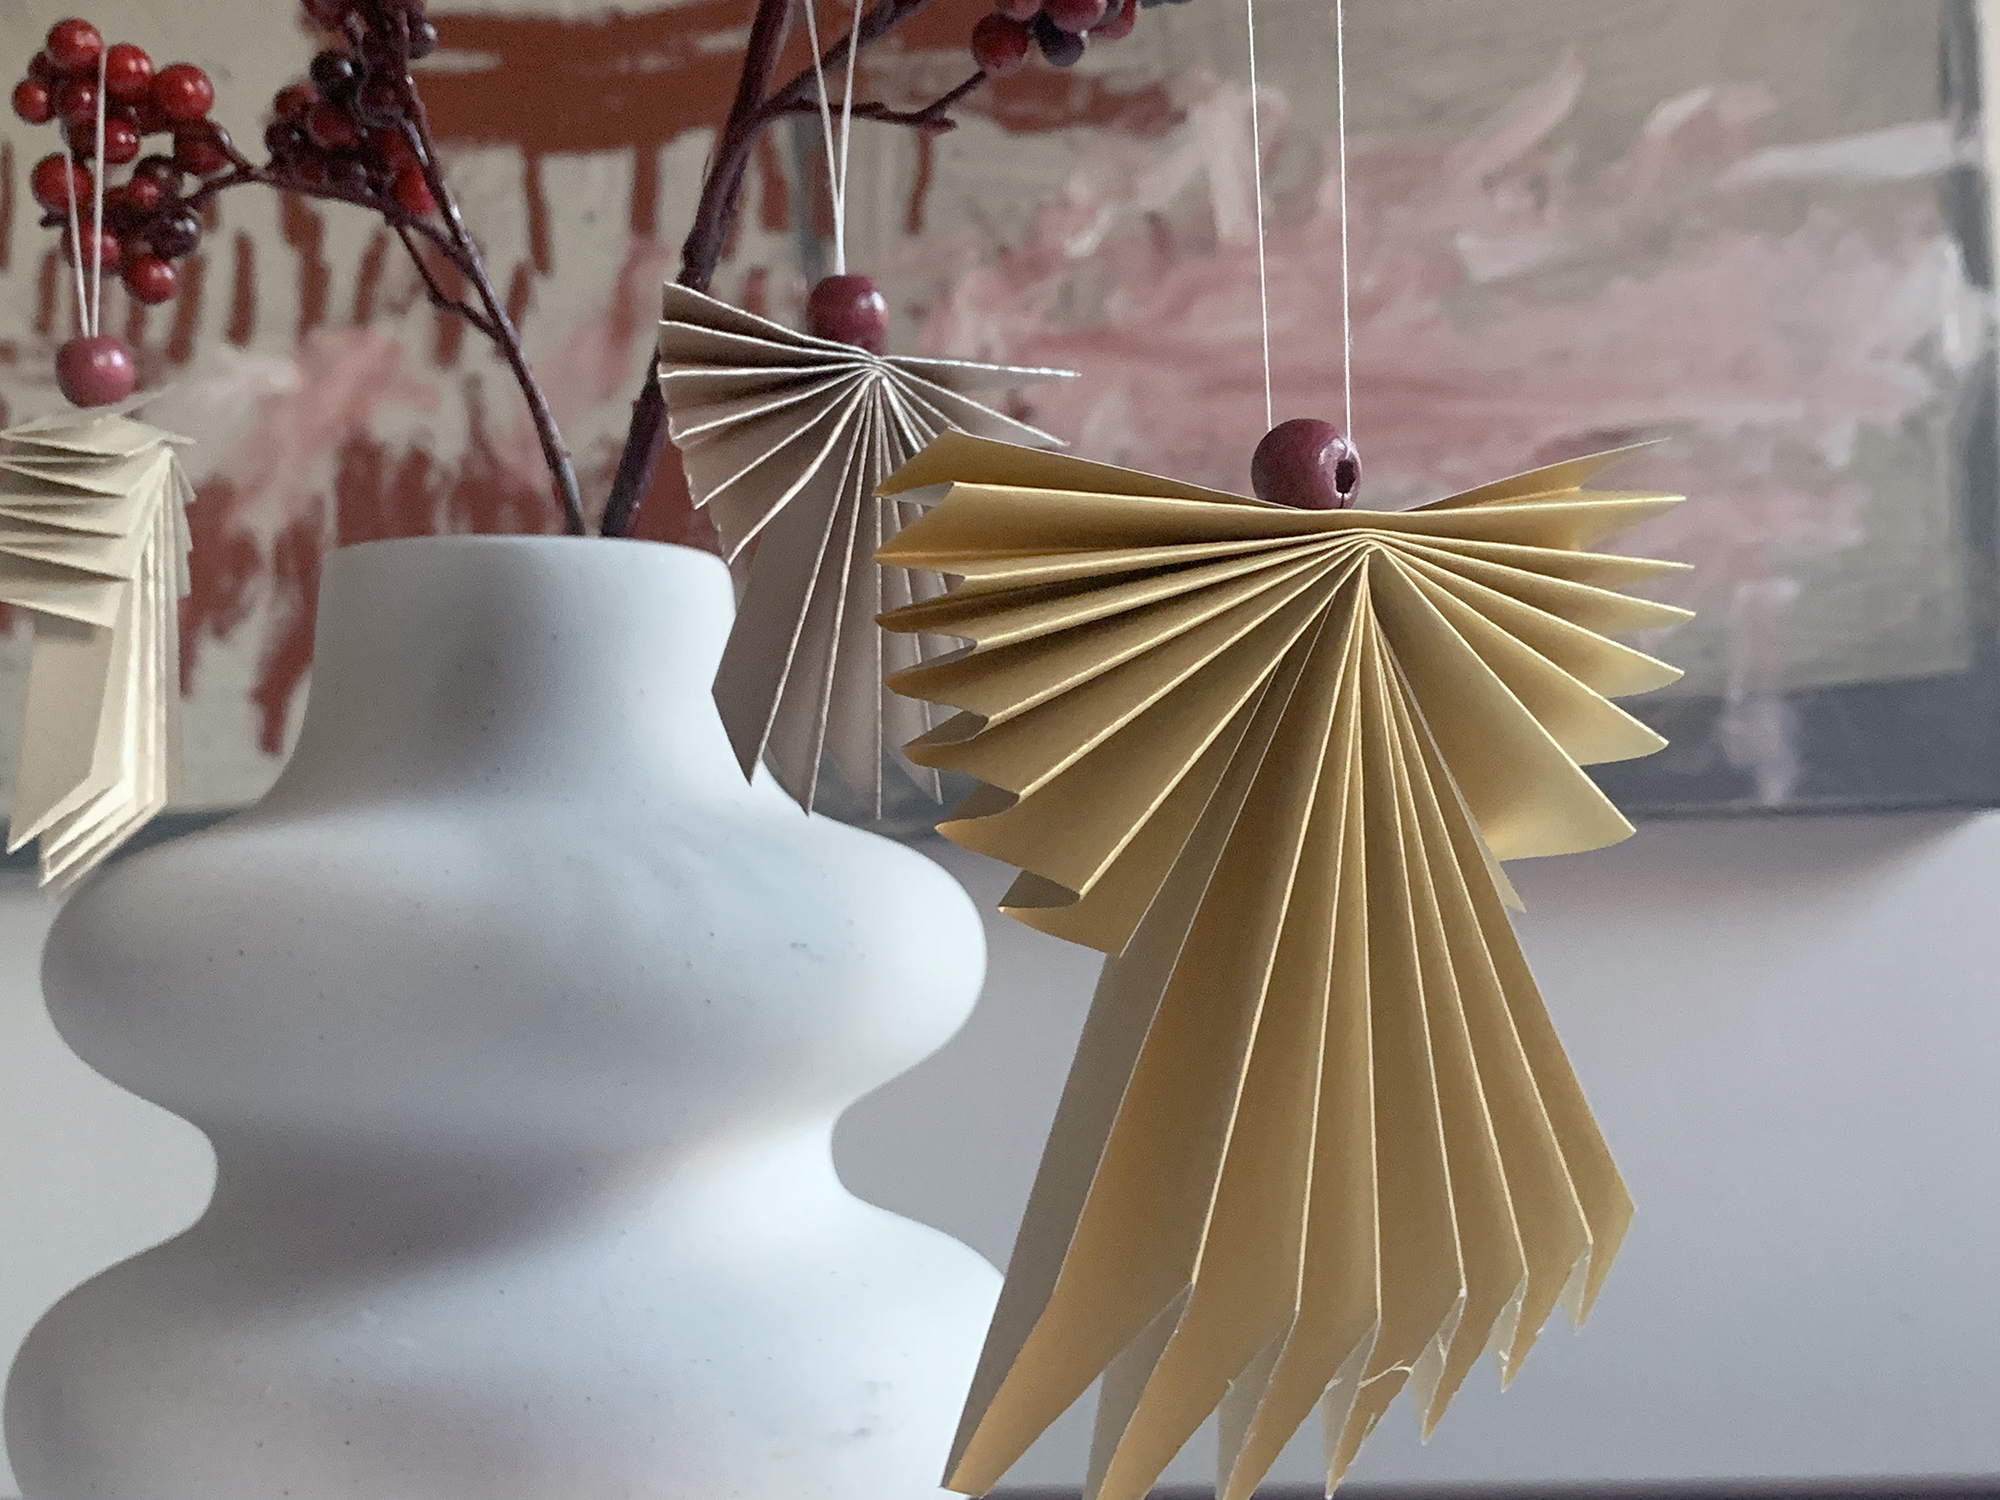
Step 2: Pinch one folded accordion piece in the middle to form the wings of the anger, and place it above another folded piece. With the help of a needle and thread, attach the body to the wings, and add the beads as a head. If you wish, you can also simply use glue to attach the pieces together, but the thread and bead add a good weight that keeps the ornament leveled.
And that’s it! Once you get the folding done, or if you have some helper hands to do it for you, you can make as many angels as you wish in no time! You can also find more Christmas DIY project inspiration here.